


Model MCX-32
Model MCX-32 Instruction Manual
Rev. 2.3
Page 29 of 49
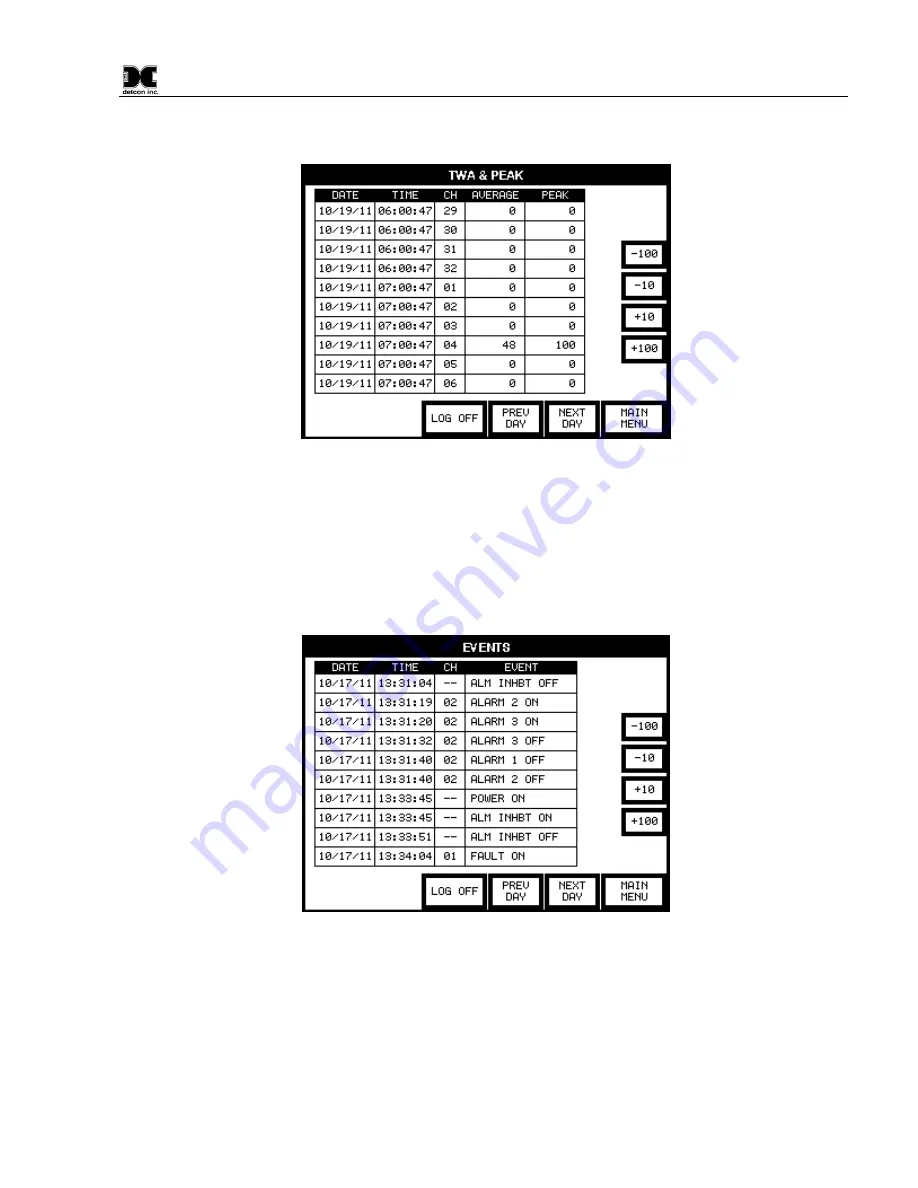
user can also page back and forth to different dates by selecting the buttons on the bottom of the screen labeled
‘PREV DAY’ and ‘NEXT DAY’.
Figure 31
TWA & PEAK Screen
Selecting the VIEW EVENTS button displays the EVENTS screen (Figure 32) which allows the user to view
recorded events such as alarms, faults, comm errors, alarm inhibits, etc. This data is recorded every time the
controller detects a defined event and is displayed on the screen with the date, time, channel number (if
applicable) and corresponding event. The user can scroll through the recorded events of a specific date in
increments of 10 or 100 by selecting the buttons on the right of the screen accordingly. The user can also page
back and forth to different dates by selecting the buttons on the bottom of the screen labeled ‘PREV DAY’ and
‘NEXT DAY’.
Figure 32
Events Screen
The BACKUP CONFIGURATION button allows the user to save the current configuration of the MCX-32 to
the CF card.
The RESTORE CONFIGURATION button allows the user to load the saved configuration stored in the CF
card. This allows for greater portability to other MCX-32 controllers that require similar configurations.
The CF card is automatically formatted upon power up of the MCX-32 controller which creates the necessary
files for data logging. The FORMAT COMPACTFLASH button allows the user to reset (delete) all data


