108
BHT-1300B series
“2: M1 KEY” to “6: M5 KEY”: Defining the Mx key functions
1.
Select “2: M1 KEY” to “6: M5 KEY” at the SET KEY menu and then
press the
ENT
key.
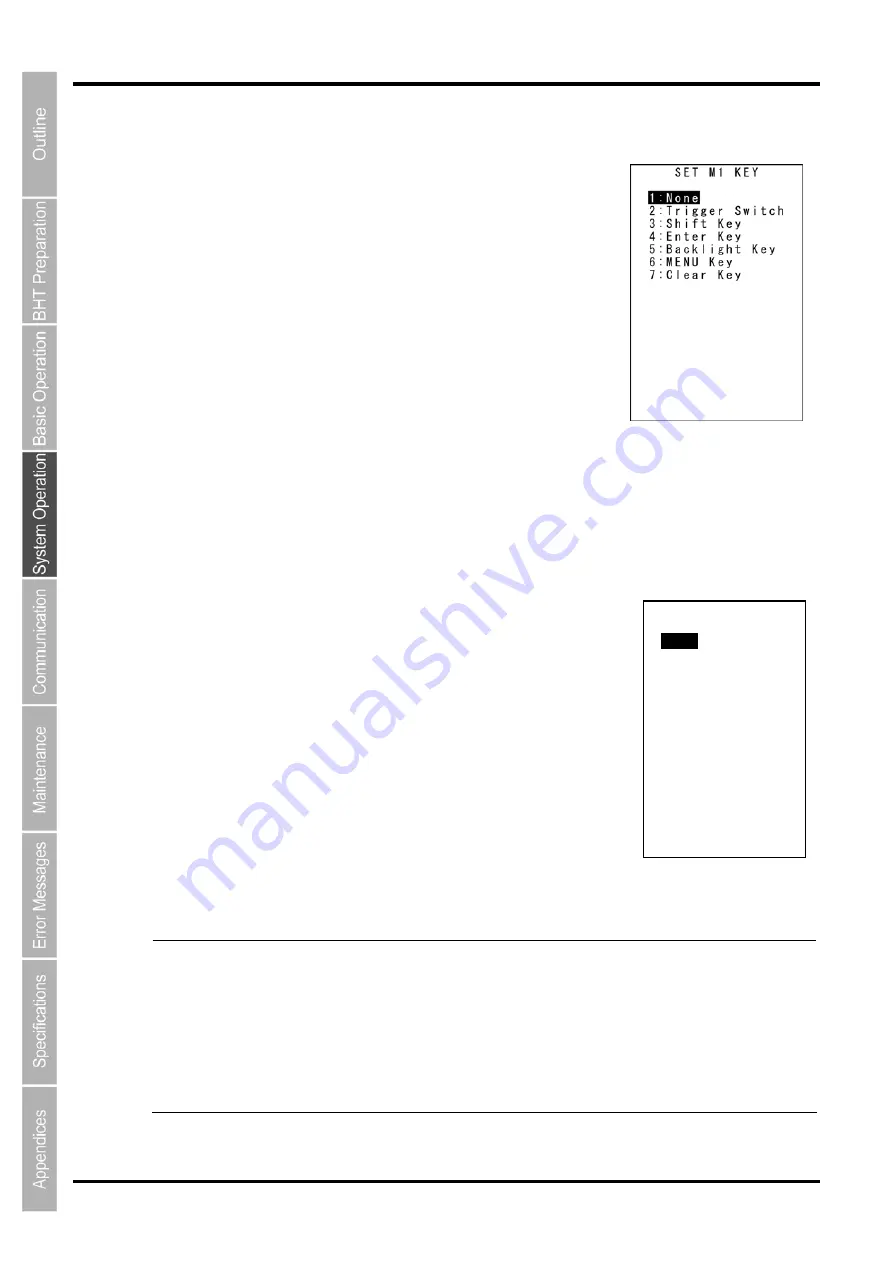
The SET M1 KEY menu screen on the right is displayed.
(In the example on the right, “2: M1 KEY” has been selected.)
The highlighted setting is the current setting.
“1: None”:
Ignores the key entry.
“2: Trigger Switch”:
Sets the magic key as the trigger switch.
“3: Shift Key”:
Sets the magic key as the
SF
key.
“4: Enter Key”:
Sets the magic key as the
ENT
key.
“5: Backlight Key”:
Sets the magic key as the backlight function ON/OFF key.
“6: MENU”:
Sets the magic key as a key used to start up the “Speaker/Vibrator/Backlight Adjustment Screen”.
“7: Clear Key”:
Sets the magic key as the
C
key.
2.
Use the cursor keys ([
▲
] [
▼
]) or numerical keys ([1] [2] [3] [4] [5] [6]
[7]) to highlight the item to be set, and then press the
ENT
key.
The selected item is set and the screen returns to the SET KEY menu.
Magic keys (M1 to M5)
Magic keys (
M1
to
M5
) can be set to function as the trigger switch,
SF
key,
ENT
key, backlight function ON/OFF key,
MENU
key or
BS/C
key.
If the
M1
key is defined as the backlight function ON/OFF key, pressing the
M1
key enables or disables the backlight function.
In user programs, data strings can be also assigned to these magic keys.
Magic keys
M3, M4
and
M5
are set as the trigger switch by default.
- Point -
The backlight function ON/OFF key can be assigned only to one of the magic keys from
M1
to
M4
. The key defined more recently will act as the backlight function ON/OFF key and the
previously defined key will be ignored.
If, for example, the
M1
and
M2
keys are defined as the backlight function ON/OFF key in this
order, the
M2
key functions as the backlight function ON/OFF key and the
M1
key entry is
ignored.
On the other hand, if the
M2
and
M1
keys are defined as the backlight function ON/OFF key
in this order, the
M1
key functions as the backlight function ON/OFF key and the
M2
key
entry is ignored.
SET M1 KEY
1:None
2:Trigger Switch
3:Shift Key
4:Enter Key
5:Backlight Key
6:MENU Key
7:Clear Key
8:SQRC MENU Key
Содержание BHT-1306B
Страница 22: ...10 BHT 1300B Series...
Страница 68: ...56 BHT 1300B series DEVICE MENU Refer to Chapter 4 5 10 Wireless Communication Settings 8 and ENT keys BS C key...
Страница 218: ...206 BHT 1300B series...
Страница 238: ...226 BHT 1300B Series...
Страница 248: ...236 BHT 1300B Series...
Страница 255: ......
Страница 256: ...Barcode Handy Terminal BHT 1306B BHT 1306BB BHT 1306BWB User s Manual First Edition November 2013...


