39
1
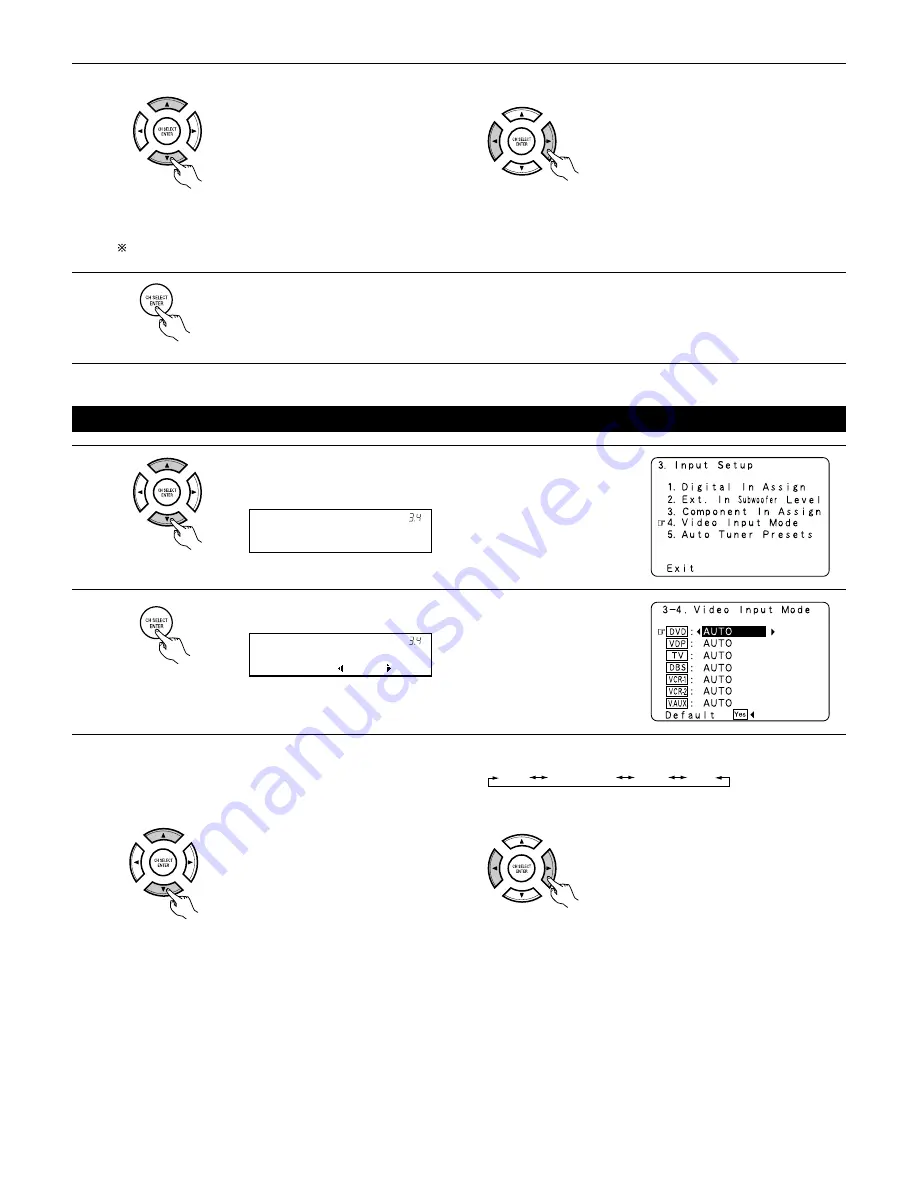
Select “Video Input Mode” at the Input Setup Menu .
2
Display the Video Input Mode screen.
3-4 Setting the Video Input Mode
3
Select the component (Y, P
B
/C
B
and P
R
/C
R
) video input terminal to be assigned to the input source.
Select “NONE” for sources for which the component (Y, P
B
/C
B
and P
R
/C
R
) video input is not to be used.
When the default, “Yes”, is selected, the settings are reset to the factory defaults.
4
Enter the setting.
The Input Setup Menu reappears.
q
Select the source
selection.
w
Select the component
video input terminal.
(Remote control unit)
(Remote control unit)
(Remote control unit)
(Remote control unit)
(Remote control unit)
V i d e o I n M o d e
* I n p u t S e t u p
D V D : A u t o
* V i d e o I n M o d e
3
q
Select the input source for which you want to set the
Video Input Mode.
w
Select the mode as below.
(Remote control unit)
(Remote control unit)
AUTO:
When there are multiple input signals, the input signals are detected and the input signal to be output from the video
monitor output terminal is selected automatically in the following order: component video, S-Video, composite video.
Component: The signal connected to the component video terminal is always played.
Video conversion is not conducted, so no image is output from the monitor output terminal when there is no input signal
to the component terminal.
S-Video:
The signal connected to the S-Video terminal is always played.
The S-Video input signal is converted and output from the composite and component monitor output terminal.
Video:
The signal connected to the composite video terminal is always played.
The composite video input signal is up-converted and output from the S-Video and component monitor output terminals.
AUTO
COMPONENT
Svideo
Video
The details in each mode are as follows.


