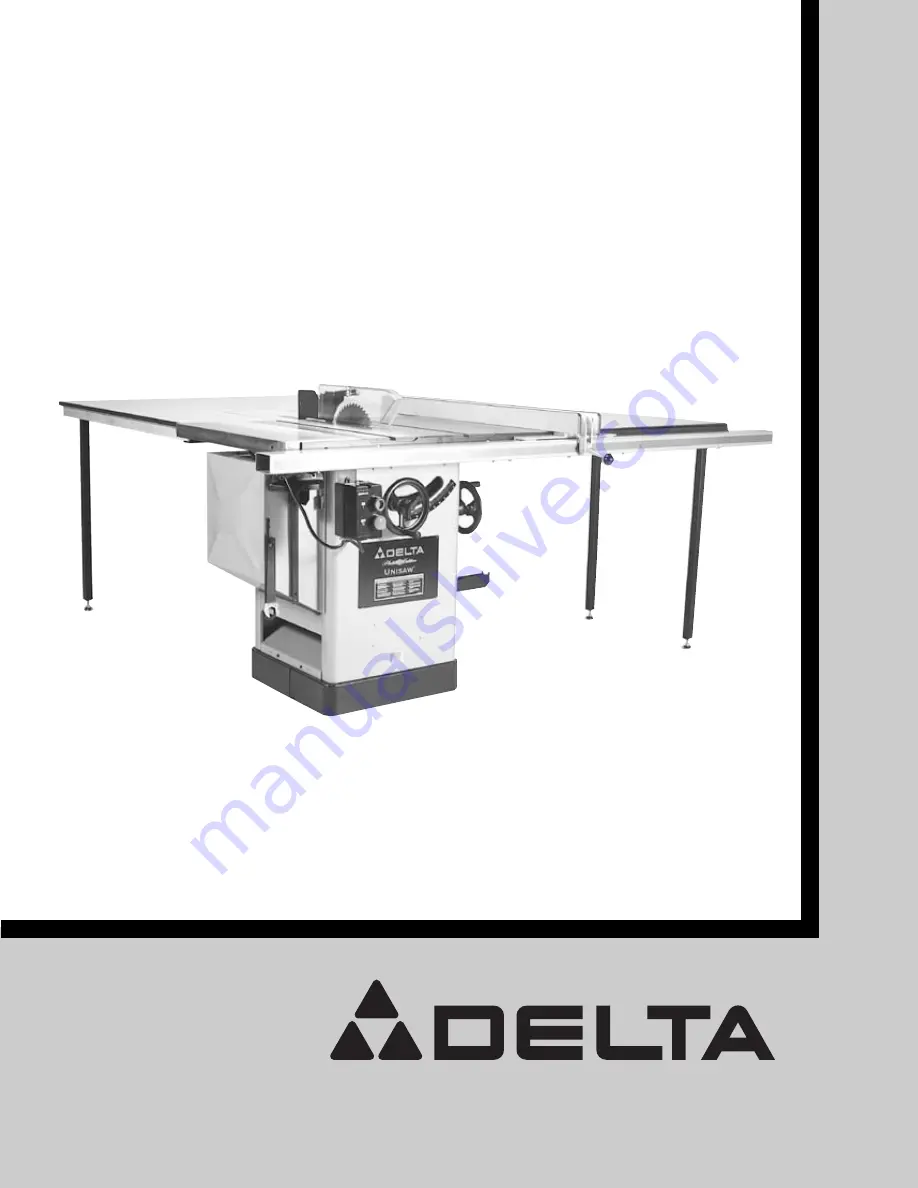
UNISAW
fi
Left Tilt 10
″
Tilting Arbor Saw
(Model 36-960)
INSTRUCTION
MANUAL
D AT E D 6-27-00
PA RT NO. 422-40-651-0003
Copyright ' 2000 Delta Machinery
Страница 1: ...UNISAW fi LeftTi l t1 0 Ti l t i n g Arbor Saw Model 36 960 INSTRUCTION M A N U A L D ATED 6 27 00 PA RT NO 422 40 651 0003 Copyright 2000 Delta Machinery...
Страница 2: ...o r c e t o o l o r a t tachment to do a job for which it was not designed 1 2 WEAR PROPER APPAREL No loose clothing gloves n e c k t i e s r i n g s b r a c e l e ts o r o t h e r j e w e l r y t o g...
Страница 3: ...aring the table o f a l l o b j e c ts t o o l s s c r a ps o f w o o d e t c 1 9 ALW AYS STO P the saw before removing scrap pieces from the ta b l e 2 0 NEVER perform layout assembly or set up work...
Страница 4: ...80x686 mm T Slot Miter Gage Groove 3 8 x 3 4 10x19 mm Overall Dimensions Height 363 4 933 mm W i dth with Wings and Guide Bar 453 8 1152 mm W i dth with Wi n g And Biesemeyer 50 Guide Bar 84 2134 mm D...
Страница 5: ...head cap screws 2 11 7 8 O D flat washers 2 12 Lock washers 2 F i g 3 for fastening front rail to saw table 1 3 3 8 16 x 11 4 l o n g f l a t h e a d P h i l l i ps screws 2 1 4 7 8 O D flat washers 2...
Страница 6: ...up with the key C 3 I n s tall lock knob F Fig 7 into threaded end of the shaft B Hand tighten lock knob at this time ASSEMBLING EXTENSION WINGS Assemble the extension wings A Fig 8 and Fig 10 to the...
Страница 7: ...ing instructions under section REMOVING SAW BLADE 3 The inside splitter mounting bracket A Fig 13 is assembled to the inside of the saw and aligned at the f a c t o r y To check the alignment of the b...
Страница 8: ...r similar device through hole in end of rod G as shown 7 Assemble lower bracket L Fig 19 to rod G and snug up with 2 one inch long hex head screws S and lockwashers from underneath bracket L 8 Assembl...
Страница 9: ...e workpiece the blade guard and splitter assembly cannot be used Loosen screws B and V F i g 2 5 L i ft up and swing blade guard and splitter assembly to the rear of the saw CAUTION Always return the...
Страница 10: ...corners of the inside of one end of the extension table as shown and mark the position of the eight holes to be drilled into the bottom of the ta b l e IMPORTANT If your saw will be used with a mobile...
Страница 11: ...ake sure table N is in the same plane and level with saw ta b l e P D r i l l 1 4 through holes S Fig 34 through the front and rear holes remaining in t h e g u i d e r a i l 2 A fter the holes have b...
Страница 12: ...s 37 and 38 Fasten the remaining leg to the extension table in the same manner 4 P o s i t i o n t h e table onto the rear rail making sure there is clearance for the miter gage slots and blade guard...
Страница 13: ...to the saw frame cross member B using the cable tie C supplied with the saw CAUTION Before tightening the cable tie make certa i n that cord A is free of any interference from the motor or saw blade a...
Страница 14: ...d H o f l o c k i n g l e v e r f u l l y enters and engages with the pre drilled hole J in the cabinet 5 While holding motor cover against cabinet push down on lever E Fig 49 to lock motor cover B in...
Страница 15: ...ual pa r ts l i s t e t c s o t h e y m a y b e r e a d i l y available for reference Two push rivets B are supplied to a t tach the literature holder to the right side of the saw cabinet as shown in...
Страница 16: ...S The fence A Fig 59 must be adjusted so it is pa r a l l e lt o the miter gage slots B To check and adjust move fence A until the bottom edge of the fence is in line with the edge of one of the miter...
Страница 17: ...t is necessary turn the adjusting screws C as needed Four adjusting screws C are supplied CONNECTING SAW TO POWER SOURCE GROUNDING INSTRUCTIONS CAUTION THIS TO O L MUST BE GROUNDED WHILE IN USE TO PRO...
Страница 18: ...ol with an extension cord use a proper extension cord and make certain it is in good condition When using an extension cord be sure to use one heavy enough to carry the current your product will draw...
Страница 19: ...E SAW ADJUSTING 90 AND 45 DEGREE POSITIVE STO P S Positive stops are provided to quickly and accurately position the blade at 90 and 45 degrees to the ta b l e To check and adjust the positive stops p...
Страница 20: ...at the forward position as shown in Fig 70 Lock the square in this position 3 Rotate the saw blade so that the same tooth you used in STEP 2 is in the rear position as shown in Fig 71 and check this...
Страница 21: ...blade flange and arbor nut With wrench B Fig 7 5 o n t h e f l a ts of the arbor to keep it from turning tighten arbor nut by turning wrench A clockwise 6 Replace ta b l e i n s e r t NOTE Use only 10...
Страница 22: ...E TO THE TOOL CROSS CUTTING Cross cutting requires the use of the miter gage to posi tion and guide the work Place the work against the miter gage and advance both the gage and work toward the saw bla...
Страница 23: ...he saw blade as shown in Fig 8 1 The work can then be fed through the saw blade with one or two hands A fter the work is beyond the saw blade and anti kickback fingers the hand is removed from the wor...
Страница 24: ...d fasten the blade guard and splitter assembly to its proper operating position for normal thru sawing operations The moulding cutterhead A Fig 86 is assembled to the saw arbor as shown Also the acces...
Страница 25: ...es from 1 8 t o 13 16 for use in shelving making joints tenoning grooving etc The cutters are heavily swaged and must be arranged so that this heavy portion falls in the g u l l e ts o f t h e o u tsi...
Страница 26: ...W AYS INSTALL BLADE GUARD AFTER OPERATION IS COMPLETED USING AUXILIARY WOOD FACING ON RIP FENCE It is necessary when performing special operations such as moulding to add wood facing A Fig 93 to one o...
Страница 27: ...years from the date of delivery to him of the product and provides Delta Machinery with reasonable opportunity to verify the defect by inspection Delta Machinery may require that electric motors be re...