


100
Installing System Components
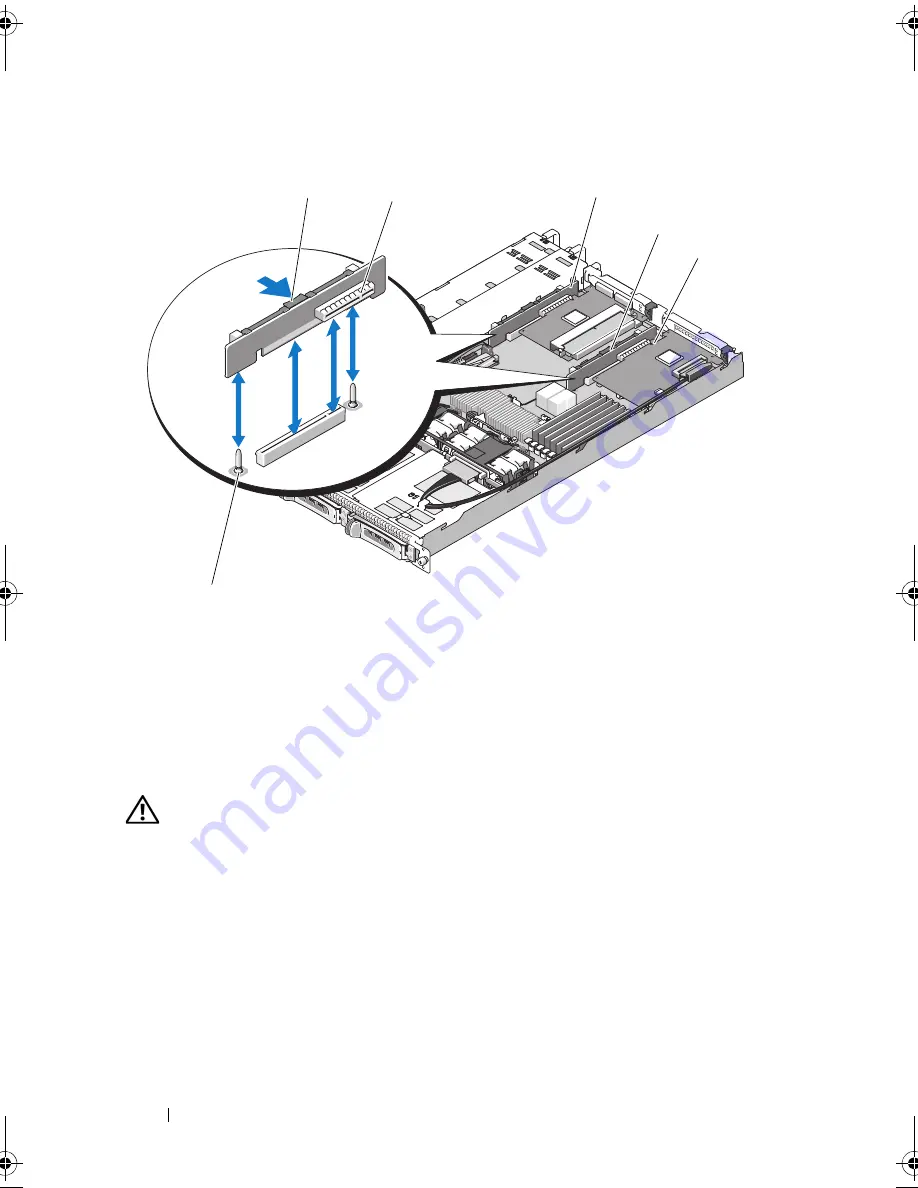
Figure 3-16.
Installing and Removing the Riser Card
Installing the Riser Card
CAUTION:
Many repairs may only be done by a certified service technician. You
should only perform troubleshooting and simple repairs as authorized in your
product documentation, or as directed by the online or telephone service and
support team. Damage due to servicing that is not authorized by Dell is not covered
by your warranty. Read and follow the safety instructions that came with the
product.
1
Align the riser board with the alignment pins on the system board, then
lower the board onto the pins.
2
Press down on the riser board until the edge connector(s) on the board is
(are) fully seated in the riser board connector on the system board. See
Figure 3-16.
1
riser card release latch
2
riser card connector
3
left riser card
4
center riser card
5
riser card connector
6
center riser card alignment
pins (2)
6
3
4
1
2
5
book.book Page 100 Sunday, June 21, 2009 5:16 PM
Содержание PowerEdge R300
Страница 1: ...w w w d e l l c o m s u p p o r t d e l l c o m Dell PowerEdge R300 Systems Hardware Owner s Manual ...
Страница 10: ...10 Contents ...
Страница 46: ...46 About Your System ...
Страница 64: ...64 Using the System Setup Program ...
Страница 166: ...166 Jumpers and Connectors ...
Страница 168: ...168 Getting Help ...
Страница 186: ...186 Index W warning messages 44 warranty 11 wet system troubleshooting 132 ...


