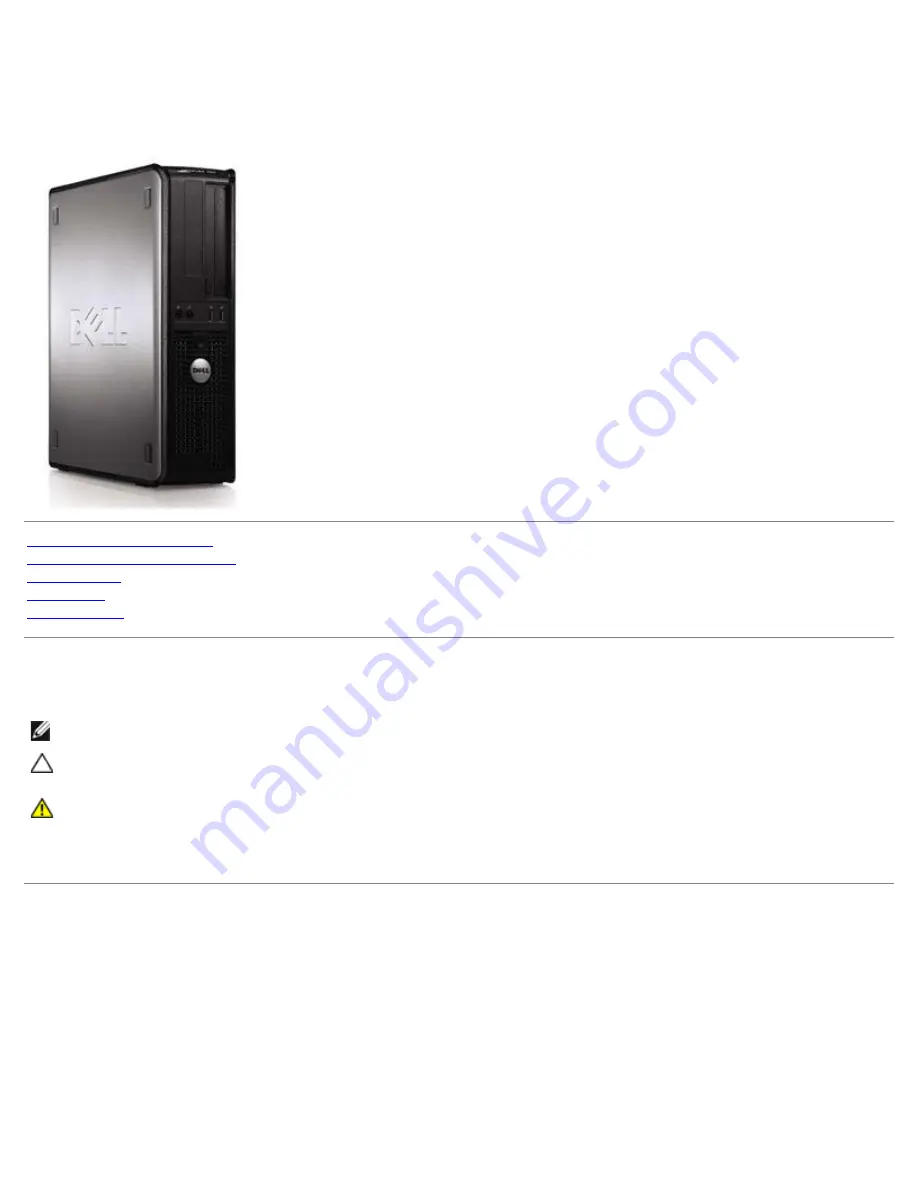
Dell™ OptiPlex™ 780 Service Manual
Desktop Computer
Working on Your Computer
Removing and Replacing Parts
Specifications
Diagnostics
System Setup
Notes, Cautions, and Warnings
NOTE:
A NOTE indicates important information that helps you make better use of your computer.
CAUTION:
A CAUTION indicates potential damage to hardware or loss of data if instructions are not
followed.
WARNING:
A WARNING indicates a potential for property damage, personal injury, or death.
If you purchased a Dell™ n Series computer, any references in this document to Microsoft® Windows® operating systems are
not applicable.
Information in this document is subject to change without notice.
© 2009 Dell Inc. All rights reserved.
Reproduction of this material in any manner whatsoever without the written permission of Dell Inc. is strictly forbidden.
Trademarks used in this text: Dell, the DELL logo, OptiPlex are trademarks of Dell Inc.; Intel, Core, and Celeron are registered trademarks of Intel
Corporation in the U.S. and other countries; Microsoft, Windows, Windows Server, MS-DOS and Windows Vista are either trademarks or registered
trademarks of Microsoft Corporation in the United States and/or other countries.
Other trademarks and trade names may be used in this document to refer to either the entities claiming the marks and names or their products.
Dell Inc. disclaims any proprietary interest in trademarks and trade names other than its own.
October 2012 Rev. A02
Содержание OptiPlex 780
Страница 2: ......
Страница 26: ...7 Lift the hard drive and remove it from the system ...
Страница 29: ...4 Pull up on the drive release latch and then slide the floppy drive towards the back of the computer ...
Страница 30: ...5 Lift the floppy drive up and away from the computer ...
Страница 37: ...7 Release the processor power connector cable from routing guides under the system board ...
Страница 38: ...8 Remove the screws that secure the power supply to the back of the chassis ...
Страница 40: ...10 Lift the power supply up and away from the computer ...
Страница 43: ...4 Lift the fan and remove it from the computer ...
Страница 44: ...Replacing the Fan To replace the fan perform the above steps in reverse order Back to Contents Page ...
Страница 46: ...6 Disconnect the fan power cable 7 Disconnect the main power cable from the system board ...
Страница 47: ...8 Disconnect the IO panel cable ...
Страница 48: ...9 Disconnect the optical drive data cable from the system board ...
Страница 49: ...10 Disconnect the hard drive data cable from the system board ...
Страница 50: ...11 Disconnect the processor power cable ...
Страница 51: ...12 Remove the screws that secure the system board to the computer chassis ...
Страница 52: ...13 Remove the heat sink assembly bracket ...
Страница 56: ...4 Lift the drive release latch and then slide the drive towards the back of the computer ...
Страница 57: ...5 Lift and remove the drive from the computer ...
Страница 61: ...6 Lift the hard drive and remove it from the computer ...
Страница 64: ...4 Gently pull the riser cage handle and lift the riser cage up and away from the computer ...
Страница 65: ...5 On the riser cage rotate the card retention latch upward ...
Страница 69: ......
Страница 71: ...3 Rotate the heat sink upwards 4 Lift the heat sink and remove it from the computer ...
Страница 73: ...6 Lift the processor cover ...
Страница 74: ...7 Remove the processor from the computer ...
Страница 79: ...4 Gently rotate the IO panel away from the computer and then remove it from the computer ...
Страница 80: ...Replacing the IO Panel To replace the IO panel perform the above steps in reverse order Back to Contents Page ...


