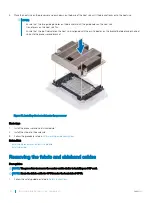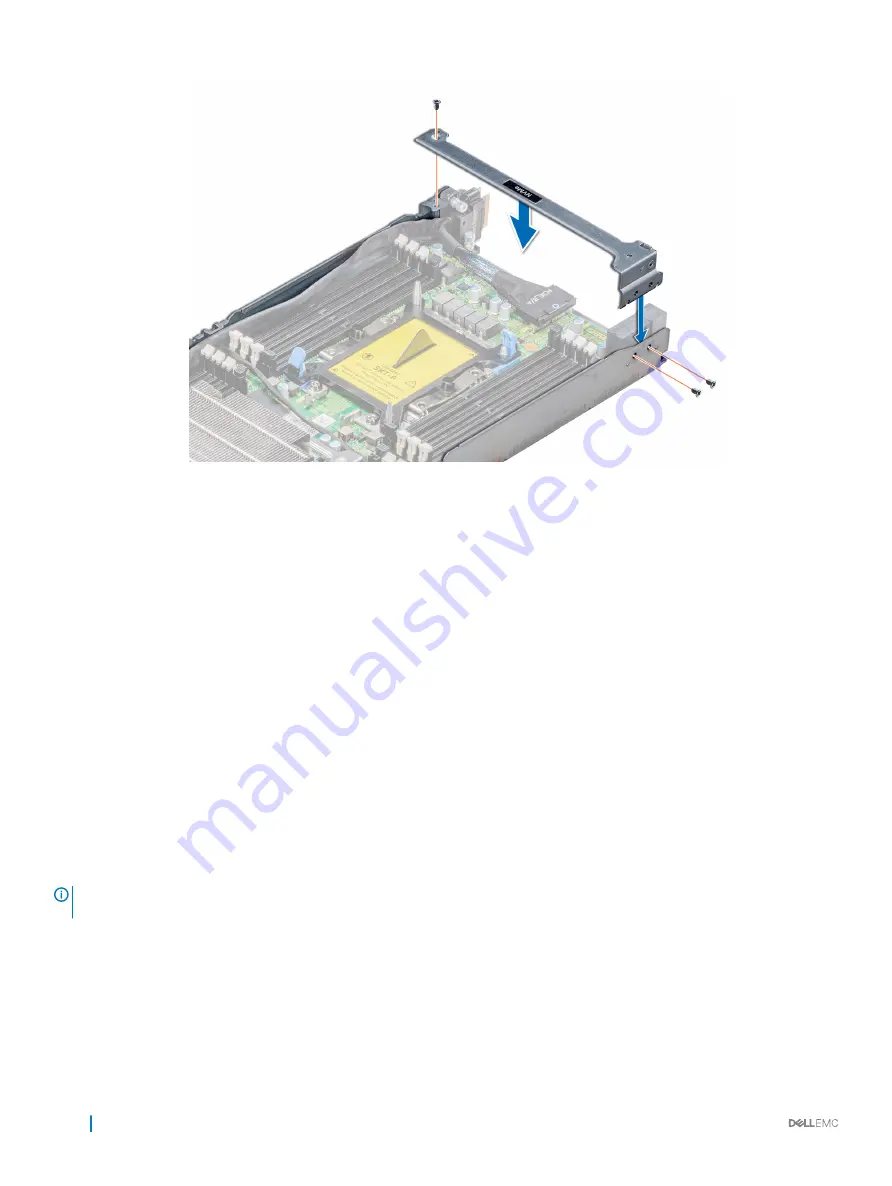
Figure 24. Installing the support bracket
Next steps
1
Install the sled into the enclosure.
2
Follow the procedure listed in
After working inside your system
.
Related link
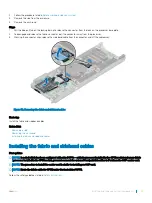
Linking board and SATA cable
Each C6420 sled has one linking SATA signal cable connected to the onboard controller.
The SATA cable is used to connect the onboard controller to the hard drive backplane through the midplane. Each sled is allocated up to six
2.5 inch hard drives or three 3.5 inch hard drives.
Removing the linking board and SATA cable
Prerequisites
NOTE:
Observe the routing of the cable as you remove it from the sled. Route the cable properly when you replace it to prevent
the cable from being pinched or crimped.
1
Follow the safety guidelines listed in
2
Follow the procedure listed in
Before working inside your system
.
3
Remove the sled from the enclosure.
4
Remove the air shroud.
5
Remove the support bracket.
76
Installing and removing system components
Содержание EMC PowerEdge C6420
Страница 1: ...Dell EMC PowerEdge C6420 Regulatory Model E43S Series Regulatory Type E43S001 ...
Страница 8: ...Figure 1 Supported configurations for PowerEdge C6420 8 PowerEdge C6420 overview ...
Страница 64: ...Figure 12 Removing a sled 64 Installing and removing system components ...
Страница 66: ...Figure 14 Installing a sled 66 Installing and removing system components ...
Страница 99: ...Figure 45 Removing the expansion card filler bracket Installing and removing system components 99 ...


