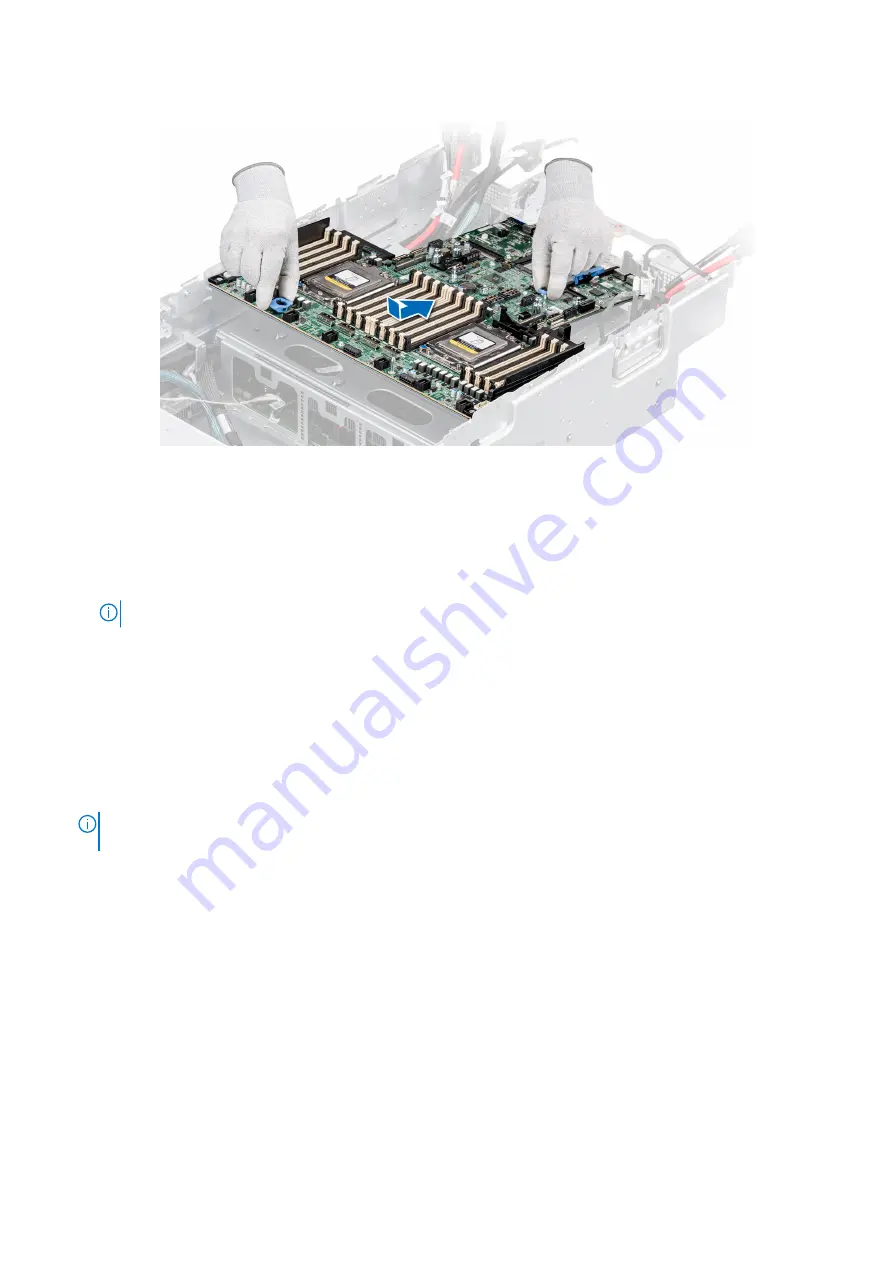
3. Slide the system board towards the rear of the chassis until the connectors are firmly seated in the slots.
Figure 107. Installing the system board
4. Using the Phillips #2 screwdriver, secure the system board to the chassis with screws.
Next steps
1. Replace the following components:
a.
NOTE:
The TPM Module must be replaced only while installing new system board.
b.
Versabay assembly (Power Interposer Board)
.
c.
.
d.
.
e.
f.
g.
.
h.
.
i.
j.
2. Reconnect all cables to the system board.
NOTE:
Ensure that the cables inside the system are routed along the chassis wall and secured using the cable securing
bracket.
3. Ensure that you perform the following steps:
a. Use the Easy Restore feature to restore the Service Tag. See the
Restoring the system by using the Easy Restore
b. If the service tag is not backed up in the backup flash device, enter the system service tag manually. See the
update the Service Tag by using System Setup
c. Update the BIOS and iDRAC versions.
Reenable the Trusted Platform Module (TPM). See the
Upgrading the Trusted Platform Module
4. If you are not using Easy restore, import your new or existing iDRAC Enterprise license. For more information, see the
iDRAC
User's Guide
available at
https://www.dell.com/idracmanuals
.
5. Follow the procedure listed in
After working inside your system
on page 24.
Restoring Service Tag using Easy Restore
The Easy Restore feature allows you to restore your Service Tag, iDRAC license, UEFI configuration, and the system
configuration data after replacing the system board. All data is backed up in a backup Flash drive device automatically. If
Installing and removing system components
101


