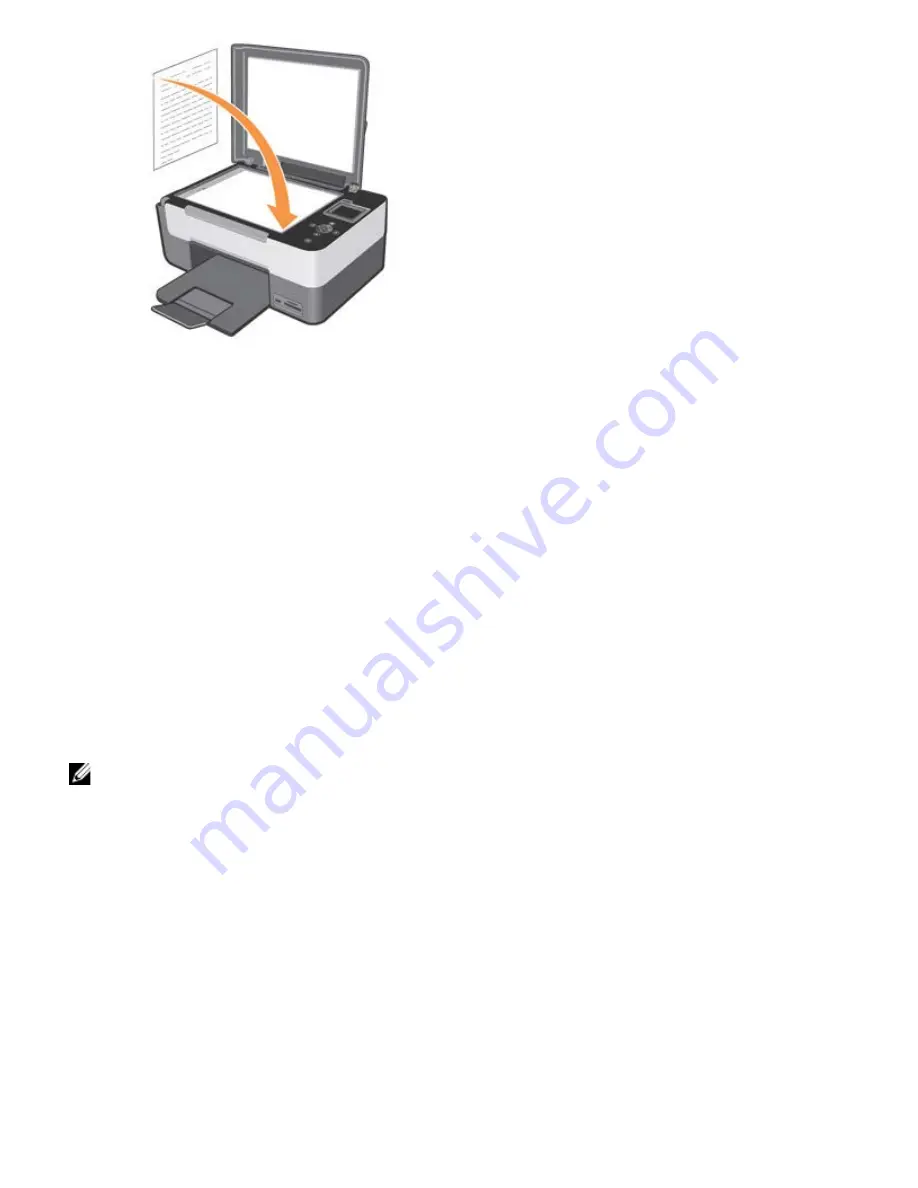
4. Close the top cover.
5. Open the
AIO Center
by clicking
Startg Programs
or
All Programsg Dell Printersg All-In-One Centerg All-In-One
Center.
The
AIO Center
opens.
6. Select
Scan to
.
7. Click the
Scan to file
icon.
8. Click the
Proceed
button. The
Scan
dialogue is displayed.
9. Select the type of document to scan, the scan quality, and any other settings required.
10. After you finish customising your image scanning parameters, click
Scan
. When document processing completes, the
Explorer folder containing the saved image is opened.
11. Place the next sheet on the scanner glass, and click
Proceed
.
12. Repeat the same operations for all the pages you want to scan.
Converting Scanned Images Using Optical Character Recognition
(OCR) Software
Optical Character Recognition (OCR) software converts a scanned image into editable text within a word-processing
program.
NOTE:
For Japanese and Chinese users, ensure that you have installed the OCR software on your computer. A copy of
OCR software is provided with the printer and should have been installed at the same time as your printer drivers.
1. Open the top cover.
2. Place the document you want to scan face down on the scanner glass. Ensure that the upper left corner of the front of the
document is aligned with the arrow on the printer.


