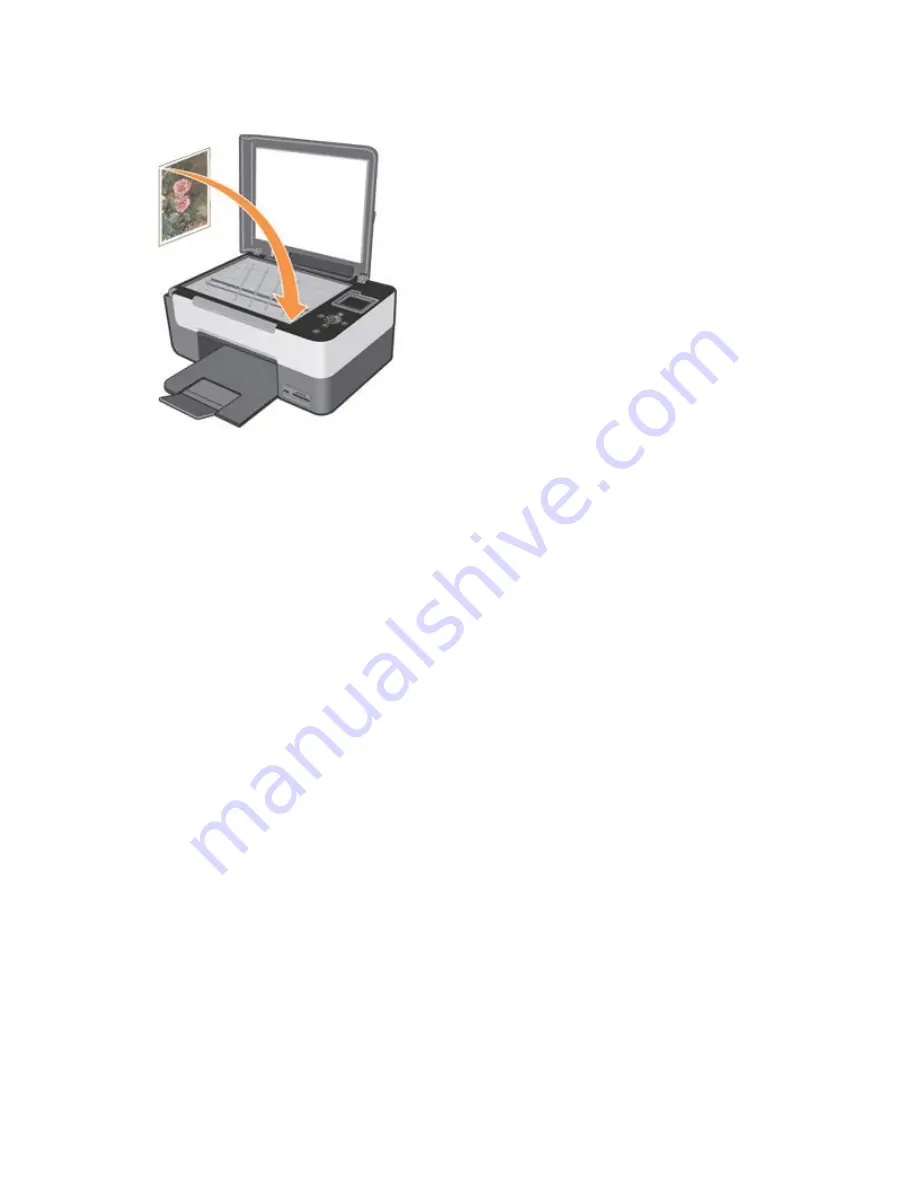
2. Open the top cover.
3. Place the photo you want to scan face down on the scanner glass. Ensure that the upper left corner of the front of the
photo is aligned with the arrow on the printer.
4. Close the top cover.
5. Open the
AIO Center
by clicking
Startg Programs
or
All Programsg Dell Printersg All-In-One Centerg All-In-One
Center.
The
AIO Center
opens.
6. Select
Scan to
.
7. Click the
Scan to application
icon.
8. From the programs listed, select the one you want to use.
9. Click the
Proceed
button. The
Scan
dialogue is displayed.
10. Select the type of document to be scanned, the scan quality, and any other settings required.
11. After you finish customising the image scanning parameters, click
Scan
.
12. When the document scanning completes, you are prompted if you want to scan another image. When you have finished
scanning, select
No
to exit. At this point the application you selected is opened containing the scanned image.
Scanning Multiple Pages or Images
1. Switch on your computer and printer, and ensure that they are connected.
2. Open the top cover.
3. Place the first sheet of the document you want to scan face down on the scanner glass. Ensure that the upper left corner
of the front of the sheet is aligned with the arrow on the printer.


