ENGLISH
5
Voyager 300
Remote Unit
9V DC
RJ45
KEYBOARD
Gain
EQ
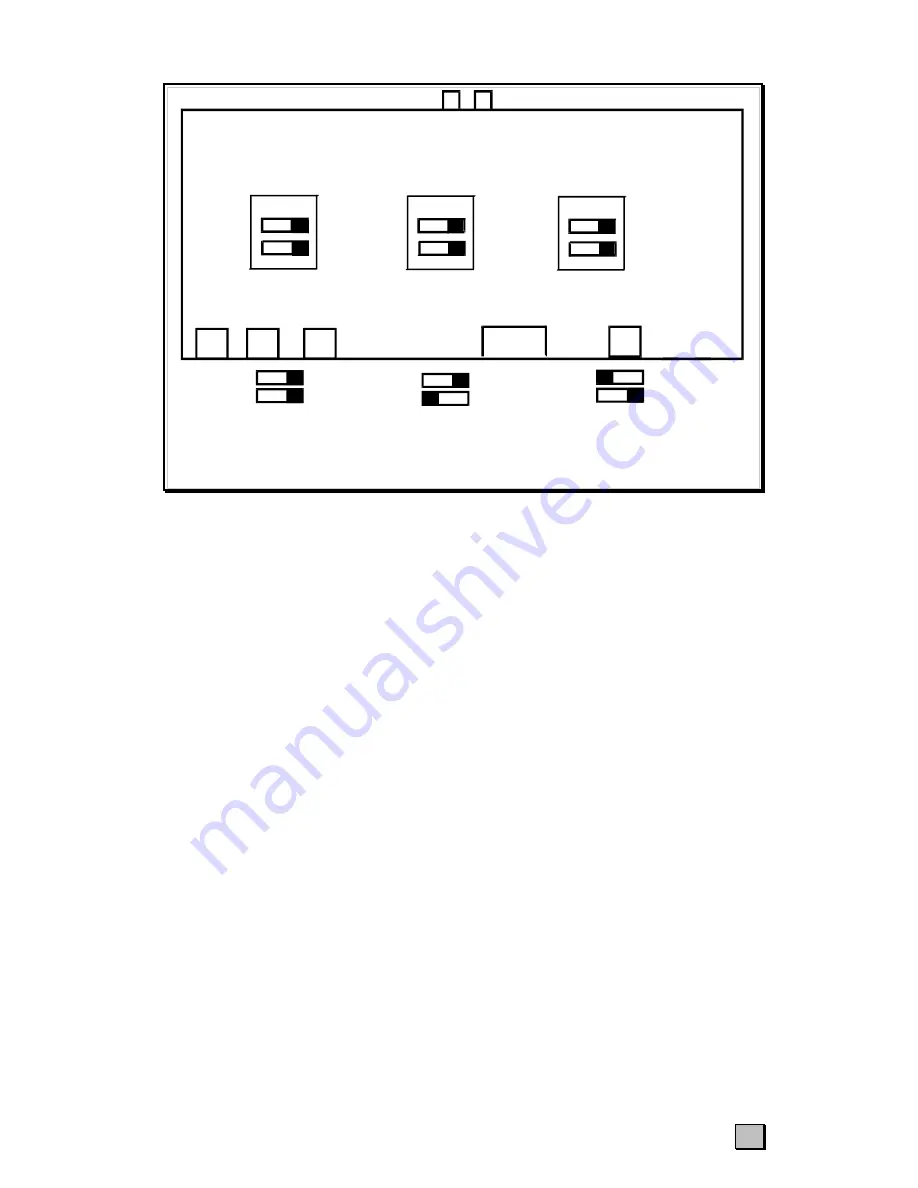
Position A
Cable Length
100 – 200m/300 – 650ft
Position B
Cable Length
200 – 300m/650 – 1000ft
Default
Cable Length
0 – 100m/0 – 300ft
All three dip switch sets must be set to the same position.
< /
VGA Output
MOUSE
< /
1
2
1
2
1
2
1
2
1
2
1
2
ON
ON
ON
Figure 4 Remote Unit - Cable length dipswitches on the Voyager 300 (not found on other models)
If you are conducting a test in one room prior to final installation, set the dipswitch sets
as appropriate for the test cable length. Please ensure that all dip switches are set to the
same position.
Step 2: Connecting Up
Figure 1 & 3, illustrates how the units are interconnected.
1. Switch off your PC and connect up the Voyager, keyboard, monitor and mouse as
shown in the appropriate diagram.
2. Set the ‘Gain’ control (Voyager 125H/300 only) on the Remote Unit about midway,
and set the ‘EQ’ control fully counter-clockwise (no video compensation)
3.
Power up the Remote Unit by connecting the mains adapter and switching it on.
Only use the mains adapter supplied.
4. Power on your PC and check that the keyboard operates correctly.
Note: The video image quality may be poor at this point.
5. Boot an operating system (such as Windows) or application you intend to use.
Check that the mouse functions (if required).
Step 3: Adjusting the Video Compensation for cable length (Voyager 300 only)
1. Load an application you intend to use that requires a high screen resolution (such as
a Windows word processor).
2. If the video is
under-compensated
you will notice black smearing on the right-hand
edge of large horizontal objects such as title bars. The degradation becomes more
noticeable as cable length increases.
3. Look at a point on the monitor where the smearing is evident. Now, rotate the ‘EQ’
control clockwise until the smearing disappears and the edge becomes very bright
and too sharp. At this point and beyond the video is
over-compensated
.
4. Rotate the ‘EQ’ control back slightly until you reach a point where the edge looks at
it should be (no smearing or over sharpness). The compensation is now adjusted


