


USAGE
With TRAX
Connect
the AIRLINK RECEIVER
to the ADB port of the
MacOS computer run-
ning TRAX, using the
AIRLINK MAC ADAP-
TOR. If no ADB ports
are free, use an ADB
expansion box or Y
cord for connection.
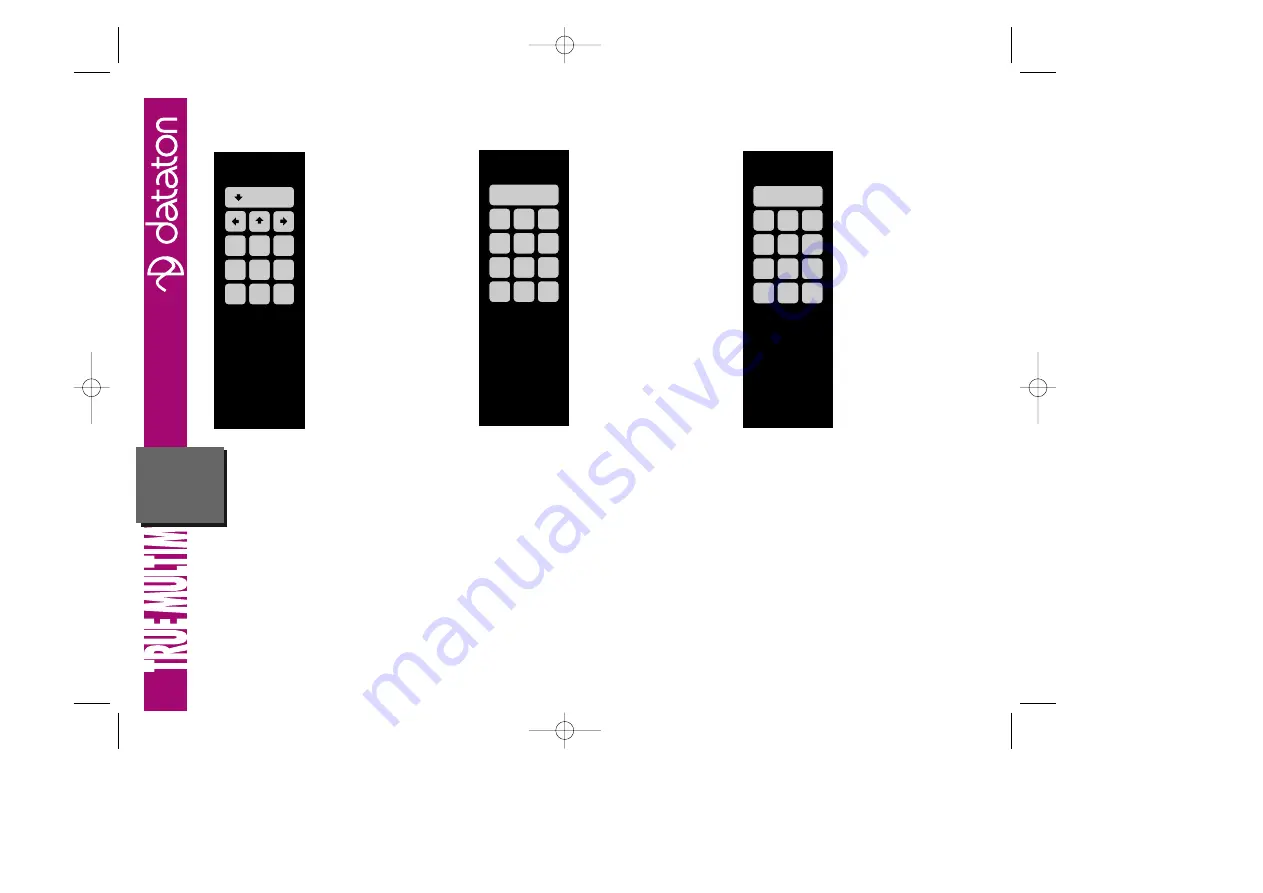
The top four keys on
the transmitter mimic
the arrow keys on the
Macintosh keyboard
as used in TRAX. The
big key acts as the
down arrow key, run-
ning the show to the
next cue on the current track. Use the
right arrow key to skip ahead to the
next cue on the current track. The left
or up arrow will rewind the show to
the previous cue on the current track.
The remaining nine keys mimic function
keys F5 to F13 on the Apple Extended
Keyboard. In TRAX, these are used to
jump directly to any position in the show
using System cues F5 to F13. See the
TRAX handbook for more details on cre-
ating and using System cues.
With MICTOUCH
Plug the AIRLINK
RECEIVER into the
DATA IN
connector
on the MICTOUCH.
AIRLINK TRANSMIT-
TER acts as a slave
MICTOUCH, adding
more keys to the mas-
ter unit. These are
numbered from 101 if
connected directly to
the master, from 201 if
connected to the first
slave, and so on.
Note: MICTOUCH has
been discontinued.
With PAX or
SMARTPAX
Connect
the slide projectors and
AIRLINK RECEIVER to
PAX or SMARTPAX. The
receiver plugs into the
IN
port and the projec-
tors to the four ports on
the back of the control
units via projector
adaptors or smartlink
cables. The big key
acts as a NEXT key,
advancing to the next
slide. If you are using
more than one projec-
tor, this will be done
by a one second dissolve; otherwise the
tray will simply advance.
The numeric keys are for random access
of slides. Enter the slide number you
want, then press the NEXT key to get
there. The bottom left key, CLEAR, lets
you cancel an entry. Use the bottom
right key to reverse one slide.
In the AIRLINK system, slide number 1 is
in the first projector’s first slot, slide 2
will be in the first slot of the second pro-
jector (if any), and so on. Remember to
load your slide trays accordingly.
F5
F6
F7
F8
F9
F10
F11
F12
F13
1
NEXT
2
3
4
5
6
7
8
9
CLEAR
0
—
102
101
103 104
105 106 107
108 109 110
111 112 113
AIRLINK
TRANS-
MITTER
Product sheets 970520 97-05-23 17.01 Page 11


