M-Class
117
Configuration Using a Static IP Address
Once the Ethernet Print Sever has been installed, p
lug in the power cord, but do not connect the Ethernet cable, then turn
the printer’s power switch ‘On’.
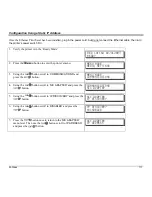
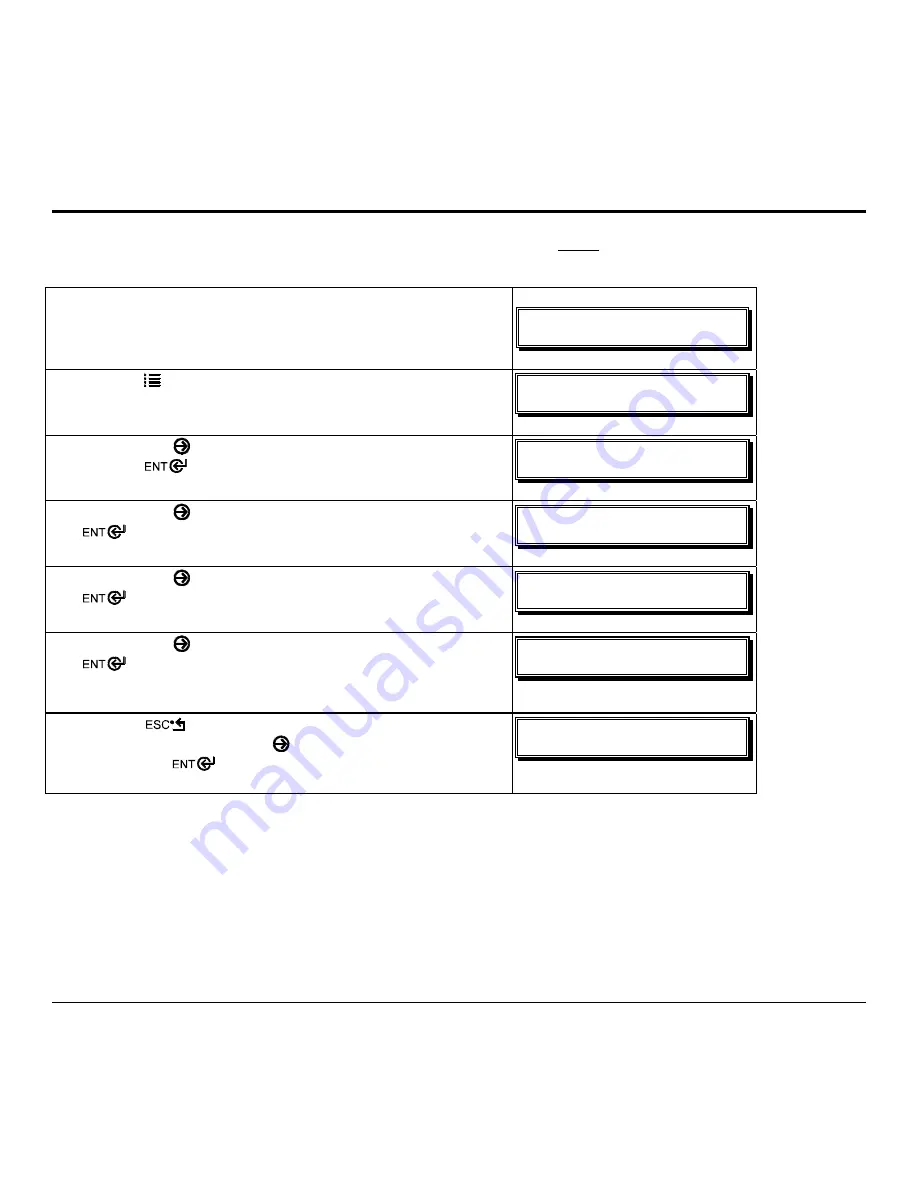
1. Verify the printer is in the ‘Ready Mode’
!
XFE!21;27B!13KVM3114!
SFBEZ!
2. Press
the
MENU
button to enter the printer’s menu.
NFOV!NPEF!
NFEJB!TFUUJOHT!
3. Using
the
FWD
button scroll to
‘COMMUNICATIONS’
and
press the
button.
NFOV!NPEF!
DPNNVOJDBUJPOT!
4. Using
the
FWD
button scroll to
‘NIC ADAPTER’
and press the
button.
DPNNVOJDBUJPOT!
OJD!BEBQUFS!
5. Using
the
FWD
button scroll to
‘IP DISCOVERY’
and press the
button.
OJD!BEBQUFS!
JQ!EJTDPWFSZ!
6. Using
the
FWD
button scroll to
‘DISABLED’
and press the
button.
JQ!EJTDPWFSZ!
+EJTBCMFE!
7. Press
the
button once to return to the
‘NIC ADAPTER’
menu level. Then use the
FWD
button scroll to
‘IP ADDRESS’
and press the
button.
OJD!BEBQUFS!
JQ!BEESFTT!
Содержание M-Class
Страница 1: ...M Class Operator s Manual ...
Страница 24: ...16 M Class ...
Страница 46: ...38 M Class ...
Страница 86: ...78 M Class ...
Страница 96: ...88 M Class ...
Страница 108: ...100 M Class ...
Страница 122: ...114 M Class ...
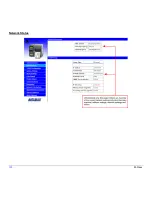
Страница 128: ...120 M Class Network Status ...
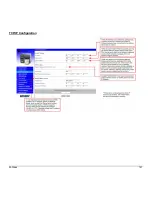
Страница 129: ...M Class 121 TCP IP Configuration ...
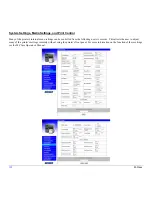
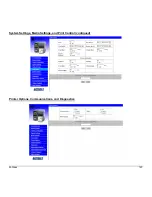
Страница 131: ...M Class 123 System Settings Media Settings and Print Control continued Printer Options Communications and Diagnostics ...
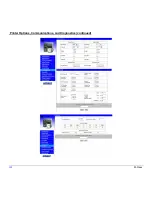
Страница 132: ...124 M Class Printer Options Communications and Diagnostics continued ...
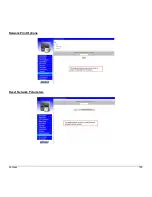
Страница 133: ...M Class 125 Network Print Options Reset Network Parameters ...
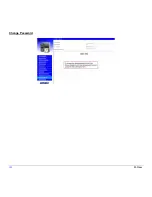
Страница 134: ...126 M Class Change Password ...
Страница 154: ...146 M Class ...
Страница 160: ...152 M Class ...
Страница 166: ...158 M Class ...

