Maintenance
12
5 Maintenance
Grille Maintenance and Cleaning
To allow maximum acoustic transparency, the front of the cabinet contains a PVC mesh
grille. Do not apply anything to the surface that may obstruct the holes in the material. To
maintain the brightness of the colors and prolong the life of the grille, periodic cleaning is
necessary. Failure to clean periodically may result in permanent discoloration or staining.
When cleaning, use a mild soapy solution (Dove
®
, Ivory
®
, etc.) and a very soft brush,
moving in a circular motion. Rinse with clean water using normal faucet pressure.
Do not use a power washer�
Grille Mesh Replacement
Reference Drawings:
Mesh Layout; SS500HD .......................................................................................
DWG-983398
If the grille mesh fades or tears over time,
or if new graphics/logos are desired, it may
be replaced. Only qualified sign companies
should be used to replace the grille mesh.
Refer to
DWG-983398
for mesh layout.
Contact Daktronics for mesh reordering.
1�
Remove Mesh Frame
The front of the sound cabinet has a
removable aluminum frame that secures
the grille mesh. This frame is attached to
the sound cabinet with a total of eight (8)
3/8” hardware sets, with four (4) sets at
both the top and bottom of the frame.
a�
Carefully remove all mounting
hardware and safely lower mesh frame to the
ground. Set the frame on a level surface large
enough so that the weight is supported by the
aluminum frame and not on the mesh.
b�
Loosen the cover screws using a square driver
and remove the cover.
2�
Remove Tension Clips
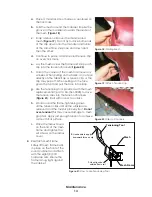
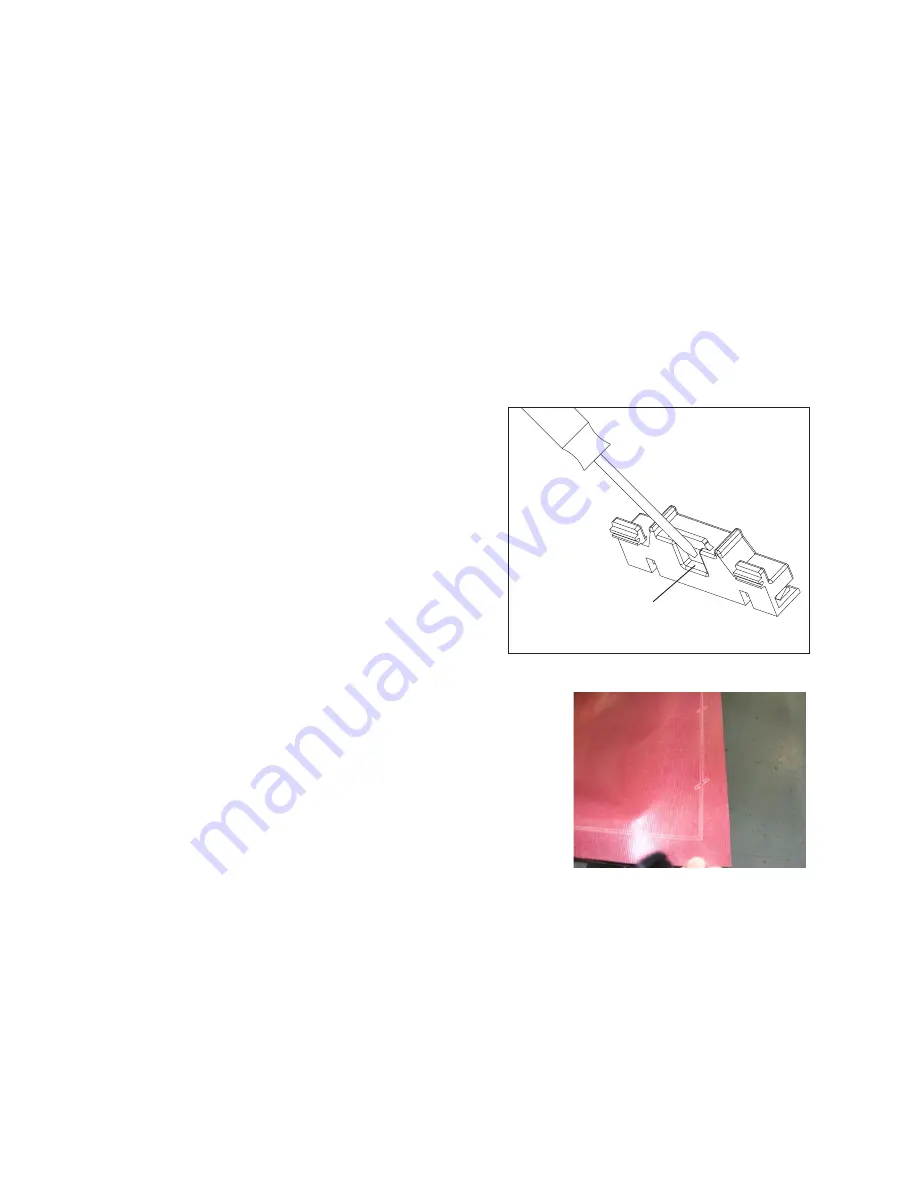
Insert the tip of a standard flathead screwdriver
into the recess located at the backside of
the tension clip (
screwdriver to separate the tension clip teeth away from the frame. This will allow the
tension clip to be removed from the frame by prying or pulling it up and out.
Slide the mandrel out of the tension clip to release the mesh.
3�
Attach New Mesh
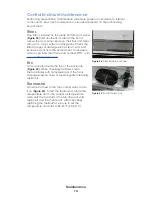
When ordered through Daktronics, the mesh has a line with a series of tick marks
). These tick marks indicate the location of the tension
clips and mandrels.
Push screwdriver
into recess on back of
Tension Clip and rotate/tilt
Figure 16:
Removing Tension Clips
Figure 17:
Tick Marks on Mesh
Содержание SPORTSOUND 500HD
Страница 32: ...This page intentionally left blank ...
Страница 37: ......
Страница 42: ...This page intentionally left blank ...
Страница 50: ...This page intentionally left blank ...
Страница 52: ...This page intentionally left blank ...
Страница 54: ...This page intentionally left blank ...
Страница 58: ...This page intentionally left blank ...


