


134
Figure 4-56
Quick Setup
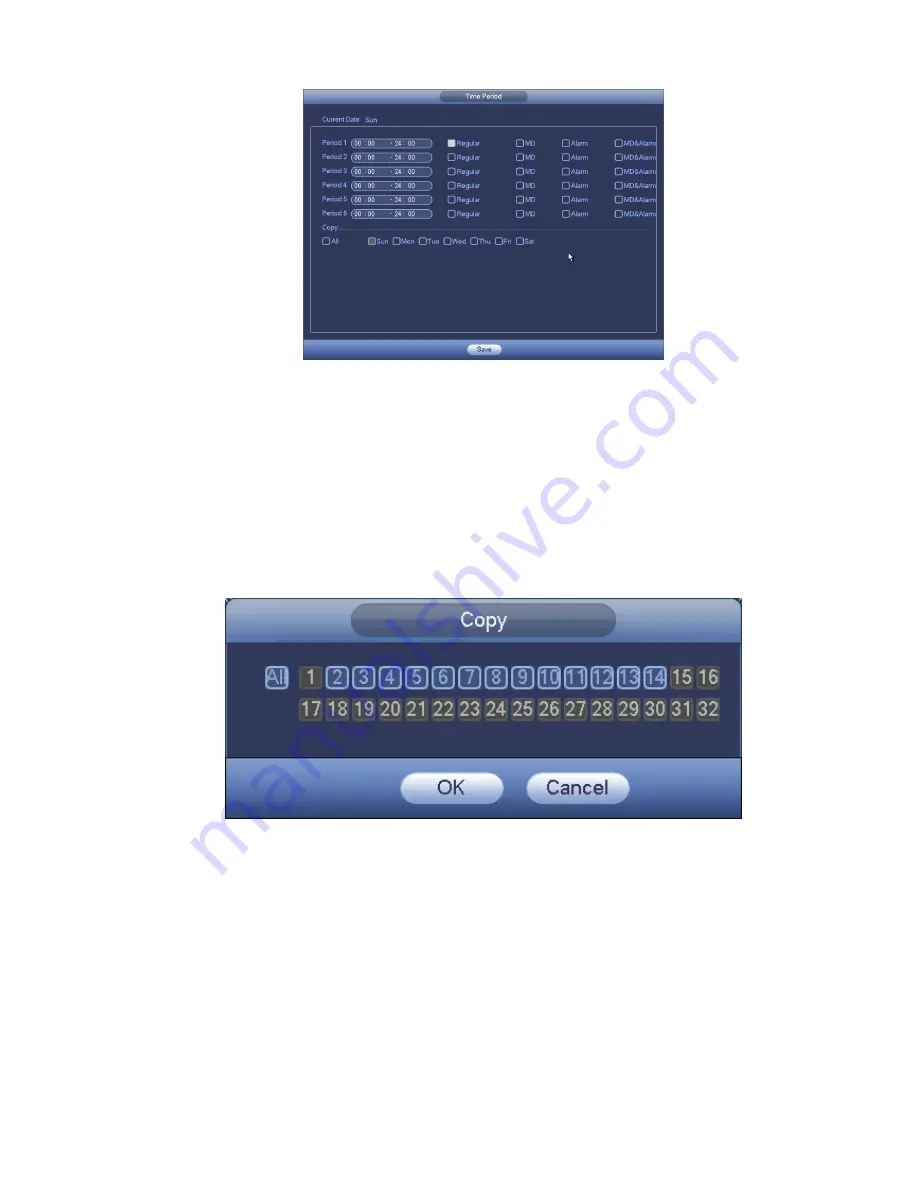
Copy function allows you to copy one channel setup to another. After setting in channel 1, click Copy
button, you can go to interface Figure 4-57. You can see current channel name is grey such as channel 1.
Now you can select the channel you wan to paste such as channel 5/6/7. If you wan to save current setup
of channel 1 to all channels, you can click the first box “ALL”. Click the OK button to save current copy
setup. Click the OK button in the Encode interface, the copy function succeeded.
Please note, if you select ALL in Figure 4-57, the record setup of all channels are the same and the Copy
button becomes hidden.
Figure 4-57
Click OK button to save current setup.
4.8.2.2 Schedule Snapshot
From Main menu->Setting->Storage->Record or on the preview interface, right click mouse and then
select record item, you can see Figure 4-58.
Select snapshot channel and enable snapshot function. Click Save button.
Содержание NVR4108-P
Страница 1: ...Network Video Recorder User s Manual V 1 6 0...
Страница 39: ...27 Weight 1 5kg 2 5kg Exclude HDD Installation Desk installation...
Страница 104: ...92 Figure 3 10 3 5 11 NVR78 Series Please refer to Figure 3 11 for connection sample...
Страница 105: ...93 Figure 3 11 3 5 12 NVR78 16P Series Please refer to Figure 3 12 for connection sample...
Страница 106: ...94 Figure 3 12 3 5 13 NVR78 RH Series Please refer to Figure 3 13 for connection sample...
Страница 107: ...95 Figure 3 13 3 5 14 NVR70 Series Please refer to Figure 3 14 for connection sample...
Страница 108: ...96 Figure 3 14 3 5 15 NVR70 R Series Please refer to Figure 3 15 for connection sample...
Страница 109: ...97 Figure 3 15 3 5 16 NVR42V 8P Series Please refer to Figure 3 16 for connection sample...
Страница 110: ...98 Figure 3 16...
Страница 169: ...157 Figure 4 81 Figure 4 82...
Страница 170: ...158 Figure 4 83 Figure 4 84...
Страница 176: ...164 Figure 4 89 Figure 4 90...
Страница 177: ...165 Figure 4 91 Figure 4 92...
Страница 178: ...166 Figure 4 93 Figure 4 94...
Страница 180: ...168 Figure 4 96 Figure 4 97...
Страница 205: ...193 Figure 4 124 In Figure 4 124 click one HDD item the S M A R T interface is shown as in Figure 4 125 Figure 4 125...
Страница 220: ...208 Figure 4 144 Figure 4 145 4 15 3 1 Add Modify Group...
Страница 261: ...249 Figure 5 53 Figure 5 54...
Страница 262: ...250 Figure 5 55 Figure 5 56 Figure 5 57...
Страница 266: ...254 Figure 5 61 Figure 5 62...


