74
After completing all the setups please click save button, system goes back to the previous menu.
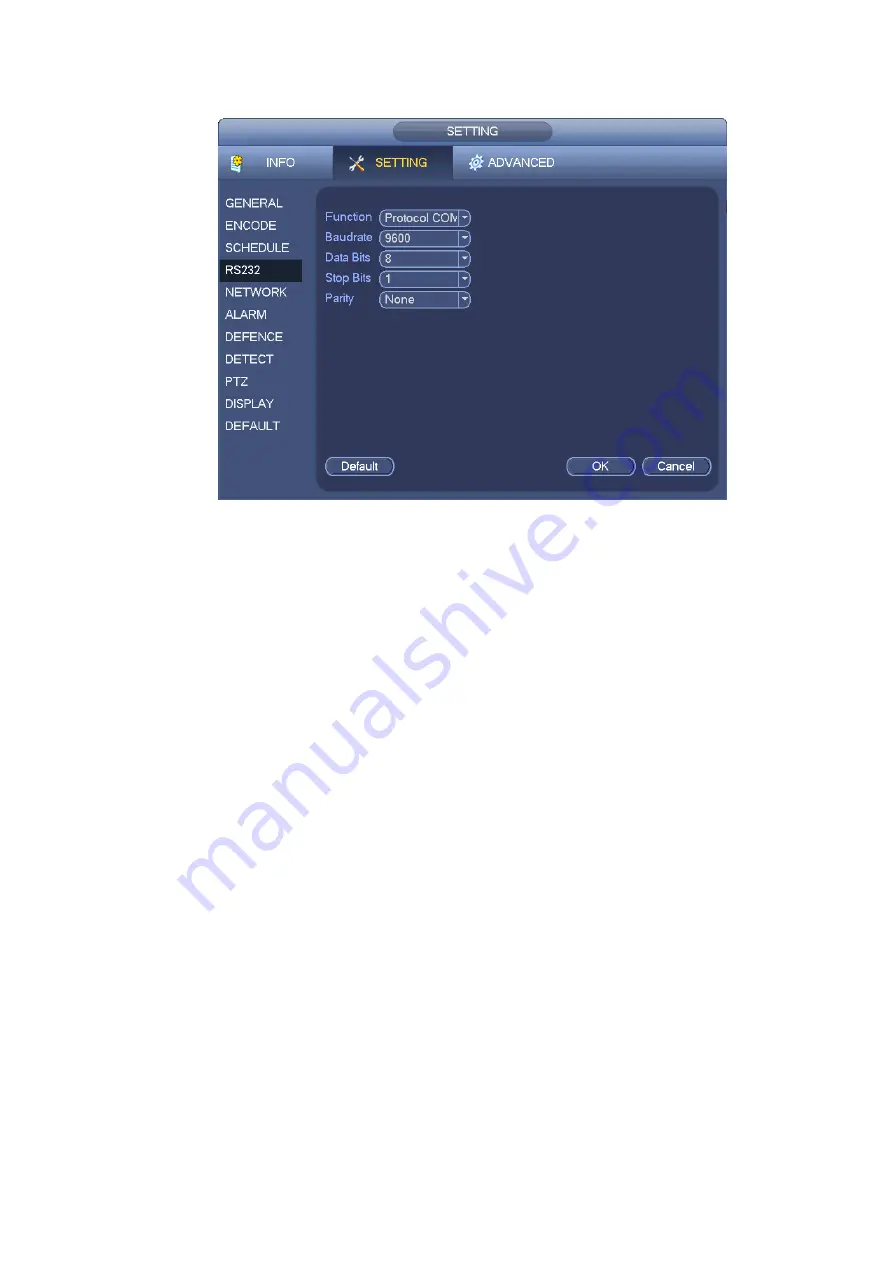
Figure 5-21
5.4.5 Network
Here is for you to input network information.
The network interface is shown as in Figure 5-22.
IP Version: There are two options: IPv4 and IPv6. Right now, system supports these two IP address
format and you can access via them.
MAC address: The host in the LAN can get a unique MAC address. It is for you to access in the LAN. It
is read-only.
IP address: Here you can use up/down button (
) or input the corresponding number to input IP
address. Then you can set the corresponding subnet mask the default gateway.
Subnet prefix: The input value ranges from 0 to 128. It is to mark a specified network MAC address.
Usually it includes an organization of multiple-level.
Default gateway: Here you can input the default gateway.
Please note system needs to check the
validity of all IPv6 addresses. The IP address and the default gateway shall be in the same IP
section. That is to say, the specified length of the subnet prefix shall have the same string.
DHCP: It is to auto search IP. When enable DHCP function, you can not modify IP/Subnet mask
/Gateway. These values are from DHCP function. If you have not enabled DHCP function,
IP/Subnet mask/Gateway display as zero. You need to disable DHCP function to view current IP
information. Besides, when PPPoE is operating, you can not modify IP/Subnet mask /Gateway.
TCP port: Default value is 37777. You can change if necessary.
UDP port: Default value is 37778. You can change if necessary.
HTTP port: Default value is 80.
HTTPS port: Default value is 443.
RTSP port: Default value is 554.
Important: System needs to reboot after you changed and saved any setup of the above four
ports. Please make sure the port values here do not conflict.
Содержание DVR0X04AH-VD-E
Страница 1: ...ATM DVR Series User s Manual Version 1 1 0 ...
Страница 24: ...15 Drag mouse Select motion detection zone Select privacy mask zone ...
Страница 60: ...51 Figure 4 44 Figure 4 45 Figure 4 46 ...
Страница 61: ...52 Figure 4 47 Figure 4 48 Figure 4 49 ...
Страница 79: ...70 Figure 5 13 Figure 5 14 Figure 5 15 ...
Страница 101: ...92 Figure 5 44 Figure 5 45 ...
Страница 103: ...94 Figure 5 47 Figure 5 48 ...
Страница 123: ...114 Switch user you can use another account to log in Figure 5 78 ...
Страница 149: ...140 Figure 6 39 Figure 6 40 Figure 6 41 Please refer to the following sheet for detailed information ...
Страница 156: ...147 Figure 6 51 Figure 6 52 Figure 6 53 Figure 6 54 ...
Страница 175: ...166 Figure 6 85 Figure 6 86 ...
Страница 176: ...167 Figure 6 87 Figure 6 88 Figure 6 89 Please refer to the following sheet for log parameter information ...
Страница 200: ...191 Maxtor DiamondMax 20 STM3250820AS 250G SATA ...


