


5
●
If you want to change your password again, go to
Setting
>
System
>
Account
>
Account
.
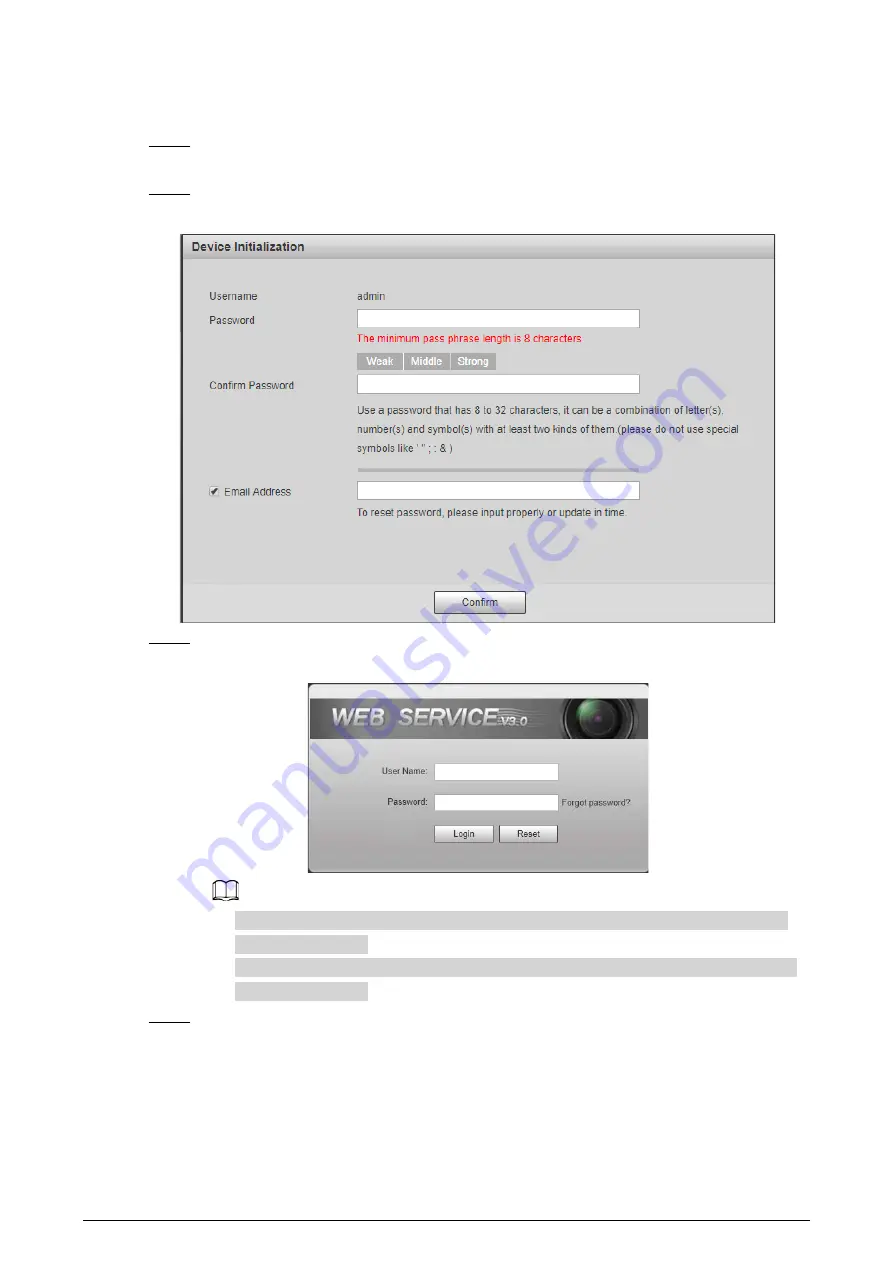
Step 5
Select the
Email Address
checkbox, and then enter your email address (recommended to
set for resetting your password).
Step 6
Click
Confirm
.
Figure 2-2 Device Initialization
Step 7
Enter the username, and password, and then click
Login
.
Figure 2-3 Login
●
The Camera prompts when the username or password is incorrect to reminds you of
remaining attempts.
●
The account will be locked for 300 s if you enter incorrect username or password for 5
times consecutively.
Step 8
Click
Please click here to download
, and install the plug-in in the video window.
The system automatically downloads webplugin.exe, and installs it according to prompt.


