


Description of Basic Operation
Power on/Standby
Insert the power plug into the outlet. If the Digital Signage has the switch button “I”, turn it on; if
you press the switch button “O”, the Digital Signage enters standby state.
In power on state, enter “System Assistant” and press the “
” button on the remote control, and
the Digital Signage enters standby state.
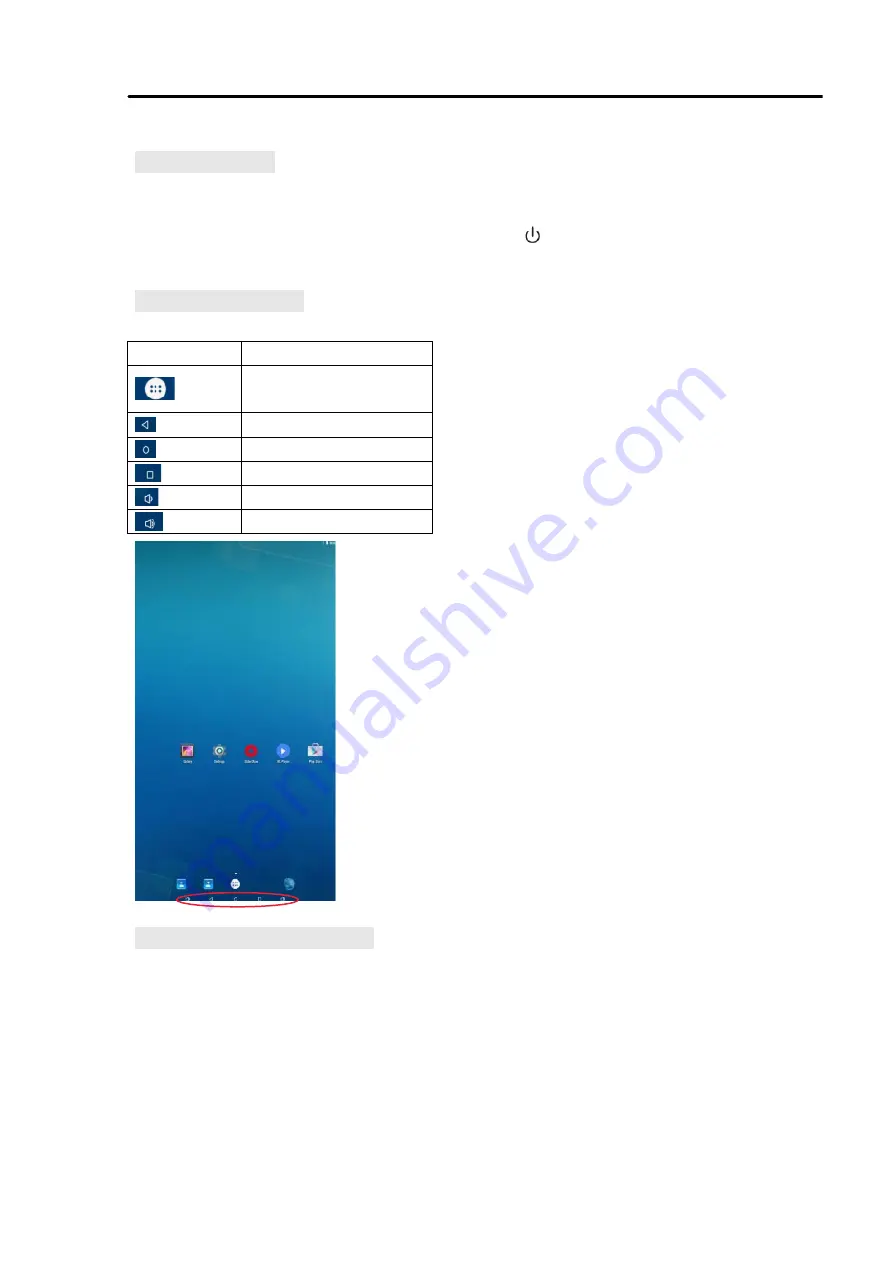
About
Home Screen
Description of
Icons
Icon
Function
Main applications
Back
Home page
Background applications
Sound -
Sound +
Description of Wallpaper Switch
As shown on the right, tap and hold in the blank space to enter wallpaper switch interface,
and select the wallpaper from different sources.
8


