xStack Storage User’s Guide
35
3.12
Booting the xStack Storage Array
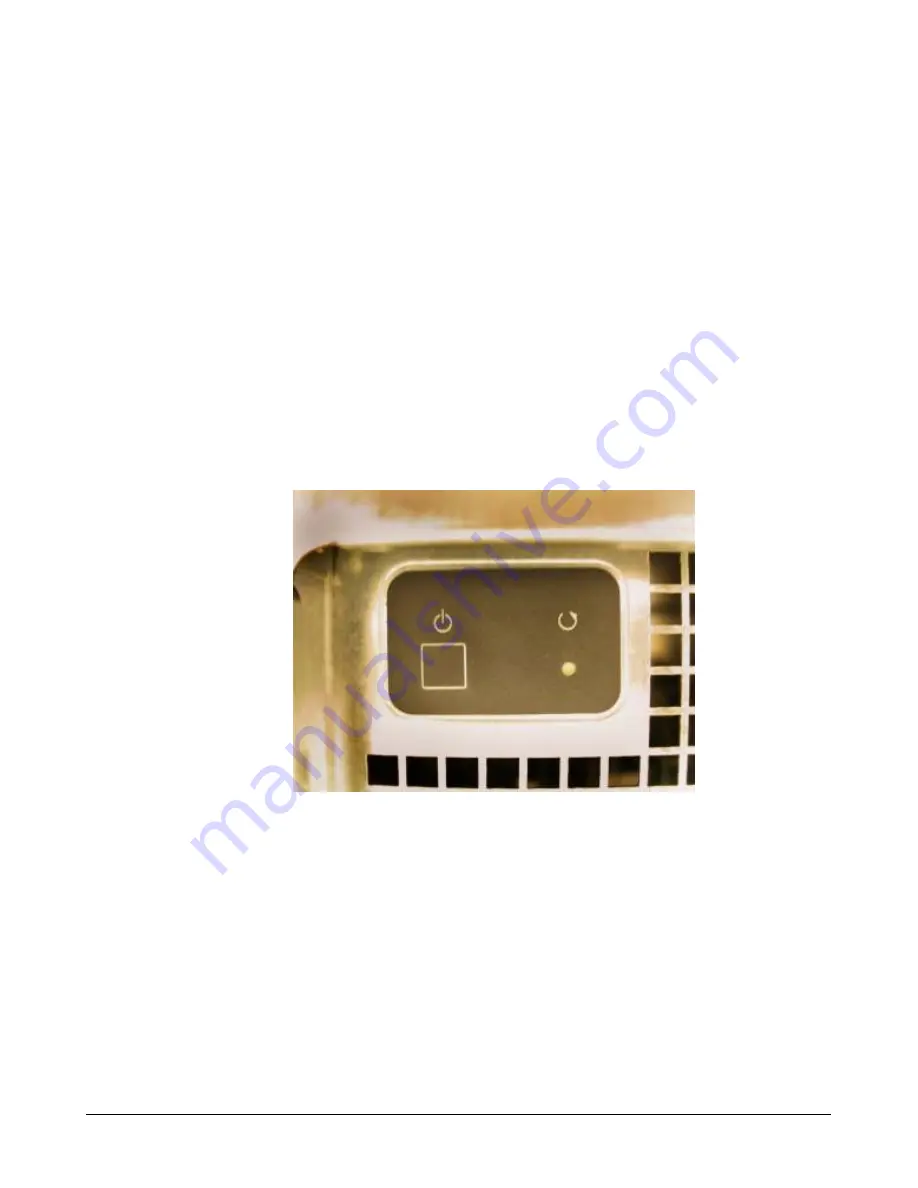
To power on the xStack Storage Array, press the power switch on the rear panel as seen in Figure
3-3. When the xStack Storage unit powers on, the following actions occur:
The front panel Power LED goes ON.
The xStack Storage unit runs its startup process, which takes from 4 to 5 minutes to complete.
The front panel Link Status LEDs for the SATA drive LEDs may flash.
When the Boot and Fault Ready LED turns green the xStack Storage unit is ready for use.
When power is applied to the xStack Storage Array for the first time with a Web browser attached
to the unit’s management port, the “Out-of-Box Experience” (OOBE) setup wizard is launched,
allowing you to specify initial settings. Thereafter, each subsequent time you start the xStack
Storage Array, the unit uses the initial settings along with its factory-default configuration
settings. If necessary, you can use the xStack Storage Web Manager Interface to change the initial
and factory-default settings to suit you requirements.
Figure 3-3 Power-On Switch and Reset Switch Located on Rear of Enclosure
Содержание DSN-3200 - xStack Storage Area Network Array Hard Drive
Страница 10: ...x Contents ...
Страница 20: ...20 Chapter 2 Identifying Hardware Components Figure 2 6 Press Lever Inwards Until it Locks ...
Страница 36: ......
Страница 44: ...44 Chapter 4 Starting the xStack Storage Array for the First Time ...
Страница 48: ...48 Chapter 5 Configuring the xStack Storage Array Figure 5 3 xStack Storage Management Console Main Screen ...
Страница 103: ...xStack Storage User s Guide 103 ...
Страница 117: ...xStack Storage User s Guide 117 Figure 6 12 Viewing SMART Attributes ...
Страница 160: ...160 Appendix D Replacing and Upgrading FRUs ...
Страница 164: ...164 Appendix F Hardware Enclosures ...
Страница 168: ...168 Appendix G Acronyms and Abbreviations ...


