Installing the DivX Connected Application
DivX Connected User Guide
DivX Connected User Guide
Copyright © 2007, DivX, Inc., Confidential
3
Installing the DivX Connected Application
You can install the DivX Connected™ Server by:
•
Downloading the application from the Internet, or
•
Installing it from the CD that came with your device
Downloading the Application Installer:
1.
Go to this site:
http://www.divx.com/connected
2.
Click ‘
DivX Connected
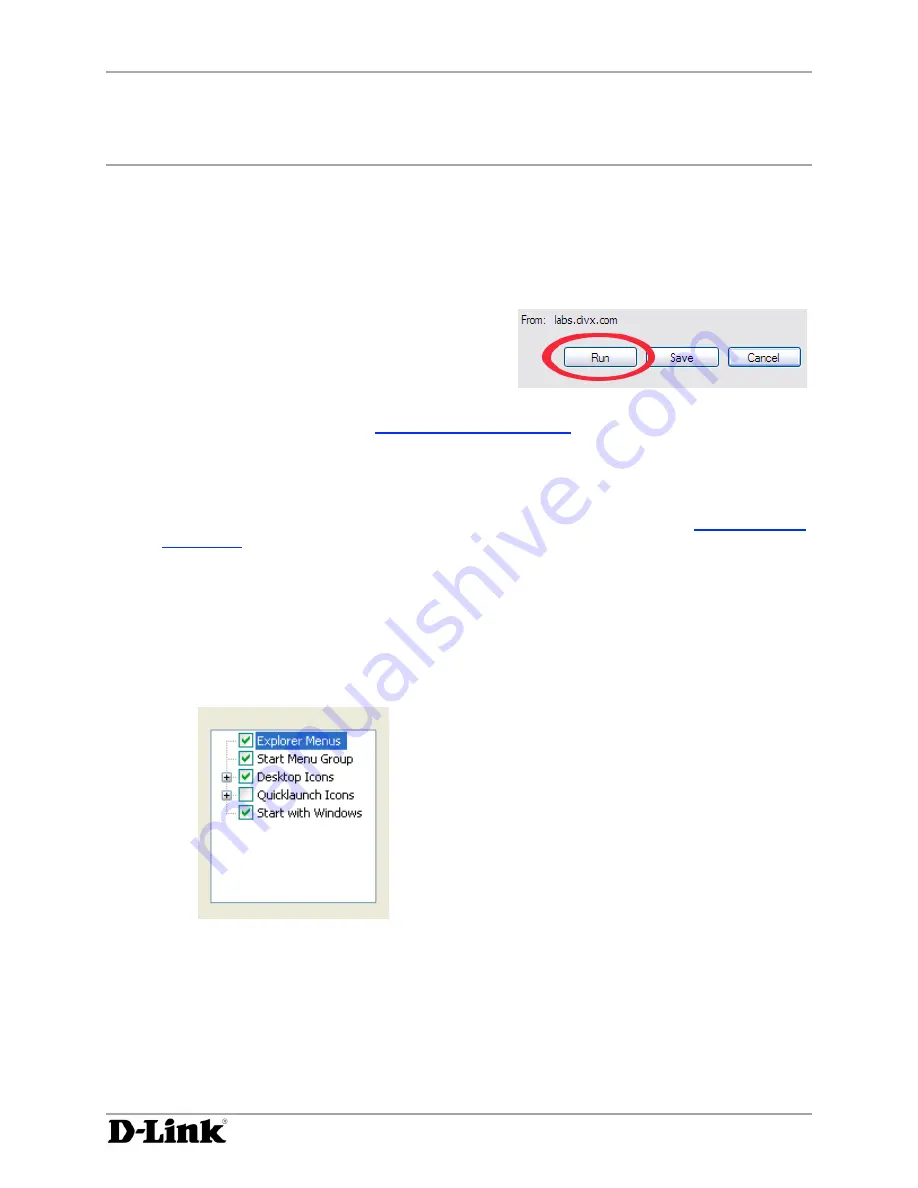
’. Download and run the
installer, either by choosing ‘
Run
’ from the
browser dialog, or by double-clicking the installer
from the saved location.
3.
Proceed with the instructions in
Installing DivX Connected
, below.
Installing from the CD:
1.
Put the CD in the disc drive.
2.
Installation should automatically start. If not, click
Start > Run
, enter
DivXConnectedInstaller.exe
, and click ‘
OK
’. Proceed with the instructions in
Installing DivX
Connected
, below.
Installing DivX Connected
1.
When the DivX Connected setup installer starts, read and then accept the license agreement to
install the application and click ‘
Next
’.
2.
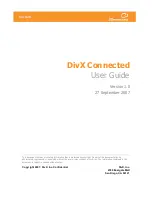
Install the default components, as shown below, or check the
Quicklaunch Icons
box to add
DivX Connected icons to your Quick Launch bar. Click ‘
Next
’ to continue.
3.
Select the location for your files. The default path is specified in the Destination Folder field by
default. Click ‘
Browse
’ to select a different folder.
4.
Click ‘
Install
’ to select the indicated destination folder and install the application. Wait for the
files to be copied.
5.
Check the ‘
Run DivX Connected
’ box.
6.
Click ‘
Finish
’ to complete the installation.


