4
D-Link KVM Switch Quick Installation Guide
B
A
H
A
S
A
IN
D
O
N
E
S
IA
E
N
G
LI
S
H
In addition to the user manual, the Master CD also
includes many device configuration examples.
Additional help is available through D-Link
worldwide offices listed in the appendix of the
User Manual or online. For support, please visit
the website
http://support.dlink.com.tw, which will redirect you
to your regional D-Link website.
Additional Information
EMI Statement
Appendix: Product Statement
FCC Warning
This equipment has been tested and found to
comply with the limits for a Class B digital device,
pursuant to Part 15 of the FCC Rules. These limits
are designed to provide reasonable protection
against harmful interference when the equipment
is operated in a commercial environment. This
equipment generates, uses, and can radiate radio
frequency energy and, if not installed and used in
accordance with this manual, may cause harmful
interference to radio communications. Operation
of this equipment in a residential area is likely to
cause harmful interference in which case the user
will be required to correct the interference at his
own expense.
Operation
You can select a computer to control with the KVM
switch using the front panel buttons, hotkeys, or
OSD.
Rack Mounting
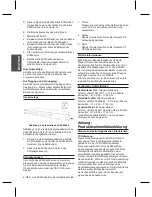
Figure 7 shows you how to attach mounting
brackets to the KVM Switch unit for a standard
19-inch rack cabinet.
1. Attach the mounting brackets onto the sides
of the KVM Switch unit using screws. (See
Figure 9)
2. Install the KVM Switch unit into the rack cabinet.
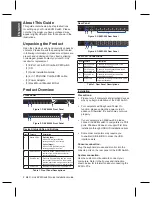
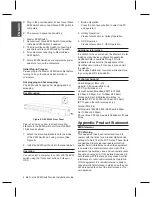
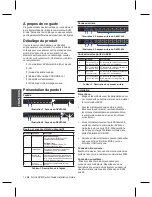
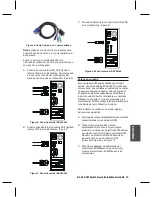
Figure 9. DKVM-440 Front Panel
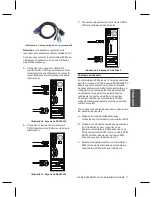
D. Plug in the power adapter for each level Slave
KVM Switch and connect Slave KVM switch to
computers.
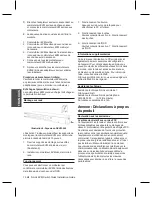
E. The power on sequence should be:
1. Master KVM Switch
2. Second level Slave KVM Switch (connecting
to Master KVM Switch) if needed.
3. Third level Slave KVM Switch (connecting to
second level Slave KVM Switch) if needed.
4. All computers connecting to Master/Slave
KVM Switch.
F. After all KVM Switches are powered by power
adaptors, turn on the computers.
Initial Plug-in Process:
Please plug in the Master KVM Switch first before
turning on any other devices like monitor or
computers.
Hot plugging and hot swapping:
The KVM switch supports hot plugging and hot
swapping.
United Kingdom (Mon-Fri)
website: http://www.dlink.co.uk
FTP: ftp://ftp.dlink.co.uk
Home Wireless/Broadband 0871 873 3000
(9.00am–06.00pm, Sat 10.00am-02.00pm)
Managed, Smart, & Wireless Switches, or
Firewalls 0871 873 0909 (09.00am- 05.30pm)
(BT 10ppm, other carriers may vary.)
Ireland (Mon-Fri)
All Products 1890 886 899 (09.00am-06.00pm,
Sat 10.00am-02.00pm)
Phone rates: €0.05ppm peak, €0.045ppm off peak
times
Technical Support
1. Button Operation
Press the front panel button to select the PC
and operate it.
2. Hotkey Operation
Please refer section 6: Hotkey Operation.
3. OSD Operation
Please refer section 7: OSD Operation.
Содержание DKVM-440
Страница 5: ...D Link KVM Switch Quick Installation Guide 5 NOTES ...
Страница 9: ...D Link KVM Switch Quick Installation Guide 9 NOTES ...
Страница 13: ...D Link KVM Switch Quick Installation Guide 13 NOTES ...
Страница 17: ...D Link KVM Switch Quick Installation Guide 17 D Link KVM Switch Quick Installation Guide 17 NOTES ...
Страница 21: ...D Link KVM Switch Quick Installation Guide 21 NOTES ...
Страница 22: ...22 D Link KVM Switch Quick Installation Guide BAHASA INDONESIA NOTES ...
Страница 23: ...D Link KVM Switch Quick Installation Guide 23 NOTES ...
Страница 24: ...Ver 1 00 E 2010 05 03 2R45284LA ...


