24-port NWay Ethernet Switch User’s Guide
Configuring the Switch Using the Console Interface
231
The
Action:< >
field can be toggled between
Add
and
Delete
using the space bar. Toggle to
Add
and enter the subnet name
for which BOOTP Relay will be active. The subnet’s network IP
address will be displayed in the
IP:
field. Enter the IP address
of the BOOTP Relay server (or servers, as the case may be),
highlight
APPLY
and press
enter
to enter the information into
the BOOTP Relay table. Use
Save Changes
from the
Main
Menu
to enter the information into NV-RAM.
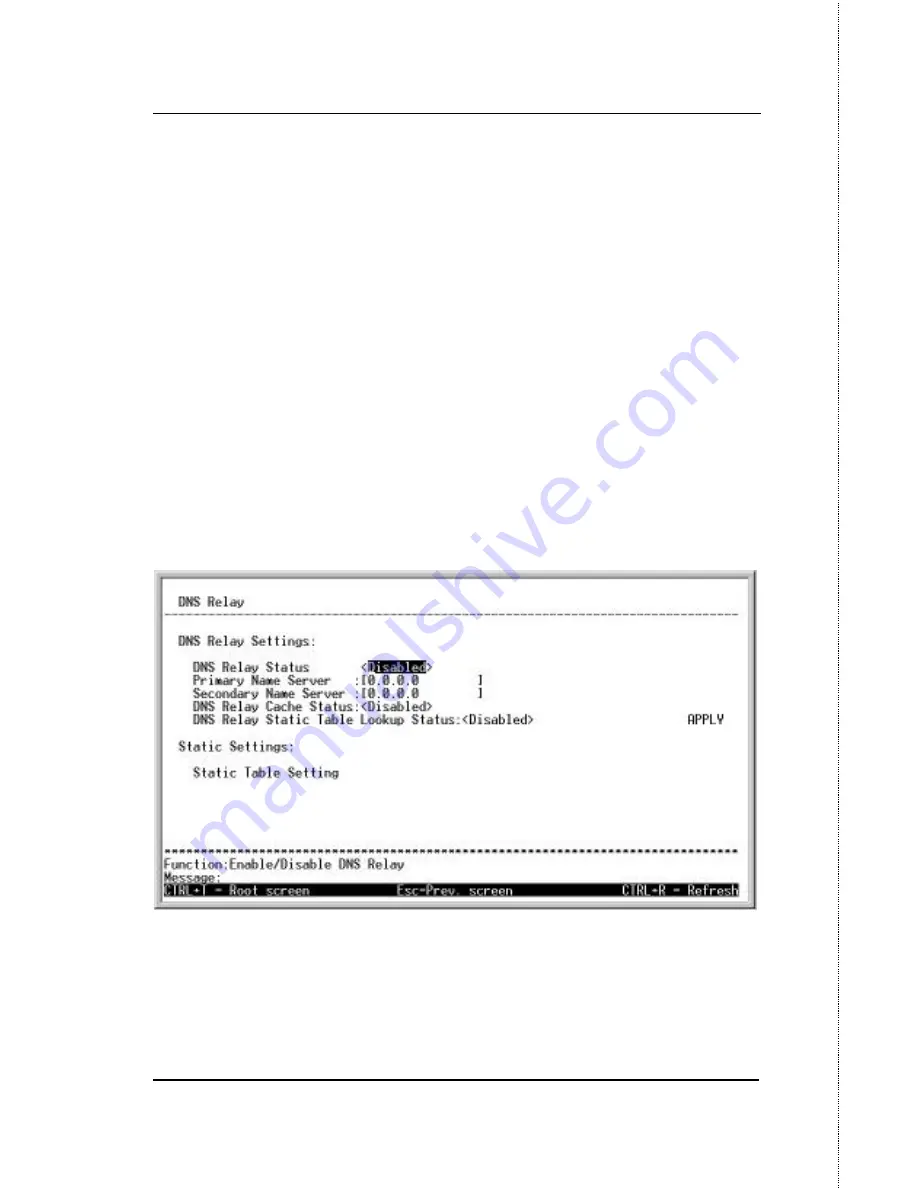
DNS Relay
To enter the IP addresses of DNS Relay servers:
Highlight
DNS Relay
on the
Switch Utilities
menu and press
enter
.
Figure 6-77. DNS Relay Setup – Layer 3
The
DNS Relay Status <Disabled>
can be toggled between
Disabled
and
Enabled
using the space bar. Toggle the field to
Содержание DES-3326
Страница 29: ...24 port NWay Ethernet Switch User s Guide Introduction 13 ...
Страница 289: ...24 port NWay Ethernet Switch User s Guide Web Based Network Management 273 ...
Страница 394: ...24 port NWay Ethernet Switch User s Guide 378 Understanding and Troubleshooting the Spanning Tree Protocol ...
Страница 396: ...24 port NWay Ethernet Switch User s Guide 380 Understanding and Troubleshooting the Spanning Tree Protocol ...
Страница 398: ...24 port NWay Ethernet Switch User s Guide 382 Understanding and Troubleshooting the Spanning Tree Protocol ...
Страница 400: ...24 port NWay Ethernet Switch User s Guide 384 Understanding and Troubleshooting the Spanning Tree Protocol ...
Страница 402: ...24 port NWay Ethernet Switch User s Guide 386 Understanding and Troubleshooting the Spanning Tree Protocol ...
Страница 414: ...24 port NWay Ethernet Switch User s Guide 398 Understanding and Troubleshooting the Spanning Tree Protocol ...
Страница 425: ......


