2 9
Connecting the Computer Interface Cables
Computer interface cables connect your computers to the XP4000 Series unit.
You will have a set for each computer in your XP4000 system. These cables
are a user specified length with a 44-pin D-shaped female connector on one
end. The other end will have from 2 to 8 connectors, depending on the cable
you ordered and the kind of computer you are attaching. The table below
shows the cables that are compatible with your Macintosh computer. Use the
instructions below that apply to the cable type you are using, and repeat the
process for each additional Macintosh computer in your system.
Replace
x
with the distance cable you ordered.
For Macintosh computers
1.
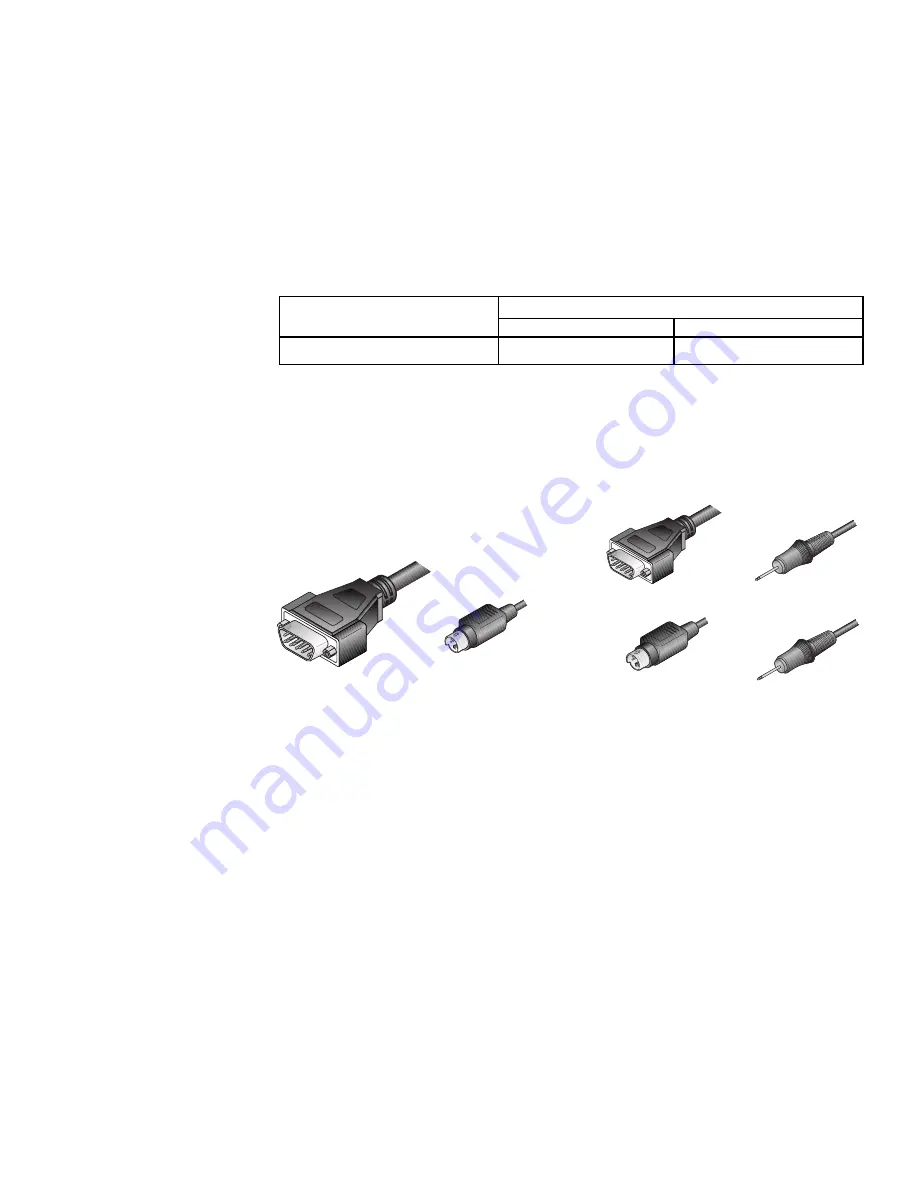
Your computer interface cables for this computer will be labeled either
CPAC-
x
or CPAF-
x
, depending on the options you ordered. Use the
cable diagrams below to locate the correct cable.
2.
Power down your computer,
then plug the cable's keyboard/mouse
(ADB) and monitor connectors into the matching ports on the Mac.
If you have the CPAF-
x
series cable, you will have two additional
connectors: two 3.5mm connectors for a microphone and speakers. The
microphone connector is denoted by a blue band around its cable. Plug
these connectors into the appropriate ports on your Macintosh or pe-
ripheral device.
3.
Attach the computer interface cable to the XP4000 Series unit by
plugging the 44-pin connector into the rear of the appropriate computer
interface module. Ensure that the connector is firmly seated, then
tighten the thumbscrews.
For XPAB modules using the optional ReBoot xP
To attach your ReBoot xP to your XPAB computer interface module, see the
section “The ReBoot xP” in Chapter 11.
Computer
Computer interface cables
Standard
Multimedia
Macintosh
CPAC-
x
CPAF-
x
VIDEO
MICROPHONE
(blue band)
ADB
SPEAKERS
CPAC-
x CABLE
CPAF-
x CABLE
ADB
VIDEO


