AutoView Commander Installer/User Guide
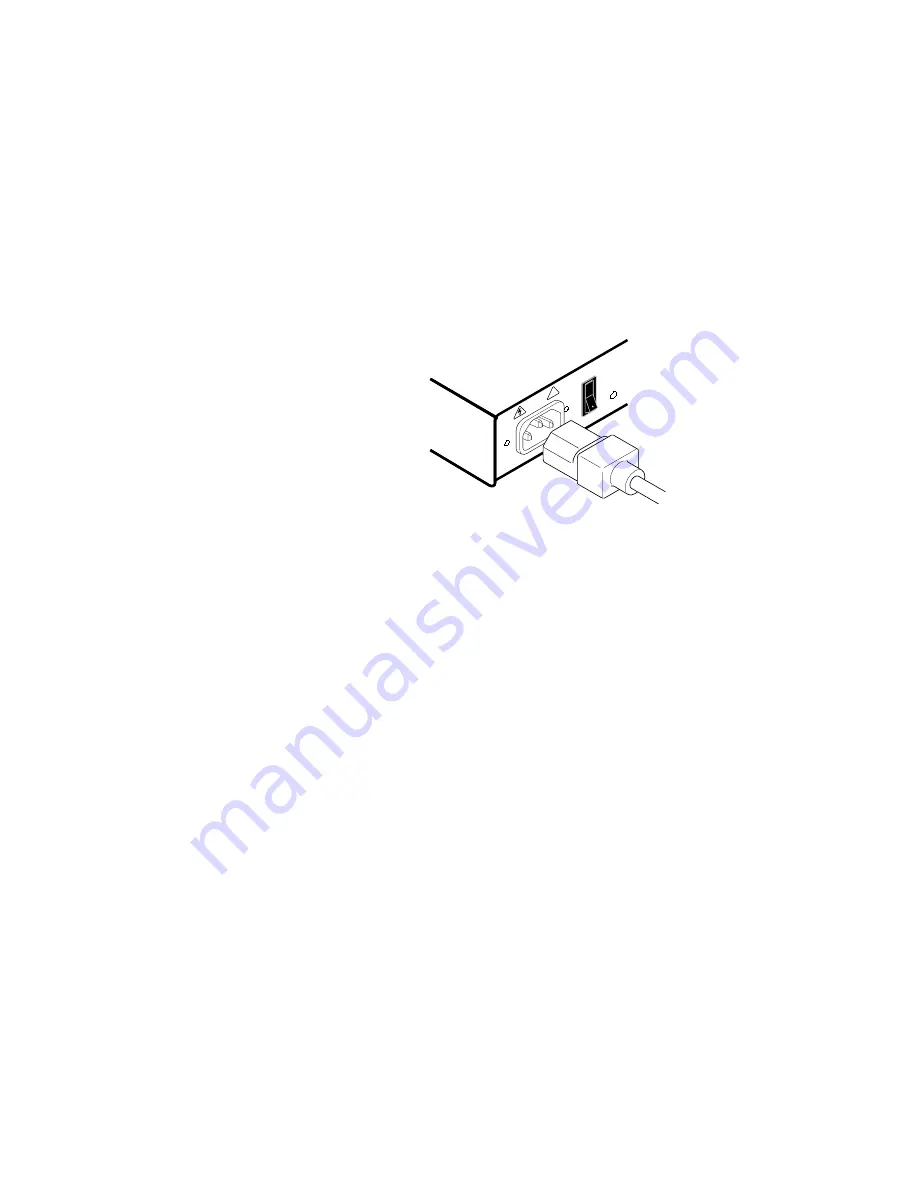
4. Locate the power cords that came with your AutoView units. Plug each
one into the IEC power connectors on the AutoView units. Make sure
that the power switches are off, then plug the other end of the power
cords into appropriate AC wall sockets. This socket must be near the
equipment and easily accessible to allow for unplugging prior to any
servicing of the unit.
5. Power-up your slave AutoView first followed by your master AutoView,
then all attached computers.
The AutoView and all attached computers should be powered down before
The AutoView and all attached computers should be powered down before
The AutoView and all attached computers should be powered down before
The AutoView and all attached computers should be powered down before
The AutoView and all attached computers should be powered down before
servicing the unit. Always disconnect the power cord from the wall outlet.
servicing the unit. Always disconnect the power cord from the wall outlet.
servicing the unit. Always disconnect the power cord from the wall outlet.
servicing the unit. Always disconnect the power cord from the wall outlet.
servicing the unit. Always disconnect the power cord from the wall outlet.
Adding New Channels with Paired Units
1. Select ‘Add Channel’ from the Channel Maintenence Menu. Type in a
new channel name, up to 14 characters long, and press Enter
Enter
Enter
Enter
Enter.
2. At the next prompt, type in the letter “A” if the PC is attached to the
master unit or “B” if it is attached to the slave unit. Press Enter
Enter
Enter
Enter
Enter.
3. When prompted for another cascade level, type
Y
and press Enter
Enter
Enter
Enter
Enter.
4. Type the letter that corresponds to the computer port that the computer
is attached to on the AutoView and press EEEEEnter
nter
nter
nter
nter.
5. Type
N
when prompted for another cascade level and press EEEEEnter
nter
nter
nter
nter.
Press Esc
Esc
Esc
Esc
Esc at any point to exit this operation without adding a channel.
32
100-240V ,
.1A,
50/60 Hz
P
A
TENT PENDING
1
0
!
Содержание AUTOVIEW COMMANDER -
Страница 1: ...Installer User Guide ...
Страница 2: ...AutoView Commander Installer User Guide ...
Страница 10: ...AutoView Commander Installer User Guide ...


