4 - 5
Side Panel Installation
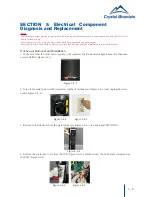
1. Identify which panel belongs on which side of the cooler (Figure 4-4-1 to Figure 4-4-2). The
Locking clip (located approximately 10 inches/250mm up from the base of the panel on the inside
surface) is to be installed towards the front of the cooler.
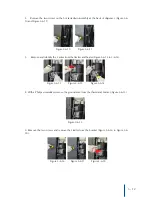
2. Gripping the top edge of the side panel, insert the screw support into the slot on the Front
Panel (near Drip Tray area) (Figure 4-4-3 to Figure 4-4-4), and align the locking clip, bottom edge,
upper clips, and slide downwards to lock into place (Figure 4-4-5 to Figure 4-4-8). Install the screw
into the front/back screw supports to secure in place (Figure 4-4-9 to Figure 4-4-10).
Figure 4-4-1 Figure 4-4-2
Figure 4-4-3 Figure 4-4-4 Figure 4-4-5 Figure 4-4-6
Figure 4-4-7 Figure 4-4-8 Figure 4-4-9 Figure 4-4-10
SECTION 4: Cabinet Panel Removal and Installation
Notice:
The information and/or procedures presented in the following demonstration(s) should be performed by a trained Water Cooler
Service Technician only.
Never attempt to service or repair a water cooler while it is plugged into any power supply.
Prior to any service or repair of the water cooler, ensure that the water has been completely drained from the system.


