1
ENGLISH
ENGLISH
1
1
ENGLISH
TIP: After making your cutting selection, press the
OK
button to see the calculated
number of cuts that will fit on the page.
TIP: After making your cutting selection, press the
OK
button to see the calculated
height of the cut.
TIP: The
Auto Fill
mode will only allow up to 300 duplicates of the selected character(s).
If you would like to cut more than 300, you can select two (or more) of the same
character(s) and then press the
Auto Fill
button. This would increase the duplicates to
600 (or more).
TIP: Certain modes can be combined, such as
Portrait
,
Mix ’n Match
, and
Quantity
.
However, the size modes (
Fit to Page
,
Fit to Length
, and
Auto Fill
) cannot be combined.
For example, if you select
Fit to Page
and then select
Auto Fill
, the Cricut Expression
will automatically deselect
Fit to Page
and select
Auto Fill
.
Functions on the Cricut Expression™ machine
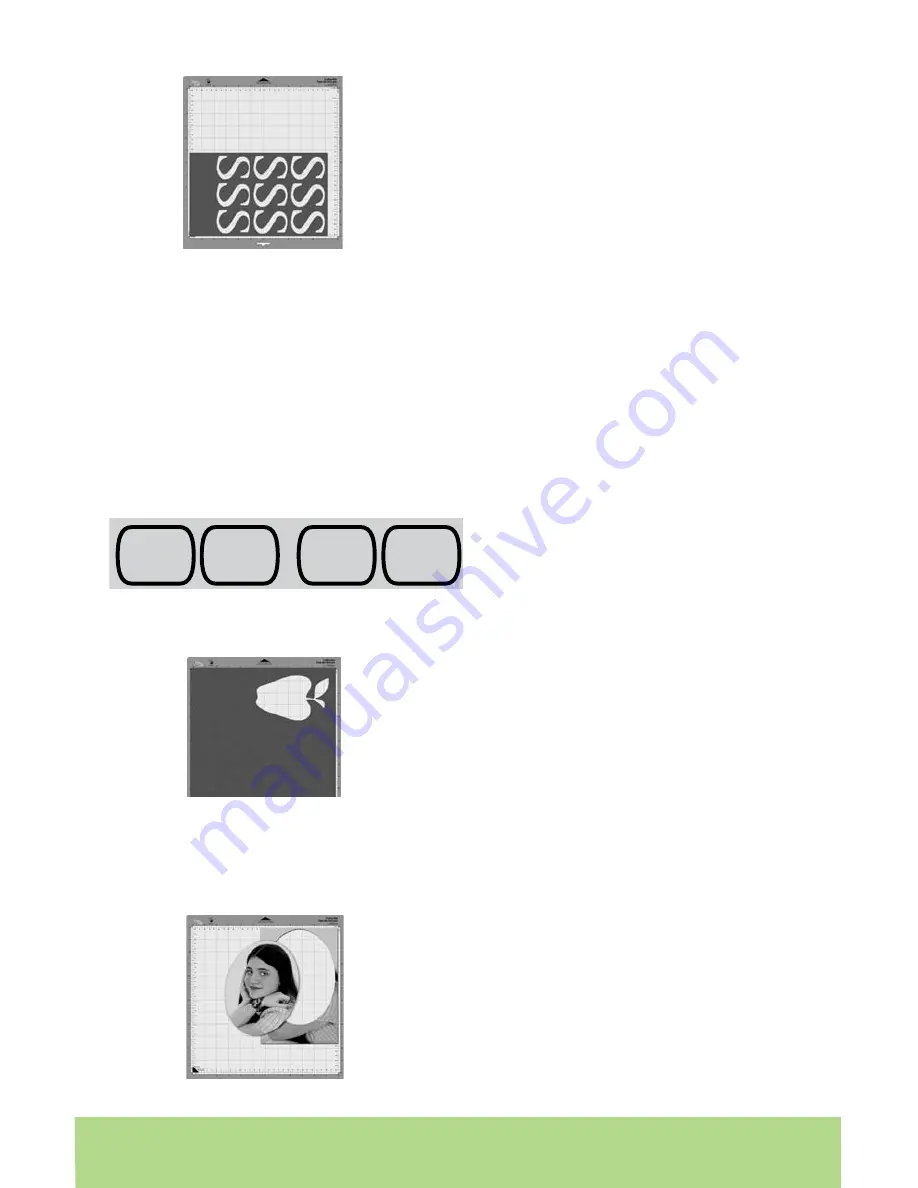
The
Auto Fill
mode fills the page with as many
of the characters selected on the display as will
fit on the page at the size selected. To use the
Auto Fill
mode, press the
Auto Fill
button so that
the button is backlit in green. Then make your
character(s) selection, set the Size Dial, and
press
CUT
.
The
Multi Cut
function allows you to cut the cut
lines of a selected character(s) two, three, or
four times on top of the original cut lines. This
allows the machine to cut thicker materials,
such as thin chipboard. To use the
Multi Cut
function, you must first determine the number
of multi cuts in the
Settings
screen. Press the
Settings
button and advance through the set-
tings options until you reach the
Multi Cut
menu.
Use the plus and minus arrows to select 2, 3, or
4 and then press
OK
to select. Exit the
Settings
screen and then press the
Multi Cut
button until
it is backlit in green. Then make your character
selection(s), press
CUT
, and the machine will use
your
Multi Cut
setting to cut the character(s).
The
Center Point
function cuts a character(s)
centered on a designated point. It is only available
in the Landscape mode. This function is useful for
cutting shapes around images on photographs or
patterned paper. To use the
Center Point
function,
move the cutting blade using the Blade Naviga-
tion Buttons until the blade is over the center of
the cut. Press the
Center Point
button until it is
backlit in green. Then make your character
selection(s), press
CUT
, and the machine will cut
the character with the blade position you set as
the center of the cut.
Multi
Cut
Center
Point
Flip
Line
Return


