background image


ENGLISH


ENGLISH   

1


ENGLISH

TIP: To cut two proportionate characters (such as a base character and its shadow) 
using the 

Fit to Page

 mode, select the 

Fit to Page

 mode with the larger character 

(shadow) selected first. Press the 

OK

 button to see the calculated size of the character 

and press 

CUT

. Note this size. Unload and remove that cut and load in your next 

cutting mat and paper. Then turn off the 

Fit to Page

 mode and select the noted 

calculated size for the smaller (base) character. These two cuts (the shadow and the 
base) will now be in perfect proportion to each other.

TIP: After making your cutting selection, press the 

OK

 button to see the calculated size 

of the cut.


TIP: The length in this mode is dependent upon the currently selected unit of measurement 
(Inches—1/4ths, Inches—1/10ths, cm, or mm). The

 Fit to Length

 measurement will adjust to 

the nearest increment, so it will not create proportions between characters that are per-
fect to the dial size. If you want to be more exact, use mm as your unit of measurement.

The 

Quantity

 mode allows you to choose the 

number of cuts you want of those selected on 
the display. To use the

 Quantity

 mode, press 

the 

Quantity

 button until the button is backlit 

in green and the display reads “Quantity on” 
and offers instructions. Then use the plus and 
minus arrows (the Left and Right Arrow Buttons) 
to indicate the quantity of cuts desired. Then 
make your cutting selection and press 

CUT

. The 

display will show a running total of how many 
cuts from the selected quantity have been cut. 
If the quantity selected exceeds the amount of 
available paper, you can unload the mat and 
load more paper. The machine will keep track 
of the number of cuts made. 

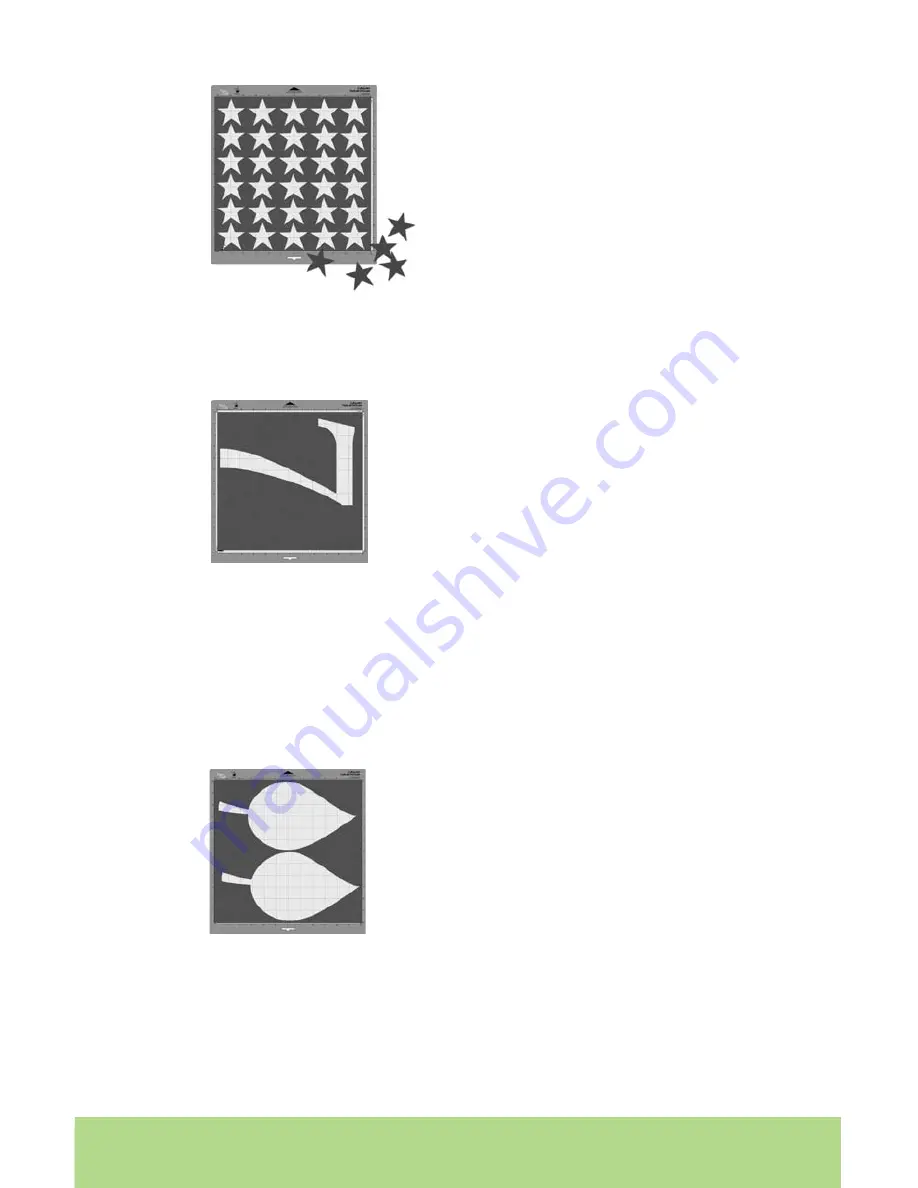
The 

Fit to Page

 mode maximizes the size of the 

character on the page, overriding the size set 
with the Size Dial. To use the

 Fit to Page

 mode, 

press the 

Fit to Page

 button any time before 

pressing the 

CUT

 button. The mode will be on 

when the button is backlit in green. After 
pressing 

CUT

, the display will preview the cut 

height and length before the machine begins 
to cut.

The

 Fit to Length

 mode allows you to set the size 

of the length of a designated cut. This mode 
is only available in the Landscape mode. This 
mode takes out the guesswork of setting the 
height of each cut with the Size Dial and 
hoping to make a cut a certain length. To use 
the

 Fit to Length

 mode, press the 

Fit to Length 

button so that the button is backlit in green. 
Then make your cut selection and determine 
the length using the Size Dial on the right side 
of the front of the machine. Press 

CUT

 and the 

display will preview the height before the ma-
chine begins to cut. The

 Fit to Length 

mode will 

apply to all cuts on the display screen.

Pressing the 

OK

 button once the quantity count has started will reset the cut tally back to 

zero, whether or not you’ve adjusted the quantity using the Left and Right Arrow Buttons.

Содержание 24" Personal Electronic Cutter

Страница 1: ...User Manual Manuel d Utilisateur...

Страница 2: ......

Страница 3: ...rtridges Creative Features built into every Cricut cartridge allow you to add special effects to characters There are liter ally thousands of custom combinations you can use to make each project uniqu...

Страница 4: ...aracters 14 Size Dial 14 Cutting Your Selections 14 Removing Your Characters from the Cutting Mat 14 Advanced Operations 15 Creative Feature Keys 15 Shadow Feature 15 Advanced Keys and Buttons 15 Blad...

Страница 5: ...EXPRESSION that contain images or fonts Documentation means any documents provided with CRICUT EXPRESSION when purchased including but not limited to the User Manual 2 LICENSE TO USE Subject to the te...

Страница 6: ...for any purpose without the express written consent of PROVO CRAFT Any such authorized use of the PROVO CRAFT marks inures to PROVO CRAFT s benefit 9 U S GOVERNMENT RESTRICTED RIGHTS If software is be...

Страница 7: ...following 1 Cricut Expression machine 2 User Manual 3 Plantin SchoolBook font cartridge cartridge binder keypad overlay and handbook 4 Blade assembly 5 12 x 12 30 48 cm x 30 48 cm cutting mat 6 Quick...

Страница 8: ...r before servicing or cleaning DO NOT place your fingers or other objects in the Cricut Expression machine while connected to electrical power powered on or during cutting operations Rapid movements o...

Страница 9: ...y fits into the black cradle to the left of the carriage Locate the silver screw and turn it counter clockwise until it loosens enough that you can swing the screw to the right Be careful not to loose...

Страница 10: ...ds sunrooms etc WARNING Your Cricut Expression machine should never be left or stored outside in unheated or un air conditioned locations or in environments where the machine or cartridges can come in...

Страница 11: ...first try Insert a Cricut cartridge into the cartridge slot located in the front of your Cricut Expression machine Turn it on by pressing the On button near the CUT button 1 Remove clear protective c...

Страница 12: ...does not load press the Unload Paper key and try again Load Cutting Mat into Machine If you want to stop the Cricut Expression machine from cutting before it is finished simply press the STOP button l...

Страница 13: ...are using a paper size smaller than 12 x 12 30 48 cm x 30 48 cm or 12 x 24 30 48 cm x 60 96 cm depending on the mat size selected Place the paper on the cutting mat aligning it in the lower left corn...

Страница 14: ...he full size range is available no matter the size of the cutting mat be sure to select a size that will fit on the material you are using a warning message will display on the display if your size is...

Страница 15: ...Creative Features vary from cartridge to cartridge and provide a multitude of creative options Refer to a Cricut cartridge s handbook for a full review of the Creative Features that are available on...

Страница 16: ...e You will need to load the paper and cutting mat again The Mix n Match mode allows multiple Creative Features or the Flip function to be applied to only certain characters selected on the display For...

Страница 17: ...the quantity of cuts desired Then make your cutting selection and press CUT The display will show a running total of how many cuts from the selected quantity have been cut If the quantity selected ex...

Страница 18: ...et the Size Dial and press CUT The Multi Cut function allows you to cut the cut lines of a selected character s two three or four times on top of the original cut lines This allows the machine to cut...

Страница 19: ...ws you to choose one of four units of measurement Inches 1 4ths Inches 1 10ths cm or mm 3 The Multi Cut menu allows you to choose the numbers of cuts 2 3 or 4 to be used for the Multi Cut mode 4 The d...

Страница 20: ...pplied to all characters on the display even in the Mix n Match mode For example you cannot select an A at 1 2 54 cm and then immediately select a B at 2 5 08 cm in the same cut We recommend you check...

Страница 21: ...re being torn If this doesn t work change the blade or adjust the blade depth see page 20 Pressure Dial The Pressure Dial allows you to control how hard the cutting mechanism presses against the paper...

Страница 22: ...before it requires replace ment Your actual cutting mat life will vary depending on the settings you use and the papers you cut When your paper no longer sticks to the cutting mat it s time to replac...

Страница 23: ...Buttons to move the cutting blade down to the upper right corner of the new paper Then press the Set Paper Size key on the keypad overlay to let the machine know where to start cutting on the new size...

Страница 24: ...n page 21 Problem The paper lifts off the mat as the Cricut Expression machine is cutting Possible Solution 1 Make sure you press the paper firmly onto the cutting mat when setting up the cut Possible...

Страница 25: ...ENGLISH 25...

Страница 26: ...2007 Provo Craft and Novelty Inc All rights reserved Tous droits r serv s Spanish Fork UT 84660 Made in China Fabriqu en Chine www provocraft com 024107 29 2268 User Manual...

Отзывы: