1
ENGLISH
ENGLISH
1
1
ENGLISH
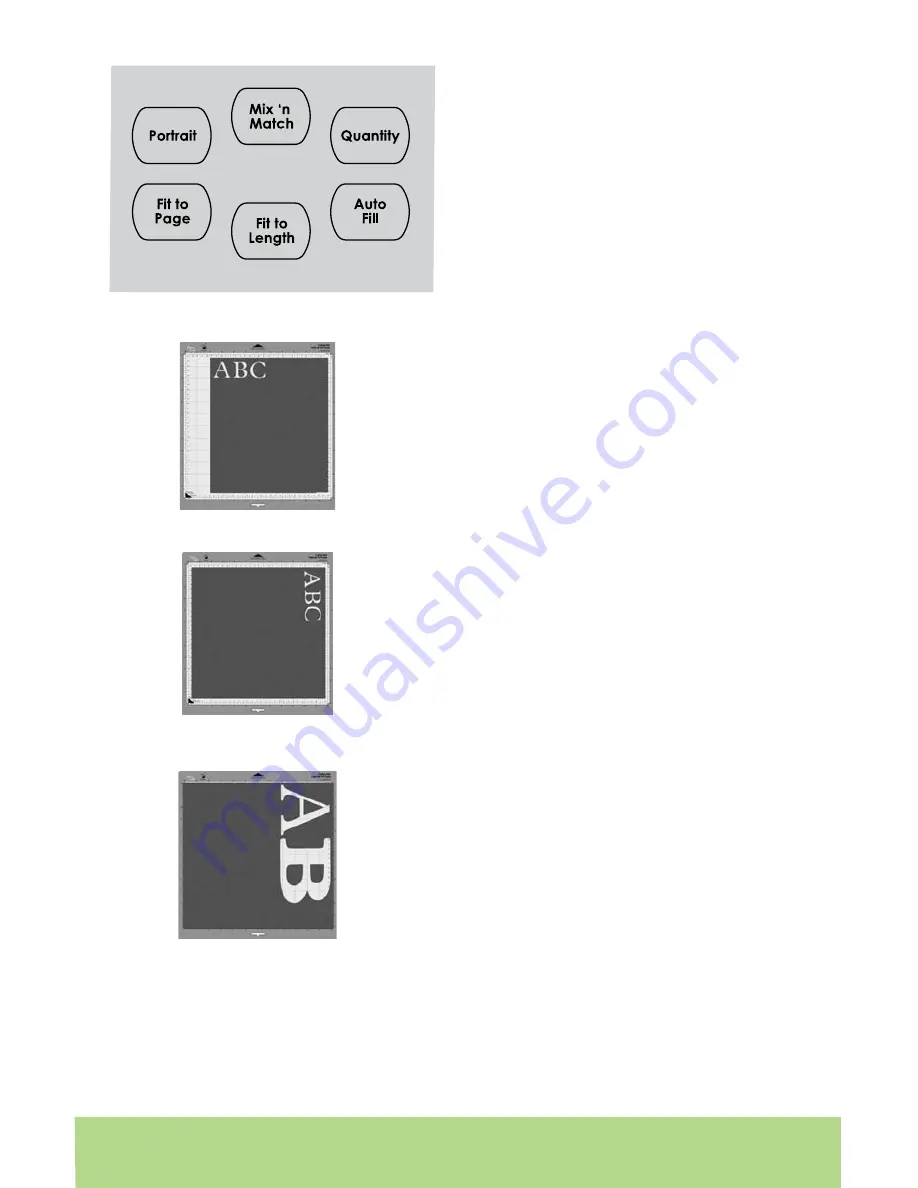
The
Portrait
mode changes the cutting
direction from Landscape mode, the default
setting, to
Portrait
mode. Landscape cuts
characters from top to bottom on the cutting
mat (the right side of the cut comes out of the
machine first).
Portrait
cuts characters from left
to right on the cutting mat (the bottom side of
the cut comes out of the machine first).
The
Portrait
mode will start with the cutting
blade in the top left corner instead of the top
right corner in the Landscape mode. To cut in
Portrait
mode, you will need to press the
Portrait
button so that the display reads
“Portrait mode” and the button is backlit in
green. Press
Load Paper
to load the paper and
cutting mat, wait for the blade to move to the
top left corner, and make your cutting selec-
tion. Press the
Portrait
button again to return
to Landscape mode. You will need to load the
paper and cutting mat again.
The
Mix ’n Match
mode allows multiple
Creative Features or the
Flip
function to be
applied to only certain characters selected on
the display. For example, you can cut a base
letter
A
and a
Roly Poly
letter
B
in the same cut.
To use the
Mix ’n Match
mode, press the
Mix ’n
Match
button so that the display reads “Mix ’n
Match on” and the button is backlit in green.
Make your cutting selection, selecting differ-
ent Creative Features from the keypad overlay
for each character if desired.
Be sure to select
the character first and then select the desired
Creative Feature.
Use the Left and Right Arrow
Buttons below the display to select the different
characters and alter features as needed.
Modes on the Cricut Expression™ machine
TIP: If you are using both the
Mix ’n Match
mode and the
Quantity
mode, the Left and
Right Arrow Buttons will control the quantity of cuts. You will not be able to use the
arrow buttons to select the different characters and alter the features.
Portrait
Landscape


