Product Manual — Doc. 9321A
IV-CAMFL-N-W-1B • 15
Wiring
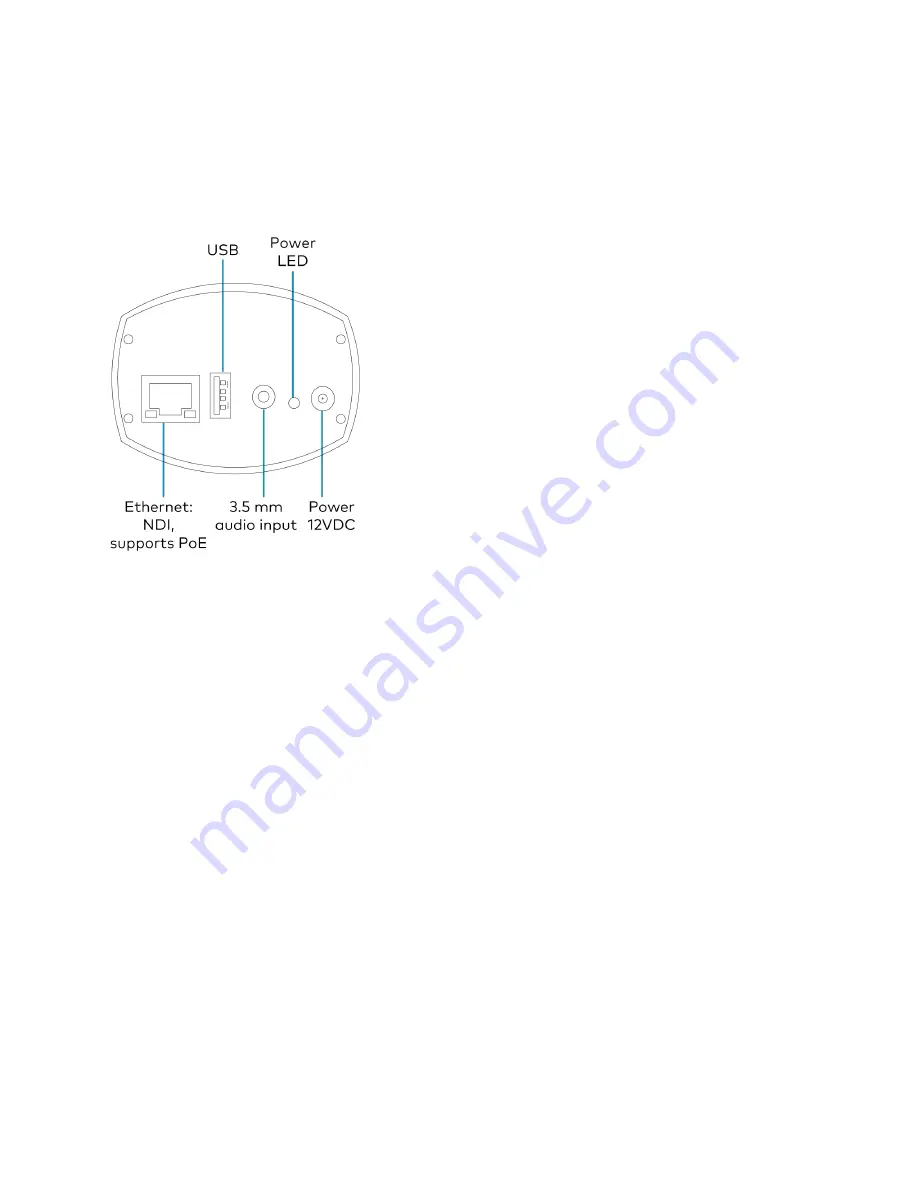
Properly wire the camera with power, video, and control. Ethernet supports NDI®|HX and PoE.
The audio input of the camera only feeds into the encoded IP stream. It is recommended to
record/stream audio using a separate device.
Network Connection
A network connection enables easy configuration, control from any PC connected to the same
network, and access to the camera’s IP video streams for monitoring. Use a CAT5 or CAT6 cable
to connect the camera to the network or directly to the host computer used for configuration.
The camera is shipped with a static IP address. The network connection can also be used for
control VISCA commands over TCP/IP.
l
Default IP address: 192.168.18.77
l
Subnet Mask: 255.255.255.0
If an Ethernet cable is connected directly to a computer running the 1 Beyond Camera Manager
software, the computer’s network port must be set to an address on the same subnet (for
example, 192.168.18.77) in order to communicate with the camera.
When configuring multiple cameras, connect them to the network individually and assign them
each a unique IP address that conforms to your overall IP scheme.
PoE Power
With PoE compatibility, the camera allows control, monitoring, and power input using a single
Ethernet cable. To power the camera from your network switch, make sure that it is a PoE


