Installing Software 12
Installing Software
Windows 95
The instructions that follow show the installation in Windows 95 and
Windows 95 OSR2. If you are not sure which version you have, see “Step 1:
Learn the Windows 95 Version” on page 7.
To install the driver and software manually, click Start on the Taskbar, select Settings,
and click on Control Panel. On the Control Panel, double click on the Add New
Hardware icon and follow the on-screen instructions.
For versions 4.00.950 and 4.00.950A:
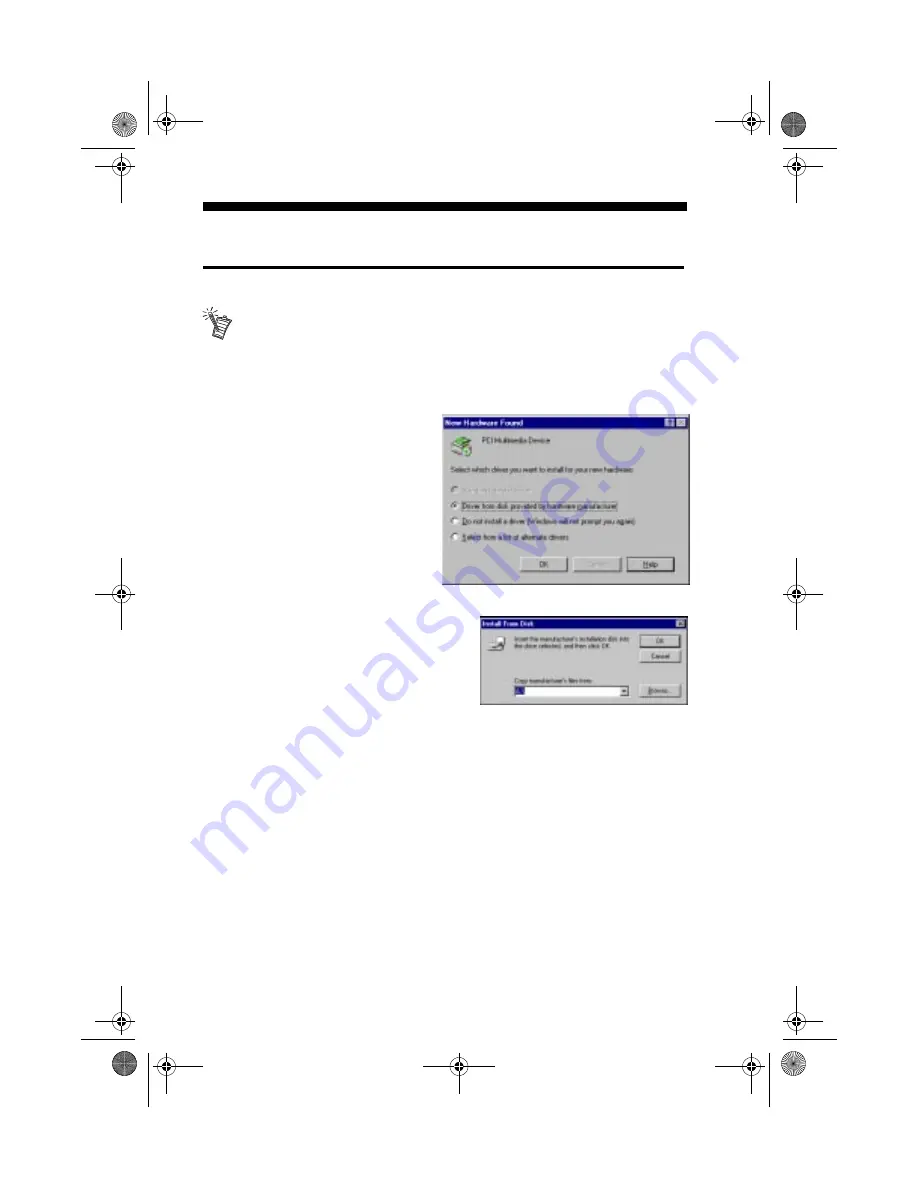
1. Restart your computer. When
Windows 95 starts, new
hardware is automatically
detected and the New Hardware
Found dialog is displayed.
Follow the instructions.
2. Insert the PC-DVD diskette into
floppy disk drive A or B.
3. Select “Driver from disk
provided by the hardware
manufacturer” and click OK.
4. In the Install From Disk dialog, type A:\
(or B:\) and click OK to copy the driver to
the hard disk.
5. Follow the instructions on the screen to
complete the installation.
6. Windows may prompt you to restart your
computer, remove the diskette from the
floppy disk drive and click Yes. If the prompt does not appear, remove the
diskette from the disk drive and restart your computer.
For Windows 95 version 4.00.950B (OSR2):
1. Restart your computer. When Windows 95 starts, it automatically detects the
new hardware installed in your computer.
2. Insert the Creative PC-DVD diskette into your floppy disk drive and click Next.
3. When Windows 95 prompts you for the device driver, click the Finish button.
4. On the Insert Disk dialog, click the OK button.
5. On the Copying Files dialog, type A:\ (A:\ is your floppy disk drive) and click OK
to copy the device drivers to your hard disk.
6. When Windows prompts you to restart your system, remove the diskette from the
floppy disk drive, select the Yes option, and click the OK button.
DVD5x.fm Page 12 Wednesday, January 20, 1999 11:01 AM


