page 12
12. Smart Ceiling Fan Wi-Fi Control.
(Optional)
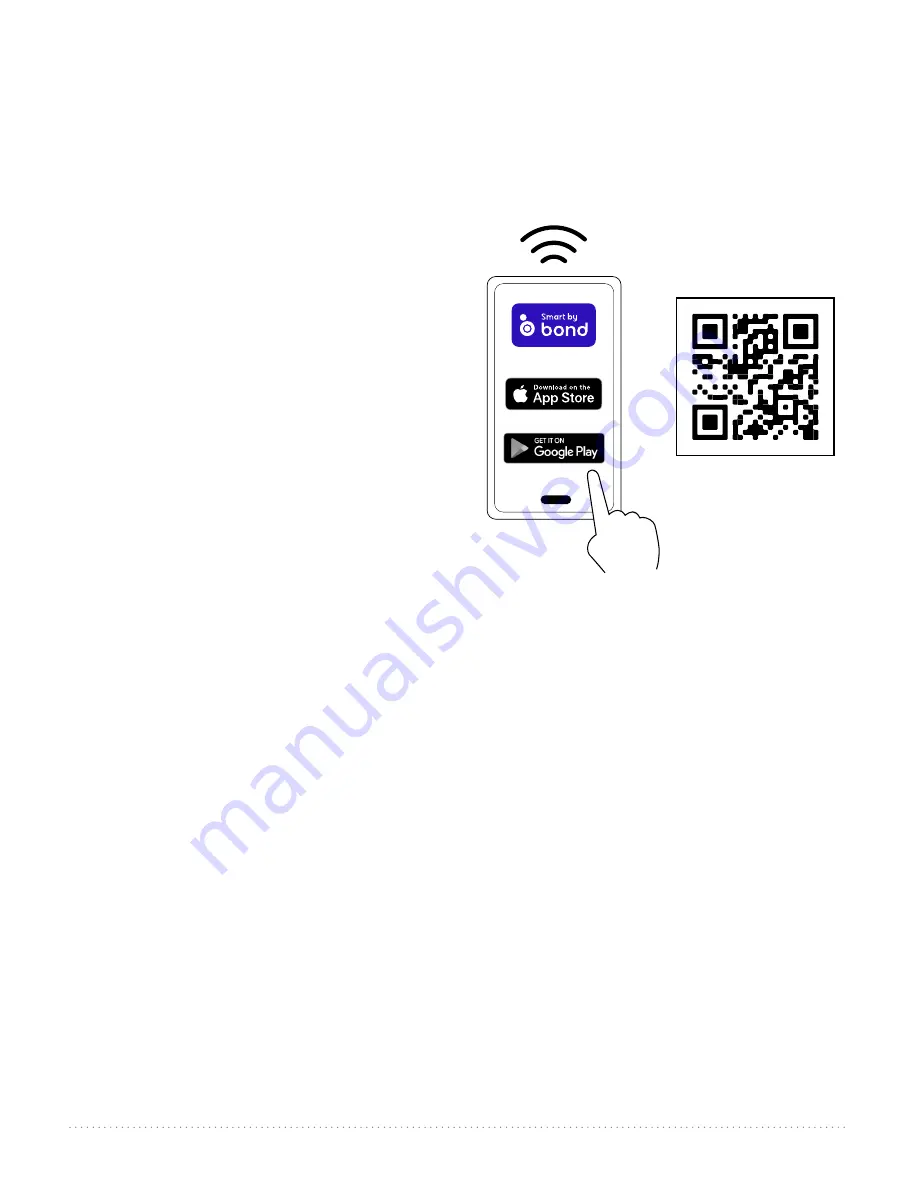
To enjoy all the potential of your new device, refer
to the following steps to complete Smart setup.
1
. Download the
Bond Home App
, available on
the Google Play Store and Apple App Store, or
use the QR code to download the app.
2
. Open the
Bond
application.
3
. If you already have a
Bond
account, simply log
in and continue to Step 4. If you do not have a
Bond
account, press “
Create Account
” and
enter your name, email and create a password.
4
. Select “
+
” to add a device.
5
. Select “
Smart By Bond
” (SBB).
6
. Select this smart ceiling fan.
7
. Once the
Bond
application connects to the fan,
select “
CONTINUE
” to proceed.
8
. Test the fan functions:
- You have the option to disable the light
function if your fan does not have a light.
9
. Select “
YES, IT WORKS
.”
10
. Specific information about your fan:
-Select “
Location
” and choose from one of the predefined entries or add your own by selecting
“
OTHER
”. When finished, select “
Save
”.
- Select device name and enter the name for your device. When finished, select “
OK
” to save.
PLEASE NOTE
: This name will be used for integrations so a simple, easy-to-remember name is best.
11
. Select “
Continue
”.
12
. Select the Wi-Fi network you would like to connect the SBB to.
13
. Enter the Wi-Fi password and select “
OK
”.
14
. If there is an issue with the connection or wrong password is entered, you will receive an error
message. Select “
OK, I’ve Got It
”.
15
. Once the connection is made, select “
DONE
”.
16
. If the SBB fan is not displayed in the Bond application, swipe down to refresh.
For assistance at any time during this process, go to the “
Help
” section of the app:
- Tap on “
Settings
”
- Tap on “
Help Center
”
- Choose “
Open a Ticket
” or “
Live Chat
”
Without Wi-Fi activation, you will not enjoy the expanded features and functionality of
your ceiling fan: Breeze speed setting, Creating Schedules and Voice Activation.


