13
BLADE BREAKAGE CAN BE
CAUSED BY:
1. Faulty alignment and adjustment of the
guides
2. Insufficient number of teeth contacting
the cut
3. Feeding too fast
4. Tooth dullness or absence of sufficient
set
5. Excessive tension
6. Using a blade with a lumpy or
improperly finished weld
7. Continuously running the band saw
when not in use
Never use a blade so coarse that less than
three consecutive teeth are engaged in the
work piece at one time. (Too few teeth will
cause the teeth to strip out).
Never use a blade finer than required to
obtain a satisfactory surface finish or
satisfactory flatness (Too many teeth
engaged in the work piece will prevent
attainment of satisfactory sawing rate;
frequently produces "dished" cuts or cuts
which are neither square nor parallel).
When thin rectangular solid bar is to be
sawed, the work should whenever possible,
be loaded with the thinnest cross section
exposed to the blade teeth. The pitch
(number of teeth per inch of the blade)
selected must provide engagement of at
least three consecutive teeth in the work
piece. Should application of this rule not be
possible because the thinnest cross section
is too thin, the piece must be loaded with
the wider dimension exposed to the saw
teeth and a more coarse blade selected.
When thin wall pipe or tubing or channel
iron are cut, a 14 pitch blade is used. Fewer
than 14 teeth per inch will almost never be
satisfactory.
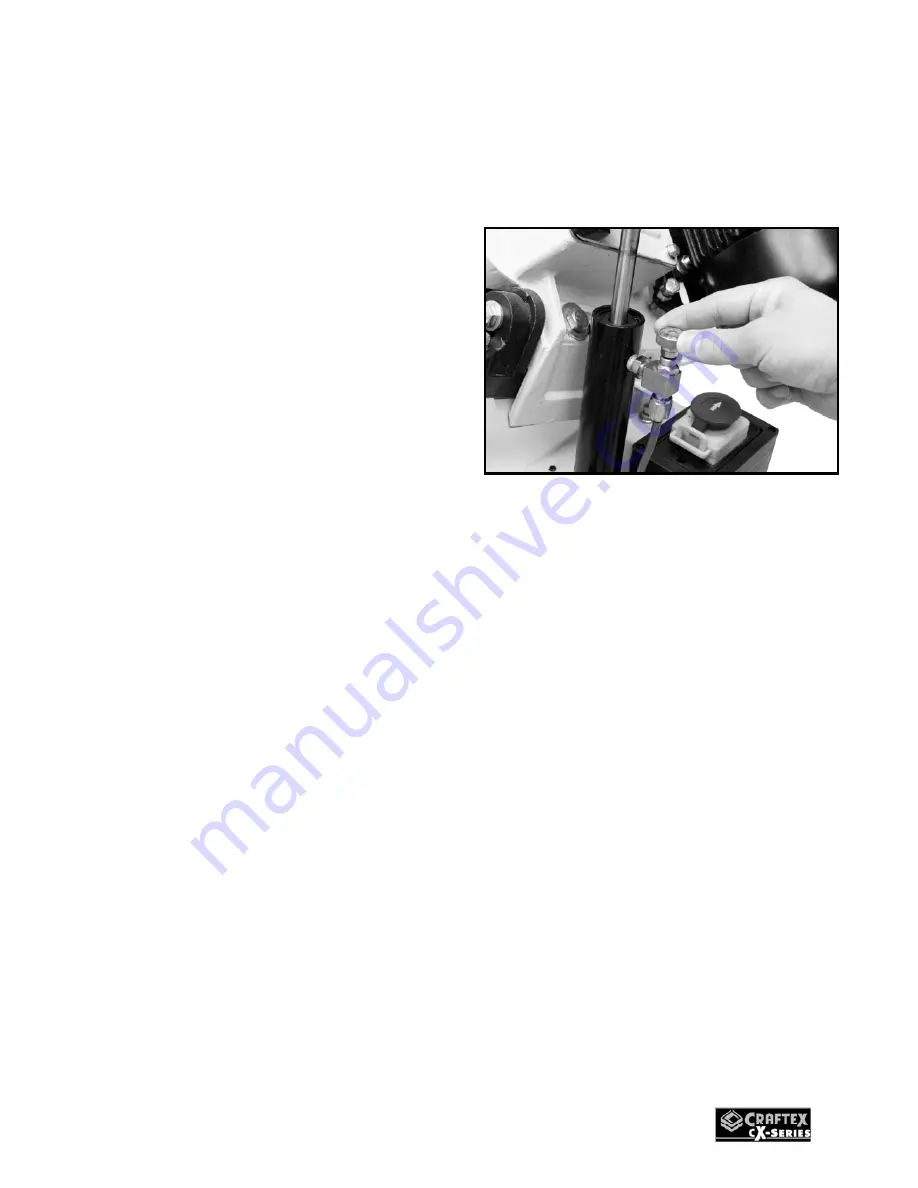
FEED RATE
The speed at which the saw blade will cut
through the work piece is controlled by feed
rate dial.
Figure-10 Feed rate dial
The feed rate dial controls the amount of
fluid that circulates around the hydraulic
cylinder, controlling the feed rate. Turning
the dial counter clockwise, increases the
fluid circulation, allowing the head to move
downward while turning it clockwise
decreases the fluid circulation. When the
dial knob is turned all the way, it locks the
head in place.
To set the feed rate:
Raise the headstock and turn the feed rate
dial clockwise to lock the headstock in
position.
Clamp the work piece in the table vise.
Turn the feed rate dial counter clockwise
and move the headstock so that blade is a
few inches above the work piece.
Make sure the correct blade is installed and
the correct blade speed is selected.
Connect the cord to the power source and
turn the saw ON.
Содержание CX116
Страница 1: ...CX116 5 METAL BAND SAW WITH SWIVEL HEAD User Manual Version 1 0 ...
Страница 19: ...19 CX116 STAND DIAGRAM ...
Страница 20: ...20 CX116 BAND SAW DIAGRAM ...


