14
CX201 EXTENSION TABLE
Get an assistant to hold the extension table
between the front and rear fence rails.
Secure the extension table to the rails using
hex bolts, hex nuts and washers provided
with the extension table.
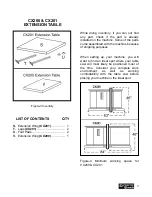
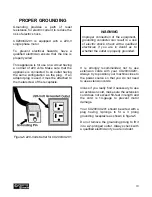
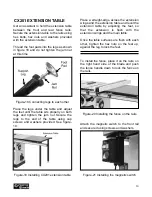
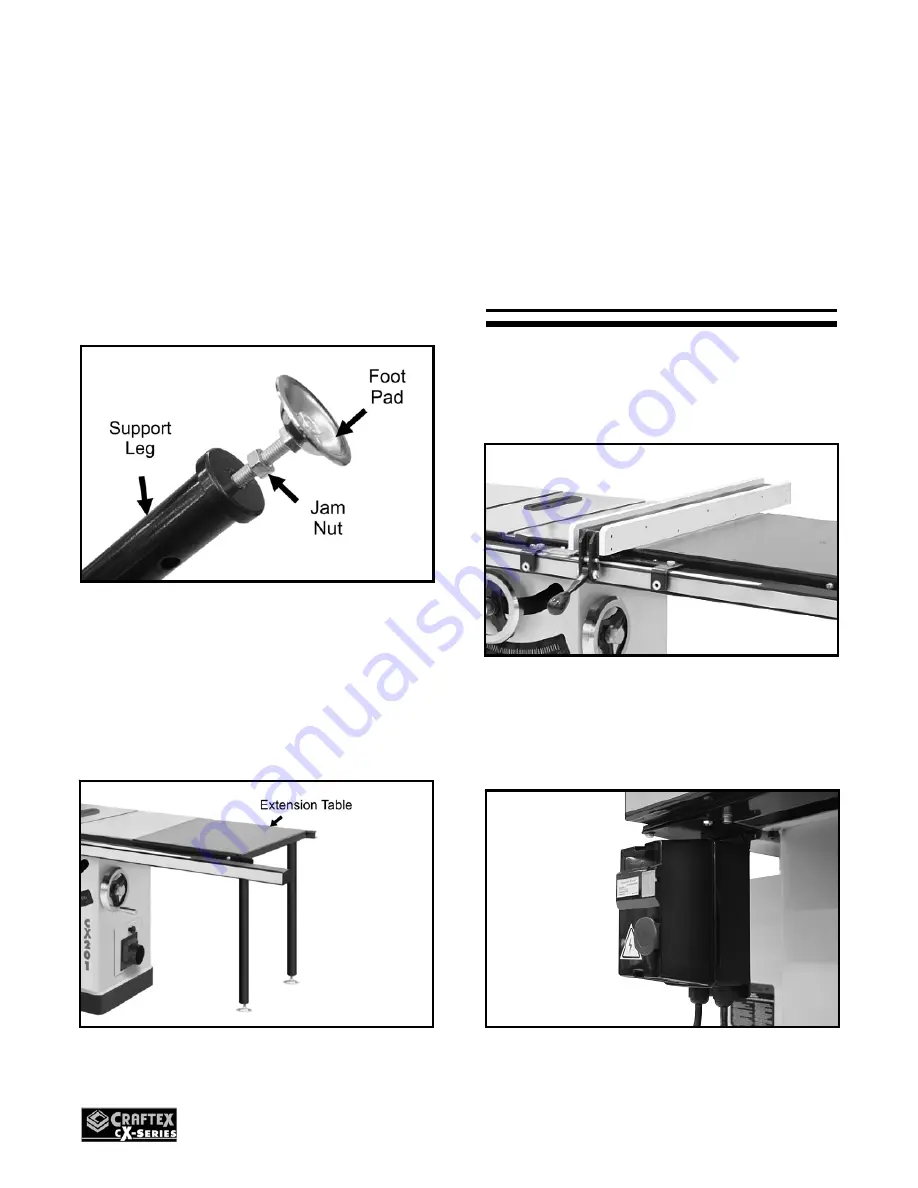
Thread the foot pads into the legs as shown
in figure 18 and do not tighten the jam nut
at this time.
Figure-18 Connecting legs to each other
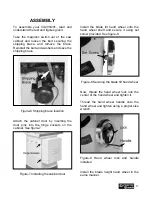
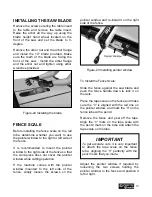
Place the legs under the table and adjust
the feet until the table sits properly on both
legs and tighten the jam nut Secure the
legs to the end of the table using cap
screws and washers provided. See figure-
19.
Figure-19 Installing CX201 extension table
Place a straight-edge across the extension
wings and the extension table and level the
extension table by adjusting the feet, so
that the extension is flush with the
extension wings and the main table.
Once the table surfaces are flush with each
other, tighten the hex nuts on the feet up,
against the leg to lock the feet.
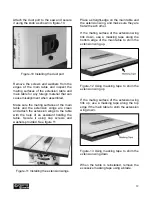
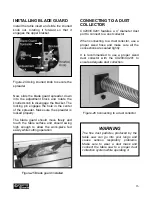
To install the fence, place it on the rails, on
the right hand side of the blade and push
the fence handle down to lock the fence on
the rails.
Figure-20 Installing the fence on the rails
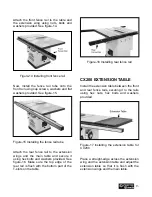
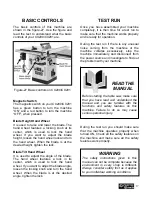
Attach the magnetic switch to the front rail
and secure it using screws and washers.
Figure-21 Installing the magnetic switch
Содержание CX series
Страница 1: ...CX200 10 CX201 10 HEAVY DUTY TABLE SAW WITH RIVING KNIFE User Manual ...
Страница 25: ...25 CX200 CX201 BODY PARTS BREAKDOWN ...
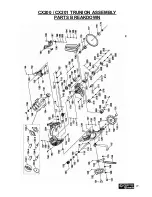
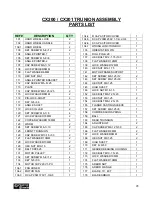
Страница 27: ...27 CX200 CX201 TRUNION ASSEMBLY PARTS BREAKDOWN ...
Страница 30: ...30 CX200 CX201 BLADE GAURD PARTS BREAKDOWN ...
Страница 34: ...34 CX200 30 RAILS EXTENSION TABLE PARTS BREAKDOWN ...
Страница 36: ...36 CX201 50 RAILS EXTENSION TABLE PARTS BREAKDOWN ...


