Se
ctio
n
5
- En
gin
ee
r’s
Pro
gra
m
Technical Manual
This option displays all the ingredients available in the machine and enables each one to be
selected and the gram/sec to be calculated, this is required if you want to use the Calculate
Info, the Stock Management or the Sold Out Item features
1. Select the ingredient to be set up.
2. If you already have the information available select Insert and enter your values, if not
select Start. The machine will dispense the product for 4 seconds to prime the canister
3. The following screen will run the ingredient to be dispensed, this should be weighed
and the value entered and saved.
This process is repeated three times, when the third value is entered the machine
calculates the average weight of the three values, this can then be saved.
4. Repeat this procedure for each ingredient.
5. If coffee beans are being used in the machine the grind consistency must be set before
calibration (this is done with the adjuster knob on the grinder)
5.7.1.3 Valve Calibration (all ingredients and valves must have been be calibrated)
This option enables water dispense volumes to be set in millilitres rather than in seconds.
With the exception that it does not need to prime the valve the procedure to do this is the
same as for calibrating the dry ingredients.
Hot water will be dispensed during this calibration.
5.7.1.4 Stock Management (all ingredients and valves must have been be
calibrated)
If enabled this feature will give an incremental value of the stock via Crane telemetry which
has been loaded into the machine. This screen enables Stock Management to be Enabled or
Disabled.
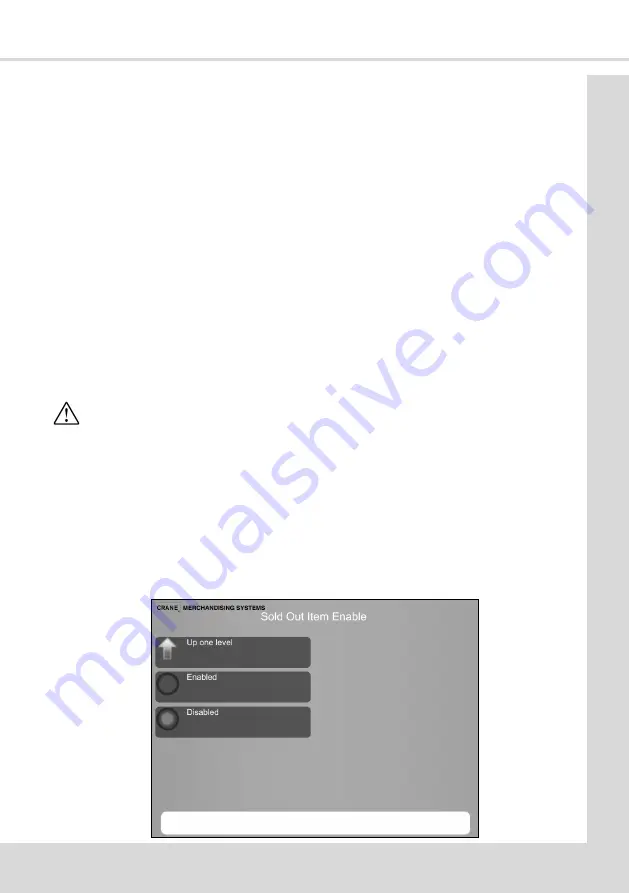
5.7.1.5 Sold Out Item Enable (all ingredients and valves must have been be
calibrated)
This option if enabled will remove selections from the menu if there is insufficient ingredient
in the machine for a successful vend to take place.
71
Содержание COTI
Страница 1: ...Part No 403018 Issue April 2021 Technical Manual From software version 3 7 1 ...
Страница 2: ......
Страница 30: ...Section 3 Programming Mode 20 ...
Страница 33: ...Section 4 Customising the User Interface Technical Manual 13 14 15 16 17 18 19 20 21 22 23 24 23 ...
Страница 35: ...Section 4 Customising the User Interface Technical Manual 7 8 9 10 11 25 ...
Страница 128: ...Section 8 Espresso System 8 2 1 Espresso Water Flow Diagram 118 ...
Страница 148: ...Section 11 Electrical Electronic Diagrams Atlas H Board Pin Connections COTI 138 ...
Страница 150: ...Section 11 Electrical Electronic Diagrams Atlas H Board Pin Connections LINEA 9 10 1 140 ...
Страница 152: ...Section 11 Electrical Electronic Diagrams 11 8 Input Circuit 1 COTI 142 ...
Страница 153: ...Section 11 Electrical Electronic Diagrams Technical Manual 11 9 Input Circuit 2 COTI J2 J7 143 ...
Страница 154: ...Section 11 Electrical Electronic Diagrams 11 10 Input Circuit 1 LINEA 144 ...
Страница 155: ...Section 11 Electrical Electronic Diagrams Technical Manual 11 11 Input Circuit 2 LINEA J2 J7 ORANGE BLUE 145 ...
Страница 156: ...Section 11 Electrical Electronic Diagrams 11 12 Output Circuit 1 COTI 146 ...
Страница 158: ...Section 11 Electrical Electronic Diagrams 11 14 Output Circuit 1 LINEA 148 ...
Страница 162: ...Section 11 Electrical Electronic Diagrams 11 18 Power Circuit LINEA Instant Freshbrew 176 O 244 O 1 2kW 176 O 152 ...
Страница 163: ...Section 11 Electrical Electronic Diagrams Technical Manual 11 19 Power Circuit LINEA Espresso 244 O 1kW 153 ...
Страница 168: ...NOTES 158 ...
Страница 169: ......


