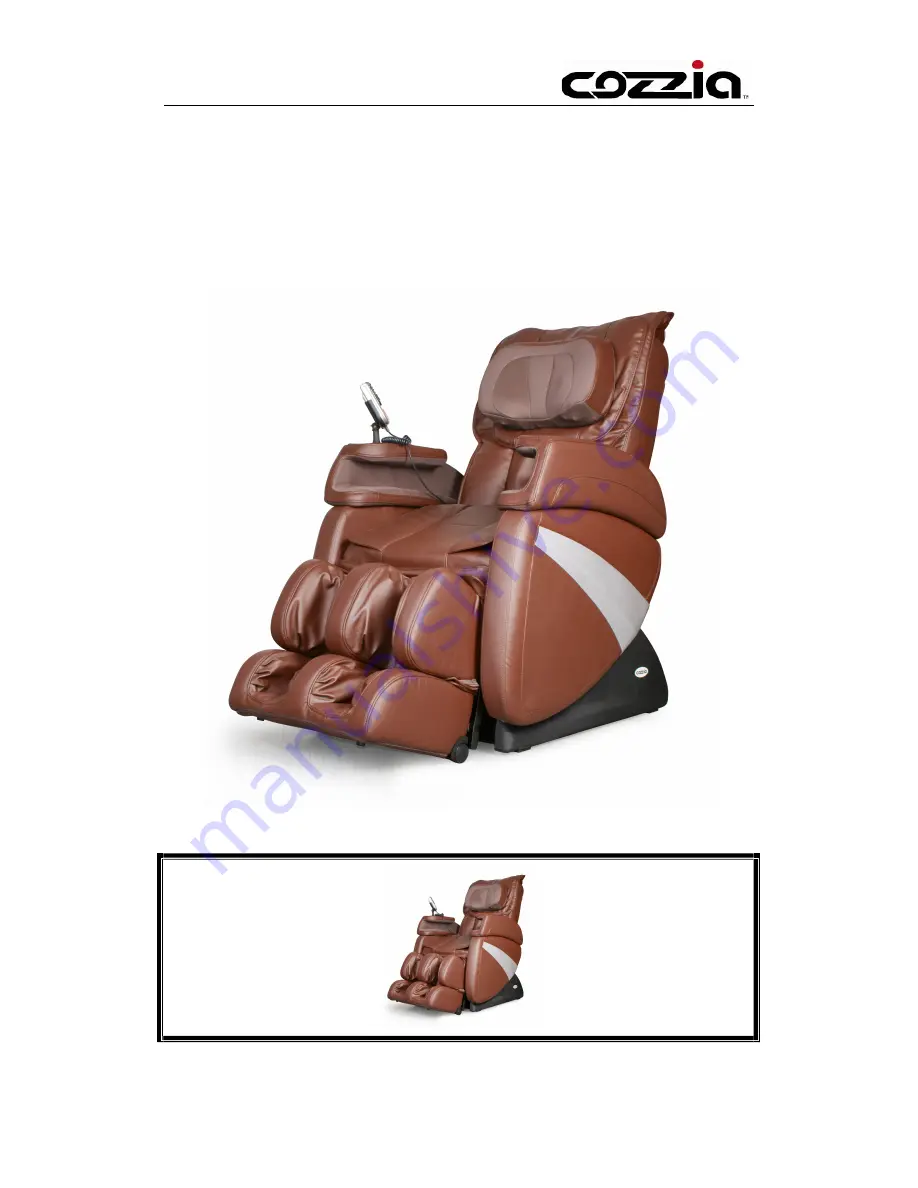
Maintenance Service Manual
MODEL: EC-363C
Страница 1: ...Maintenance Service Manual MODEL EC 363C...
Страница 2: ...re Power supply circuit poorly connected main PCB fails Replace Fuse Replace Power Box Replace main PCB 02 No function when starting The LCD is illuminating LCD Mechanical switch fails or it s wire is...
Страница 3: ...on massage mechanical and wires are poorly connected Width Inspection fails Main PCB fails Plug the terminal securely or replace the wires Replace the Width Inspection Replace the main PCB 04 No Parti...
Страница 4: ...res Replace Down Stroke Sub assembly Replace Up Stroke Sub assembly Replace Rolling Motor Replace main PCB 06 No kneading The terminals on main PCB and wires are poorly connected Kneading motor fails...
Страница 5: ...ly connected The PCB in the remote controller fails Plug the terminal securely or replace the wires Replace the remote controller 09 Back rest cannot be reclined or raised The terminals of reclining a...
Страница 6: ...he seat pad Print motors fail The terminals and wires are poorly connected or the wires fail Main PCB fails Replace the print motor Plug the terminal securely or replace the wires Replace main PCB 12...
Страница 7: ...rest The terminal of the snuffle valves and wires are poorly connected The snuffle valves fail The inflator pump fails Main PCB fails Plug the terminal securely Replace the snuffle valves Replace the...
Страница 8: ...or standing which on the seat 18 14 Disassembly of remote control 19 15 Disassembly the front board 19 16 Disassembly of the side board 19 17 Disassembly of the backrest reclining actuator 20 18 Disas...
Страница 9: ...on the seat B Find the 2 wire plugs below the backrest then disconnect these two plugs one is gray one is black C Take off the bolt which joint the backrest and the backrest actuator D Pull the backr...
Страница 10: ...we can see three screws that fixing the rear cover And another one is under a warning card B 4 Slacken and remove the 4 screws then we can take the rear cover off C After the rear cover has been taken...
Страница 11: ...rolling motor make sure the magnet not block the up stroke C Disconnect the connecter D 3 Take off the three nuts which fixing the limit sensor to the frame 4 four screws that fixing the front cover...
Страница 12: ...of the rear cover of the backrest to take of the rear cover B Take off the kneading belt C Cut the cable ties and peel the tube then find the socket of jacks of the kneading motor D Take the socket of...
Страница 13: ...kneading belt 7 Disassembly of the gear box A Refer to the Disassembly of the rear cover of the backrest to take of the rear cover B Turn on the chair and let the massage mechanism move to the middle...
Страница 14: ...then take off the massage mechanism H 4 Take off the four screws to separate the tapping motor and the massage mechanism Then we can take off the massage mechanism 8 Disconnect rolling motor A Remove...
Страница 15: ...ackrest See image below C Disassembly the rolling motor 9 Disassembly of the backrest pad A Unzip the zipper between the seat rest and the backrest pad B 3 Find the terminals of the 3 air hose and the...
Страница 16: ...ly of the haunch rest air bag and heater A Refer to the Disassembly of the backrest pad to take off the backrest pad B Unzip the zipper on the backrest pad then cut the cable tie and the wire terminal...
Страница 17: ...pad C Unzip the zipper between the seat rest cover and the seat rest D 4 Slack and remove the 4 screws of the seat rest air hose E 3 1 Disconnect 3 air hoses of seat pad and a wire terminal of seat pa...
Страница 18: ...embly of air bag for standing which on the seat A Take off the seat pad Refer to the disassembly of the seat pad C 6 Open the seat rest follow the air hose find and disconnect the connecter slack and...
Страница 19: ...ontrol wire and the inner board D Pull out the terminal of the remote control then you can take the remote control 15 Disassembly the front board Raised the foot rest then slacken and remove all the s...
Страница 20: ...t reclining actuator 2 Along the connecting wires of the reclining actuator to find the 2 connectors then disconnect them Remove the upper part of the front boards on the right Then the reclining actu...
Страница 21: ...to the extreme position then find each end of the actuator is fixing on the U stay fork There are two plastic bush rings in the hole Attention You must use the brace to support the footrest avoid the...
Страница 22: ...reme position B Remove the bottom part of the front boards C 2 Along the connecting wires of the zero gravity actuator to find the 2 connectors then disconnect them D 2 Find each end of the actuator i...
Страница 23: ...C 6 Pull out all the terminals on the main PCB find out the 6 PCB supports D PCB With the help of a pliers take off the main PCB 21 Disassembly of transformer A Take the PCB cover refer to disassembl...
Страница 24: ...the PCB cover refer to disassembly of main PCB B 4 Take off four screws which fixing the tie of the inflator Pump C Cut the cable ties then pull the pipe out D Cut the cable ties that fixing the infl...
Страница 25: ...air valve then remover the air valve Disassembly of the leg rest 24 Disconnect Leg rest CAUSE If the Leg rest is broken and need to be replaced please consult the steps as below A B C NOTE This leg r...
Страница 26: ...fixing E 10MM 5MM Last slacken and remove the screws fixing leg rest and seat rest disconnect them 25 Replacement the extend motor A After disconnect leg rest slacken and remove screws for take away...
Страница 27: ...ion set it well 26 Leg rest s stroke photo electricity 7MM 3pcs Use tools slacken and remove the screws 3pcs then disconnect the wire terminal 27 PCB Replace the leg rest PCB 7MM PCB 4pcs PCB Use tool...
Страница 28: ...al C 7mm Use tools take away the fixing the pin and remove the screws replace new one set it up 29 Replace pin rocker bearing s nut A Find screws 2pcs near the motor on the top of leg rest And find sc...
Страница 29: ...in of motor and turn up the leg rest at last take off the backboard B 4pcs Turn on the motor belt to adjust actuator longest then slack and remove fixing the screws 4pcs After open the zipper slack an...
Страница 30: ...the side board of wheel use tools slacken and remove fixing the pin then take it off C PE 6pcs PE Open the zipper on the bottom and remove fixing the screws on the PE board After take away the PE boar...
Страница 31: ...F Use tools take away fixing the screws with upper rest At last How to tear it down and how to set it up Slacken and remove fixing the screw with upper rest...