


165
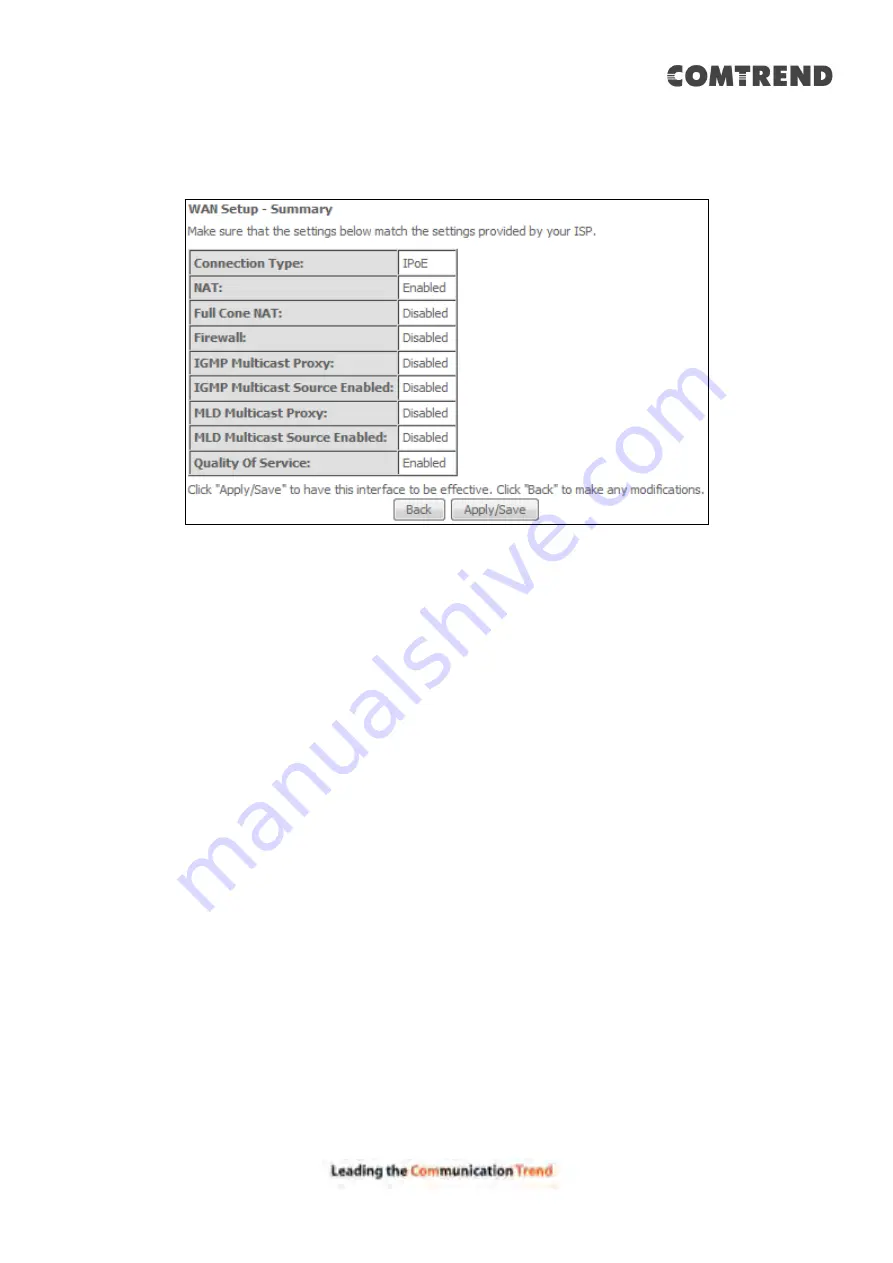
STEP 6:
The
WAN Setup - Summary screen shows a preview of the WAN service
you have configured. Check these settings and click
Apply/Save
if they
are correct, or click
Back
to modify them.
After clicking
Apply/Save
, the new service should appear on the main screen.
To activate it you must reboot. Go to Management
Reboot and click
Reboot
.
Содержание AR-5319
Страница 1: ...AR 5319 ADSL2 WLAN Router User Manual 261056 079 Version A1 1 March 6 2017...
Страница 40: ...39 4 11 2 Site Survey The graph displays wireless APs found in your neighborhood by channel...
Страница 56: ...55 5 3 3 UPnP Select the checkbox provided and click Apply Save to enable UPnP protocol...
Страница 67: ...66 Enter the PPP username password given by your service provider for PPP service detection...
Страница 79: ...78 6 3 2 Wlan Queue Displays the list of available wireless queues for WMM and wireless data transmit priority...
Страница 111: ...110 Enter the MAC address in the box provided and click Apply Save...
Страница 132: ...131 Note Passwords may be as long as 16 characters but must not contain a space Click Save Apply to continue...
Страница 149: ...148 To add a WAN connection go to E2 WAN Connections...
Страница 156: ...155 10 IPoA IPv6 Not Supported The subsections that follow continue the WAN service setup procedure...
Страница 185: ...184 Click Next to continue or click Back to return to the previous step...
Страница 203: ...202 STEP 2 Click the Windows start button Then select Control Panel...
Страница 204: ...203 STEP 3 Select Devices and Printers STEP 4 Select Add a printer...