


NOTE
For added protection, it is recommended to use a Surge Protection device plugged between
the AC Adapter and the electrical wall outlet to prevent the effects of sudden current
variations from reaching the LCD Monitor. Sudden peaks of electricity may cause damage to
the Monitor.
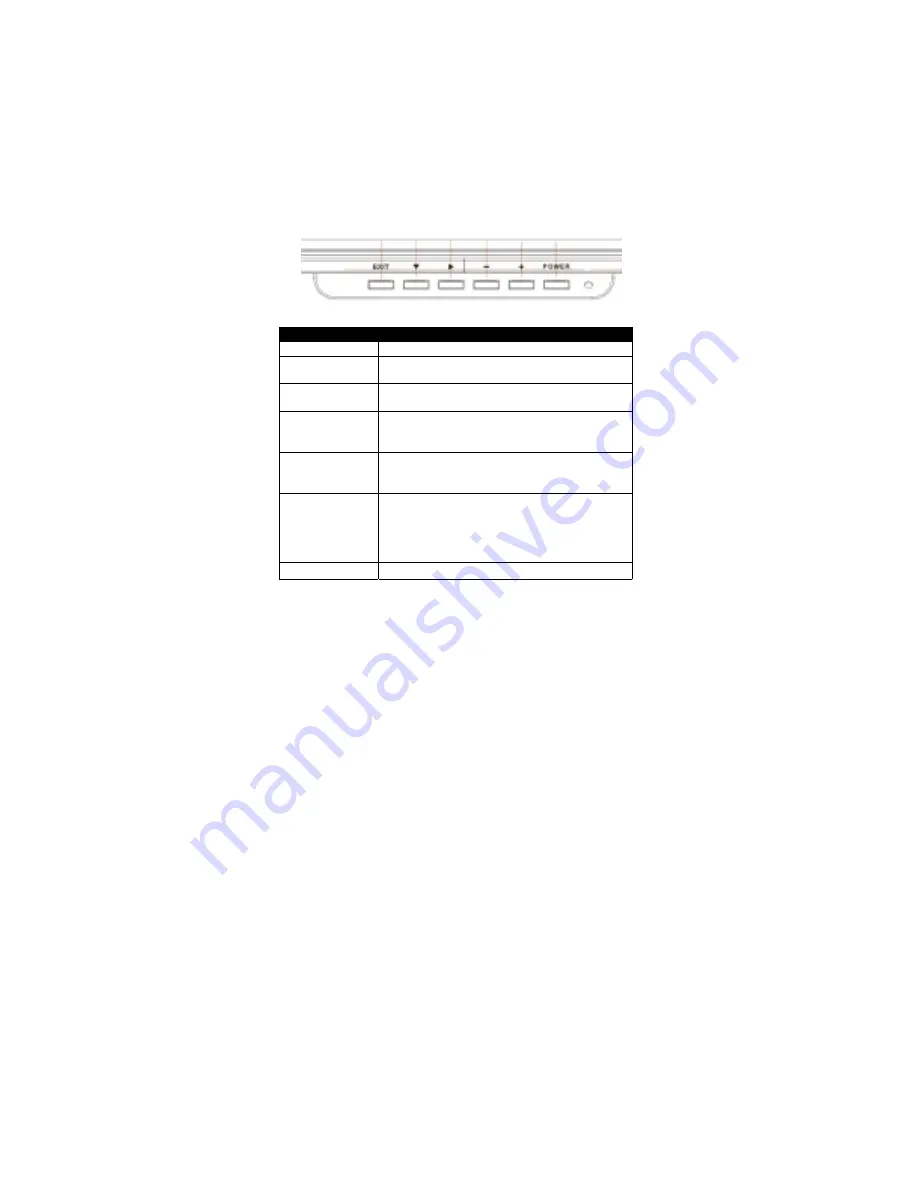
OPERATING THE MONITOR
The LCD monitor has been preset at the factory with the Timing shown in Appendix to create optimal
picture. Users are also able to adjust the picture to the desired brightness and sharpness by following
the instructions.
Buttons
Functions
EXIT Button
Exit the OSD (On Screen Display)
Arrow key
Press to bring up the On Screen Display and
select main menu items
υυυυ
Arrow key
Press to bring up the On Screen Display and
select sub menu items
“-” Minus key
Adjust sub-setting bars i.e. CONTRAST,
BRIGHTNESS, etc. to decrease setting values
of the OSD
“+” Plus key
Adjust setting bars i.e. CONTRAST,
BRIGHTNESS, etc. to increase setting values
of the OSD
LED power
status display
Green – Normal operation
Amber – Power Management (i.e. DPMS
mode: reduces power consumption < 5W when
receiving no horizontal and/or vertical sync
signal)
Power Switch
For turning ON/OFF the monitor


