


Chapter 5 Navigating in the Web-based Configuration Interface
53
5.3
Help Menu
The subheadings that are listed under this category are:
•
Get Technical Support
•
About System
5.3.1
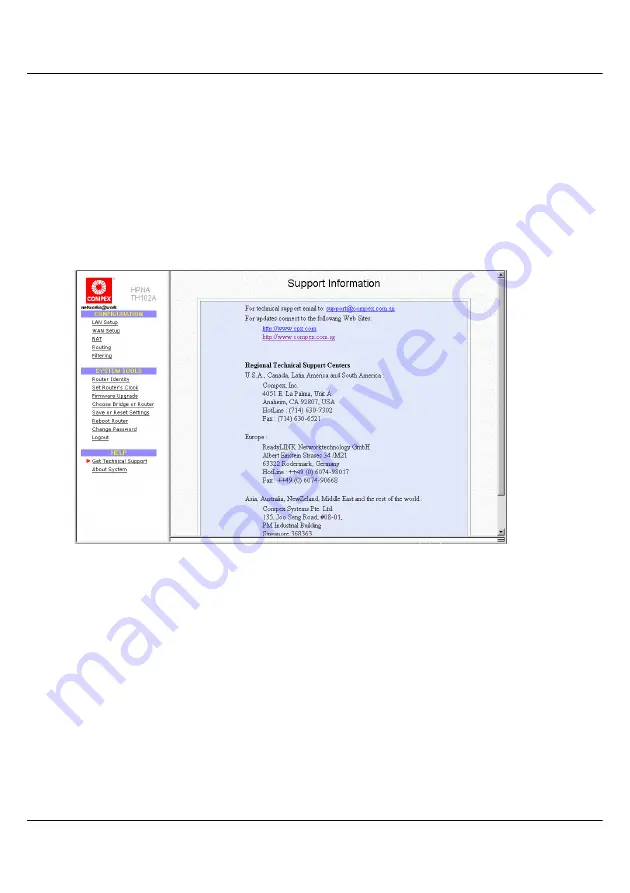
Get Technical Support
This is the page where you can find the contact number of Compex’s staff who can assist you in
technical issues with regards to our products.
Figure 5.3.1 Support Information
Содержание NETPASSAGE Series
Страница 1: ......
Страница 18: ...Chapter 1 Product Overview 10 1 8 TH102 A Implementation Figure 1 8 TH102 A Implementation...
Страница 67: ...Chapter 6 TCP IP Configuration 59 c d Figure 6 2 a d Sequence diagrams for configuring TCP IP...
Страница 78: ...NOTES...