


If the original logo is still installed and it is necessary to replace it,
complete the following steps:
1. Remove the unit cover assembly as described later in this section.
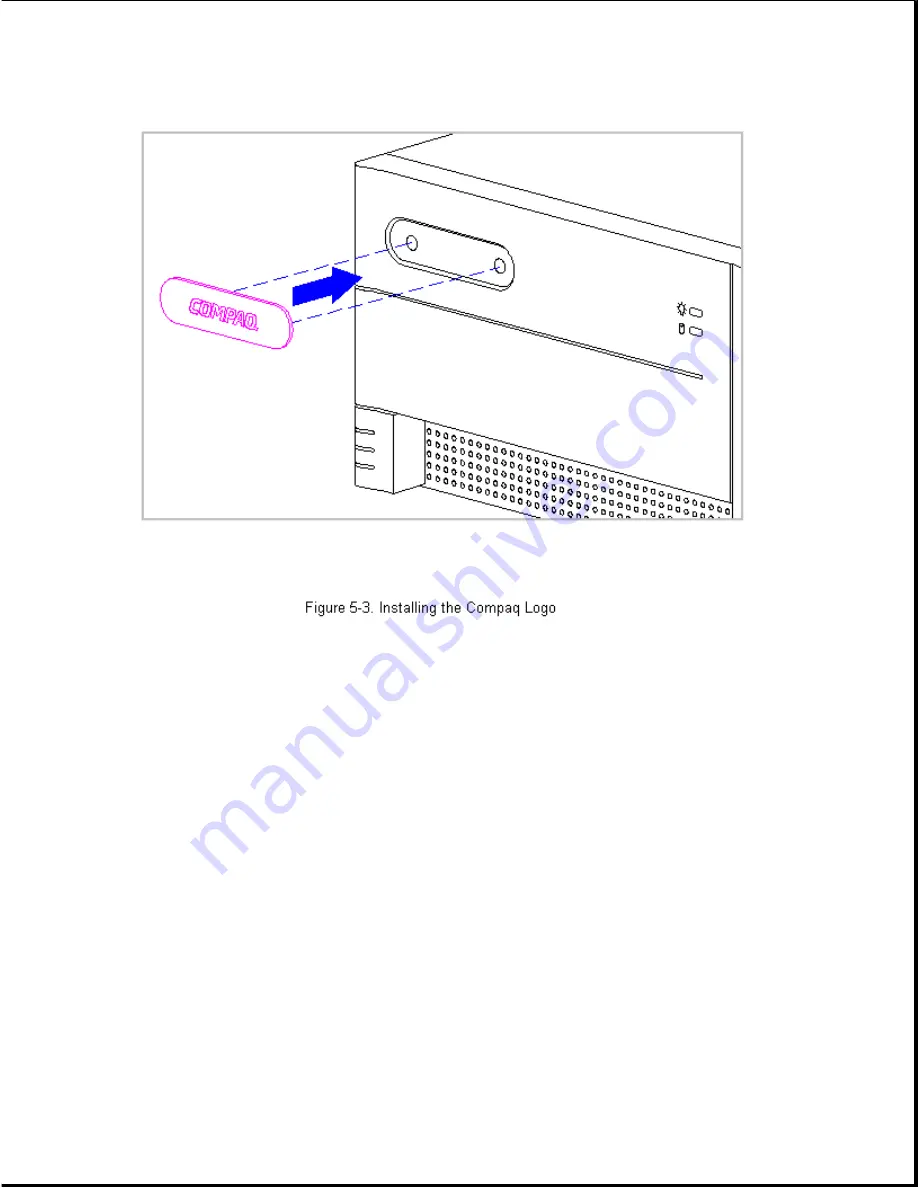
2. From the inside of the front bezel, use a small screwdriver at the two
holes shown in Figure 5-3 to apply pressure to the logo and remove it
from the front bezel.
3. Clean the recessed area in the front bezel where the logo is to be
installed with a clean, damp cloth.
4. Remove the protective cover from the back of the replacement logo and
press it into place as shown in Figure 5-3.
Rear Corner Bezels
The rear corner bezels are not designed for removal; it is difficult to
remove the bezels without damaging them. The right rear bezel is mounted
to the chassis; the left rear corner bezel is mounted to the system board
bracket. There is usually no reason to remove these bezels. Replacement
bezels can be installed without removing the unit cover assembly. The
bezels snap into place as shown in Figure 5-4.
Содержание Prolinea 4100
Страница 92: ...7 Release the wires going to the power switch from the clamps on the base pan Figure 5 14...
Страница 94: ......
Страница 95: ......
Страница 112: ...8 Remove and retain the hard drive mounting bracket Figure 5 33...
Страница 148: ......
Страница 149: ...540 MB IDE Hard Drive Jumper Settings The jumper settings for the 540 MB IDE are shown in Figures 6 9 and 6 10...
Страница 150: ......
Страница 151: ...720 MB IDE Hard Drive Jumper Settings The jumper settings for the 720 MB IDE are shown in Figure 6 11...
Страница 152: ...1 GB IDE Hard Drive Jumper Settings The jumper settings for the 1 GB IDE are shown in Figure 6 12...
Страница 167: ......
Страница 168: ......
Страница 191: ...Table A 2 Mouse Pin Signal 1 Data 2 Unused 3 Ground 4 5 VDC 5 Clock 6 Unused...


