NBLB2 Service Manual
43
12.9.3
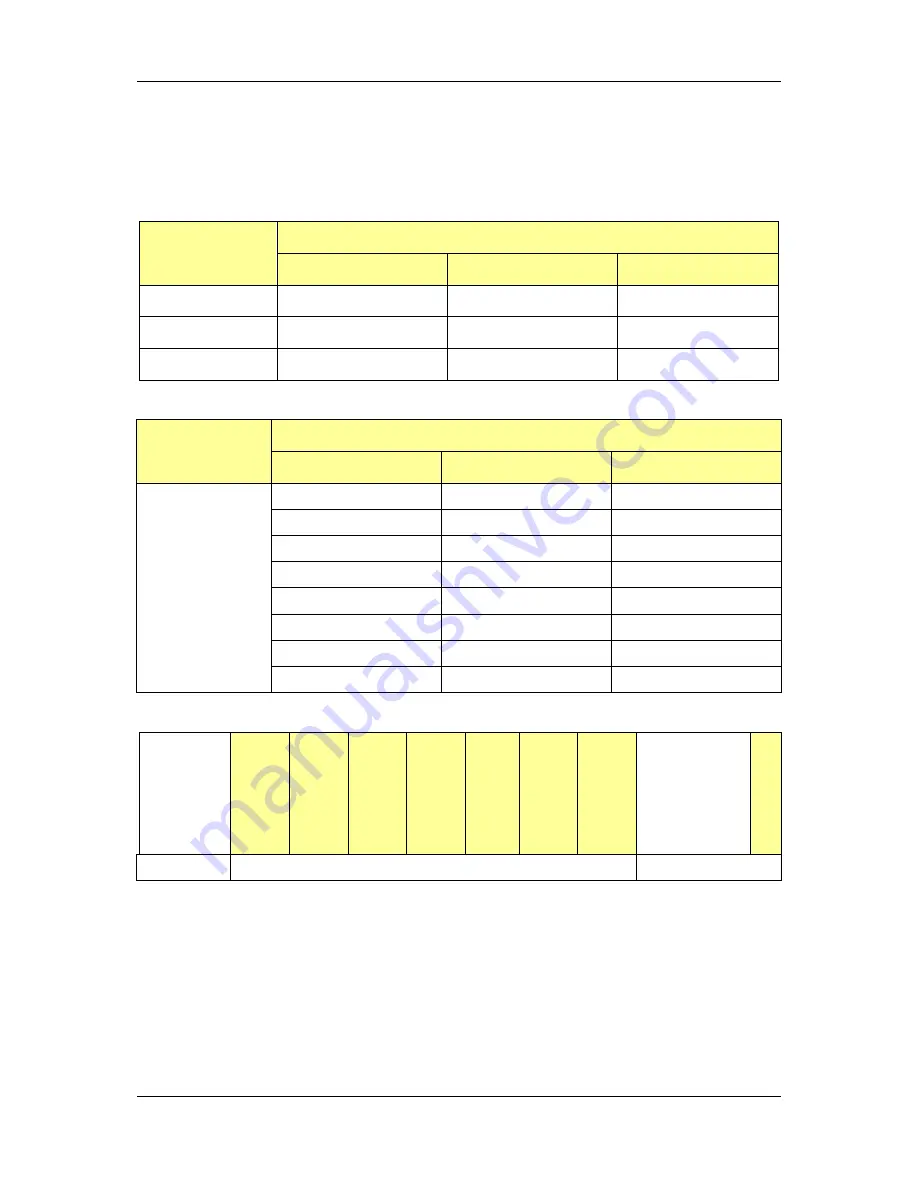
Deep Sleep
EC will enter deep sleep mode when system in S3/S4/S5 state to save
power consumption.
In deep sleep mode, EC will stop all device service function.
Enter deep sleep mode conditions.
Status
S3
S4
S5
AC only
V
V
V
Battery only
V
AC + Battery(full)
V
V
V
Wake up events
Status
S3
S4
S5
Wake up events
SLP_S3
SLP_S4
SLP_S5
Keyboard (if needed)
PME
PME
Touch pad (if needed)
Power button
Power button
PME
AC_IN
AC_IN
Power button
WDT
WDT
AC_IN
CIR (if needed)
CIR (if needed)
WDT
CIR (if needed)
The deep sleep cycle shows as below.
Wake 2 S
to read
total
battery
command
Delay
30ms
Deep
Sleep
500ms
Delay
30ms
Deep
Sleep
500ms
…
Delay
30ms
Deep
Sleep
500ms
Wake 2 S to
read total
battery
command
…
Deep Sleep Cycle 120 times=60 sec
12.10 Thermal Status Report and Fan Control
EC will control fan on/off function according to the CPU temperature (EC
will get temperature from PCH through SMBus). Fan will be off when
temperature below speed 1 speed down temperature, and if temperature
over EC Shutoff temperature five times, EC will auto turn off system to
protect CPU. The following table is detailed settings.
If system is failed to read CPU temperature from PCH, fan will be on for
30s when system is from S5/S4 to S0, and it will be on for 3s when
system is from S3 to S0.
Содержание NBLB2
Страница 1: ...NBLB2 Service Manual...
Страница 6: ......
Страница 7: ...1 Chapter 1 System Description Specification...
Страница 12: ...NBLB2 Service Manual 6 Chapter 2 Software Specification...
Страница 66: ...NBLB2 Service Manual 60 Chapter 3 Hardware...
Страница 69: ...NBLB2 Service Manual 63 Chapter 4 DC DC Converter...
Страница 74: ...NBLB2 Service Manual 68 VOLTAGE IDENTIFICATION CODES...
Страница 75: ...NBLB2 Service Manual 69...
Страница 76: ...NBLB2 Service Manual 70...
Страница 83: ...NBLB2 Service Manual 77 Chapter 5 Disassembly Guide...
Страница 89: ...NBLB2 Service Manual 83 4 Grasp the module and pull it out...
Страница 97: ...NBLB2 Service Manual 91 3 Them remove LVDS cable and microphone cable speaker cable 4 Remove the LCD module...
Страница 100: ...NBLB2 Service Manual 6 Gently lift out the display Remove eight screws securing the hinges to the display...
Страница 103: ...NBLB2 Service Manual 97 3 Lift off the logic upper...
Страница 111: ...NBLB2 Service Manual 97 3 Lift off the logic upper...
Страница 118: ...NBLB2 Service Manual Chapter 6 Testing and Troubleshooting...
Страница 121: ...NBLB2 Service Manual 107 Figure 6 1 Troubleshooting flowchart 1 2...
Страница 122: ...NBLB2 Service Manual Figure 6 1 Troubleshooting flowchart 2 2...
Страница 124: ...NBLB2 Service Manual 3 Power Supply Troubleshooting Figure 6 2 Power Supply Troubleshooting Process...
Страница 129: ...NBLB2 Service Manual 115 4 Display Troubleshooting Figure 6 3 Display troubleshooting process...
Страница 132: ...5 Keyboard Troubleshooting Figure 6 4 Keyboard troubleshooting process...
Страница 134: ...6 External USB Devices Troubleshooting Figure 6 5 External USB device troubleshooting process...
Страница 136: ...7 CRT troubleshooting Figure 6 6 CRT troubleshooting process...
Страница 138: ...8 HDMI troubleshooting Figure 6 7 HDMI troubleshooting process...
Страница 140: ...9 Touch Pad Troubleshooting Figure 6 8 Touch Pad troubleshooting process...
Страница 142: ...10 Speaker Troubleshooting Figure 6 9 Speaker troubleshooting process...
Страница 144: ...11 CD ROM DVD Troubleshooting Figure 6 10 CD ROM DVD drive troubleshooting process...
Страница 146: ...12 Wireless LAN Troubleshooting Figure 6 11 Wireless LAN troubleshooting process...
Страница 148: ...The system board may be damaged Replace it with a new one following the instructions in Chapter...


