Colortrac SmartLF Gx/GxT Range Installation and Operating Instructions
PAS161 P/N: P002168 Colortrac Ltd © 2008
19
If streaking of the scanned image is seen after careful inspection and cleaning of both
sides of the scanner glass some dirt may have been incorporated into the normalisation
at the last calibration. The scanner should then be re-normalised using the
matte
side of
the calibration target making sure it is clean and free from deep creases. NOTE: The
scanner must have reached its normal operating temperature prior to recalibrating. See
section 21 below.
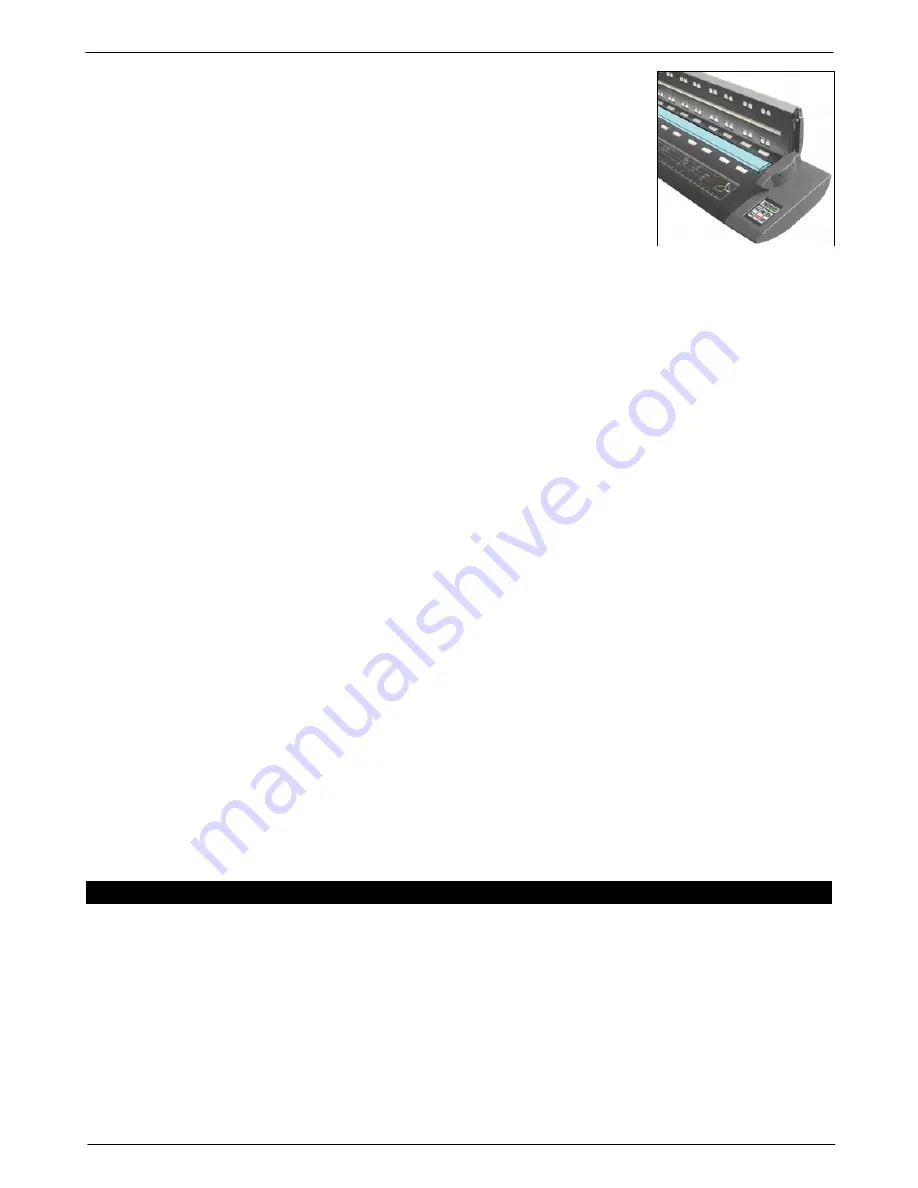
In the event of the glass becoming badly scratched and affecting scans a replacement
can be ordered from your Colortrac supplier. Replacing the glass will not affect the
alignment or stitching of SmartLF Gx/GxT and does not require a technician.
If vertical lines still occur through the scanned image it may mean that dust or dirt has
found its way into one of the Digital Camera Unit modules. You can attempt to remove it
but you must follow the instructions below very carefully or an EXPENSIVE REPAIR MAY
BECOME NECESSARY.
1. AVOID the use of canned air or aerosols of compressed air if at all possible as these rarely contain only clean air.
If you must use canned air -
Ensure you use a brand intended for optics and not one for general electronics. Commonly available
products often contain propellants and produce other residues that will dry and contaminate the surface
you are trying to clean.
Never shake the container before use as this will mix the propellant with the ‘air’.
Always try to keep the container upright when in use.
Always use strong bursts - DO NOT progressively squeeze the trigger, as this may cause nozzle splutter.
Always start the jet away from the optics first to clear the nozzle before directing onto the optics.
Always spray test the product on some old dark glasses or dark shiny plastic to check for signs of residue.
Be aware that an almost empty can draw propellant and other residue into the air stream.
2. TRY IF POSSIBLE to find a hand air pump without a tip brush similar to the type used for cleaning cameras.
Various brands of these are available but a particularly good example is the Rocket Air Pump obtainable from good
camera accessories shops or on-line. These devices use an inlet valve that prevents dirt from being sucked back
into the bulb between blasts and supply clean, contaminate-free air. Do not allow the nozzle to physically touch
the optics.
3. AVOID using brushes or general brand wipes as these can scratch the optics.
4. AVOID touching any of the components with the fingers, as this will leave a grease film and cause blur.
5. AVOID the use of acetone, ethanol, alcohol and other solvents unless they have been formulated specifically for
cleaning optical surfaces. WARNING! Most of these solvents are hazardous to health.
6. If you suspect the mirror, lens or CCD to have been coated with a residue (e.g. from canned air or other cleaning
agents) we recommend you contact your Colortrac agent immediately.
Other serious maintenance issues such as electronic or a suspected internal mechanical failure should always be
referred to your approved service agent for diagnosis and repair.
22. FIELD UPGRADE OF SMARTLF GX/GXT TO A HIGHER MODEL
If your scanner is a model Gx/GxT m (mono only) or Gx/GxT c (low speed color) SmartLF Gx/GxT it can be upgraded
by purchasing one of the three SmartLF Gx/GxT Field Upgrade products available. The upgrades are ordered by
Product Code.
The process for model upgrading is as follows:
STEP 1 – GENERATE THE UPGRADE FILE USING THE SMARTLF GX/GXT SERIAL PROGRAM
1. Confirm that SmartLF Gx/GxT is connected and working (i.e. driver installed properly)
Picture: Removable / replaceable
glass cover of the Gx/ GxT
scanner


