


DSC Operation
DSC Operation
•
Sending DSC calls is done from menus similar to the settings menu. Whereas
entering the settings menu required a press and hold of the Call/Set button, the
sending menus appear with a press of the Call/Set button or the Distress button.
All received DSC calls will sound one or another of the alarms to alert you to them.
See pages 31 – 32 for descriptions of the different alarms. Pressing any button will
turn off the alarm while maintaining the received call information on the LCD.
This radio follows Class D DSC with a dedicated Channel 70 receiver.
Sending Distress Calls
The ability to send and receive distress calls and their acknowledgements
on Channel 70 can literally be a lifesaver for you or another mariner.
NOTE
The DSC call will:
■
Sound the distress alarm at all receiving stations.
■
Inform receiving stations of your identity (MMSI.)
■
Inform receiving stations of your position if you have a GPS
device connected or you have manually entered your position.
■
Optionally inform the receiving stations of the nature of the emergency.
It will not provide the receiving stations with other distress information
such as the nature of your problem, number of persons aboard, injuries,
or the like. For that, you will have to communicate by voice on Channel 16
with the station that acknowledges your DSC distress call.
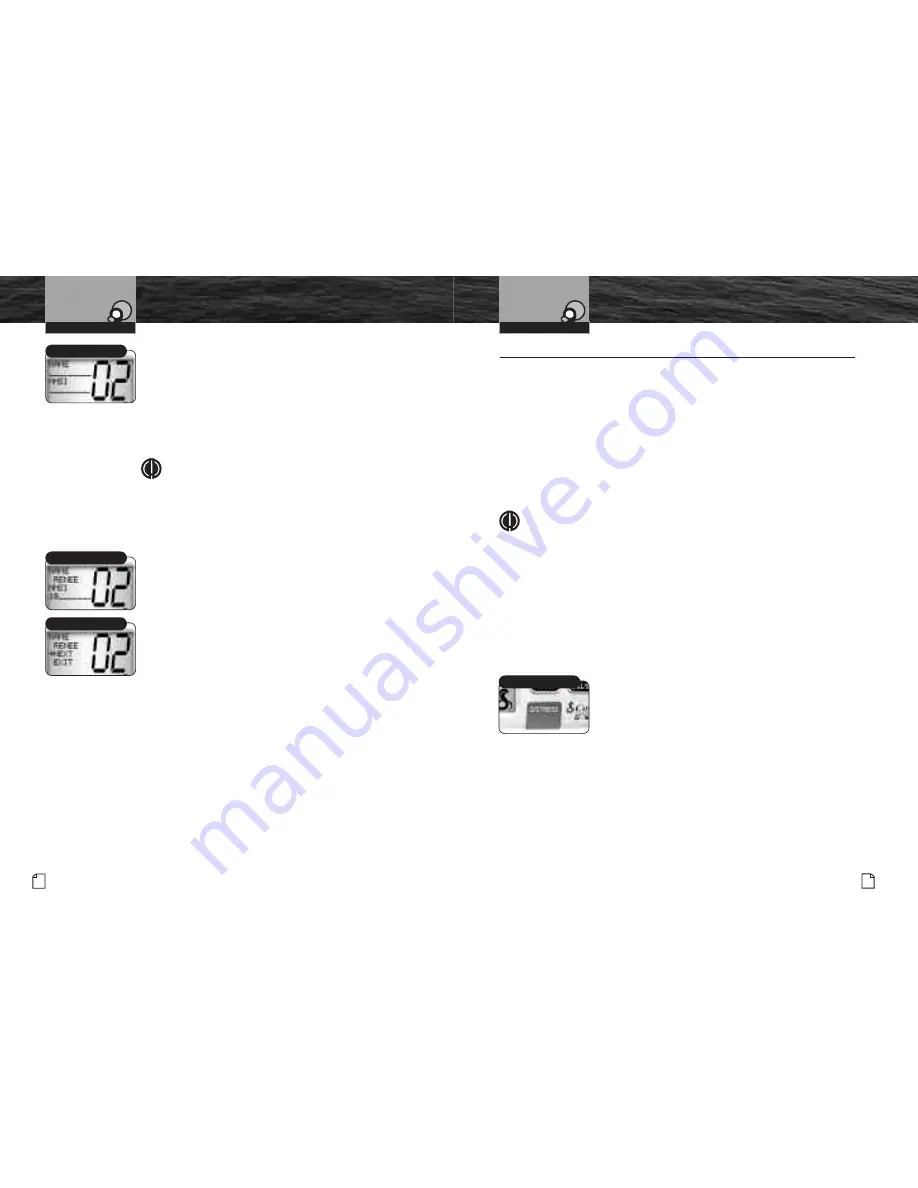
To begin sending a DSC distress call:
1. From Standby mode, lift the red door on the transceiver
and press the Distress button under it. This will open the
Distress menu with the arrow pointing to
SEND
. You will
have three choices:
■
Send the distress call automatically with the position
provided by a connected GPS, or with old or no
position information if a GPS is not connected.
■
Manually enter your position, then send the
distress call.
■
Abort the distress call process and return to
Standby mode.
Enter MMSI
Intro
Operation
Customer
Assistance
Warranty
Notice
Secondary Icons
Caution
Warning
Installation
Customer
Assistance
Operating Your Radio
New Individual
Next/Exit
Intro
Operation
Customer
Assistance
Warranty
Notice
Main Icons
Secondary Icons
Caution
Warning
Installation
Customer
Assistance
4. Press the Call/Set button to select the memory location.
The cursor will begin to blink at the first character under
NAME
.
5. Use the Up/Down buttons to scroll through the character list.
6. Press the Call/Set button to select a character. This will also
move the blinking cursor to the next character under
NAME
.
7. Repeat steps 5 and 6 to enter additional characters —
up to a maximum of nine — for the name.
NOTE
Press the High/Low Power button to backspace
and erase the last selected character.
8. After entering the name, press and hold the Call/Set
button to move the blinking cursor to the first character
under
MMSI
.
9. Use the Up/Down buttons to scroll through the number list.
10. Press the Call/Set button to select the number and
move the cursor to the next character under
MMSI
.
11. Repeat steps 9 and 10 until the nine digit MMSI
is entered.
12. Press and hold the Call/Set button to move to the
next memory location or exit.
13. Select
NEXT
or
EXIT
with the Call/Set buttons.
If
NEXT
is selected, pressing the Call/Set button will
move to the next memory location where another
name can be entered by repeating steps 3 – 11.
If
EXIT
is selected, pressing the Call/Set button
will return you to the Settings menu.
You can enter a total of ten names and MMSI
numbers in the directory.
DSC Set-Up
50 English
Nothing
comes close to a Cobra
®
51
Intro
Operation
Customer
Assistance
Warranty
Notice
Secondary Icons
Caution
Warning
Installation
Customer
Assistance
Operating Your Radio
Automatic
Intro
Operation
Customer
Assistance
Warranty
Notice
Main Icons
Secondary Icons
Caution
Warning
Installation
Customer
Assistance


