Instruction:
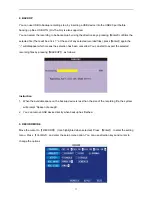
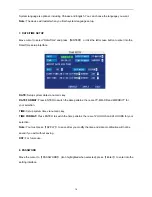
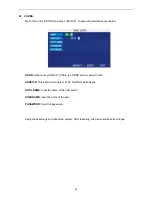
MONTH:
Will show the recording status in this month. Green means normal recording, Red means alarm
recording, Blue means no recording. Clicking any date in this frame will search the recording status of that
day, the search results will be shown below in the date frame..
DATE:
Will show the recording status in this day, you can playback the recorded files in any period by
clicking the corresponding period.
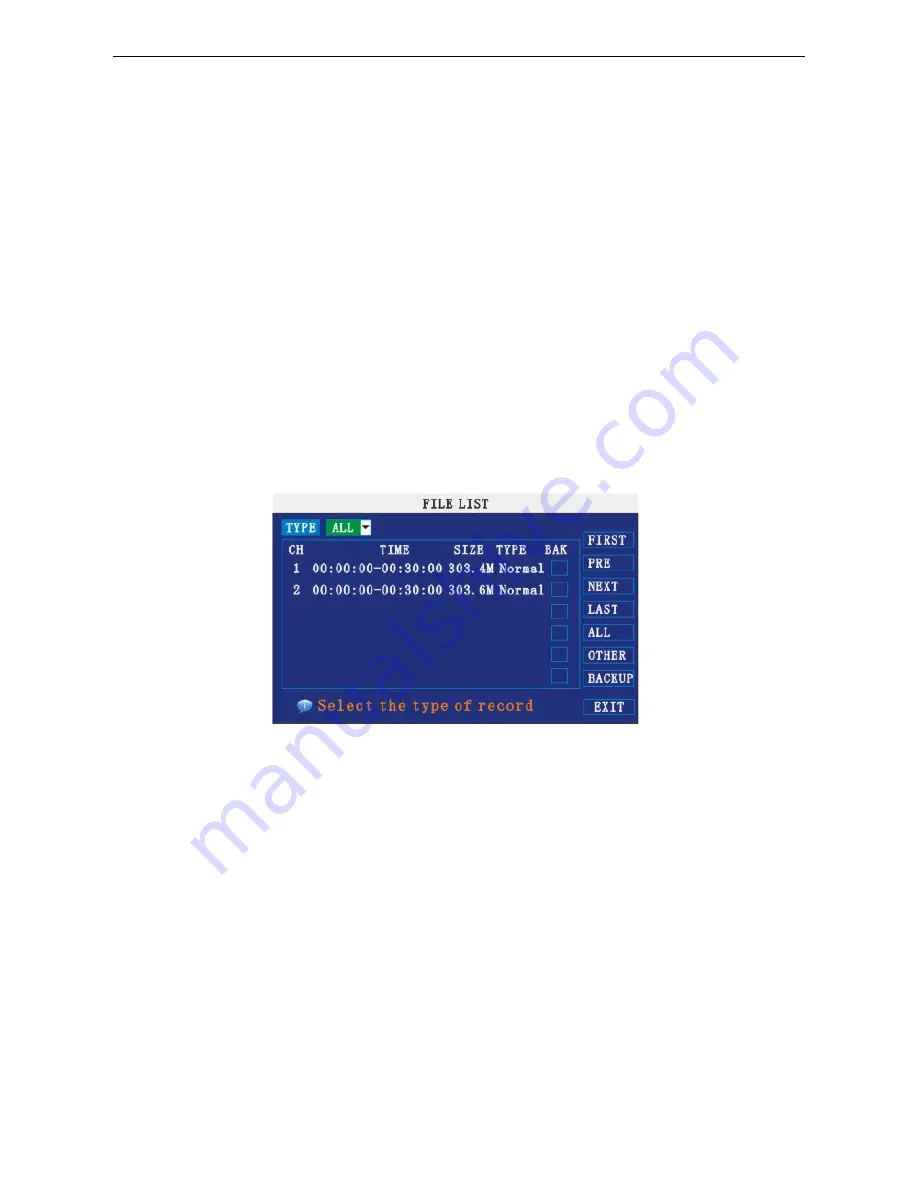
Method 3: playback by file list:
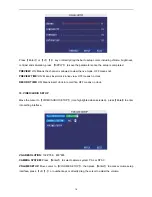
Input the search date, click “SEARCH” and you can see the recording status. Click an exact day and then
click “detail file” and then you can see the “detail file” listed.
CHANNEL:
There are CH1, CH2, CH3, CH4, CH5, CH6, CH7, CH8 and All, giving a total of 9 options.
Press
【
Enter
】
to change the channel to be displayed.
TYPE:
These are All, Normal and Alarm, total of 3 options. Press
【
Enter
】
and the content will be
displayed in a list.
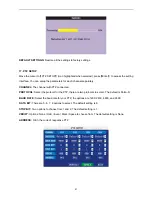
Instruction:
1.
【
FILE LIST
】,
“CH” the corresponding channel the recorded file belongs too. “SIZE” is the displaying
size of this file
(
Unit
:
MB
)
“TYPE” is the displaying type of the recording file : there are two types:
Normal and Alarm. Pressing “BACKUP” button will export the selected files to USB storage
;
2. After moving the cursor up and down and selecting the files, press
【
APPLY
】
to enter into playback
interface. If all channels have recording files, it will playback all windows at the same time
;
3. If setup is “on” in the
【
RECORD TIME
】
in
【
BASIC SETUP
】,
it will show the date/time when playing
back recorded file
;
If setup is “off” it will not display time
.
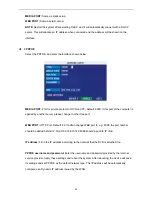
4. During
playback
,
press
【
SLOW
】
to play slowly
;
press
【
FORWARD
】
or
【
REVERSE
】
to speed
up forward or reverse play
;
press
【
PAUSE/STEP
】
to pause and play frame by frame
;
press
【
Exit
】
to exit from playback and return to the former menu.
5. When playback of a file has finished, it will return to the file list.
10


