


41
HLC: After you enabled HLC function, the device can lower the brightness of the brightest section
according to the HLC control level. It can reduce the area of the halo and lower the brightness of the
whole video.
OFF: It is to disable the BLC function. Please note this function is disabled by default.
Profile: It is to set the white balance mode. It has effect on the general hue of the video. This function
is on by default. You can select the different scene mode such as auto, sunny, cloudy, home, office,
night, disable and etc to adjust the video to the best quality.
Auto: The auto white balance is on. System can auto compensate the color temperature to make
sure the vide color is proper.
Sunny: The threshold of the white balance is in the sunny mode.
Night: The threshold of the white balance is in the night mode.
Customized: You can set the gain of the red/blue channel. The value reneges from 0 to 100.
Day/night. It is to set device color and the B/W mode switch. The default setup is auto.
Color: Device outputs the color video.
Auto: Device auto select to output the color or the B/W video according to the de vice feature (The
general bright of the video or there is IR light or not.)
B/W: The device outputs the black and white video.
Sensor: It is to set when there is peripheral connected IR light.
Please note some non-IR series product support sensor input function.
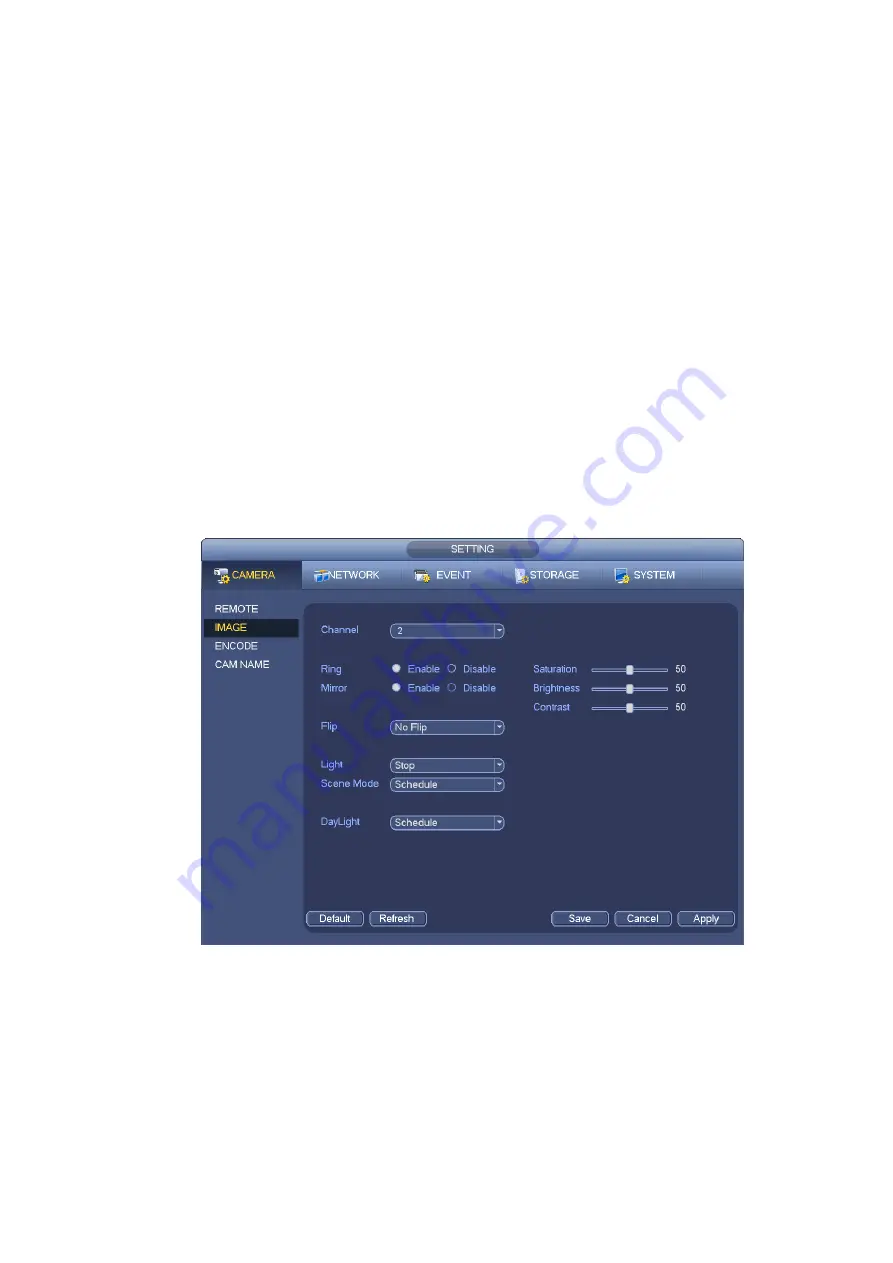
Figure 4-29
4.6.5
Channel Name
From main menu->Setting->Camera-Channel name, you can see an interface shown as in Figure 4-30.
It is to modify channel name. It max supports 31-character.
Please note you can only modify the channel name of the connected network camera.
Содержание PhoenixPlus-08
Страница 1: ...Network Video Recorder User s Manual V 2 4 2 ...
Страница 45: ...34 Figure 4 19 Click smart add button you can see device enables DHCP function See Figure 4 20 Figure 4 20 ...
Страница 102: ...91 Figure 4 91 Figure 4 92 ...
Страница 103: ...92 Figure 4 93 Figure 4 94 ...
Страница 118: ...107 Figure 4 112 Figure 4 113 ...
Страница 119: ...108 Figure 4 114 Figure 4 115 ...
Страница 120: ...109 Figure 4 116 Figure 4 117 ...
Страница 122: ...111 Figure 4 119 Figure 4 120 ...
Страница 149: ...138 Figure 4 150 In Figure 4 150 click one HDD item the S M A R T interface is shown as in Figure 4 151 Figure 4 151 ...
Страница 214: ...203 Figure 5 55 Figure 5 56 ...
Страница 215: ...204 Figure 5 57 Figure 5 58 Figure 5 59 ...
Страница 226: ...215 Figure 5 73 Figure 5 74 ...


