7
6
7
9
3
COMPONENT IDENTIFICATION
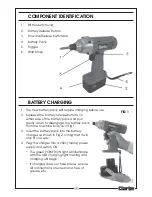
1.
Bit Holder (chuck)
2.
Battery Release Button
3.
Forward/Reverse Switch-bar
4.
Battery Pack
5.
Trigger
6.
Wrist Strap
BATTERY CHARGING
1. The new battery pack will require charging before use.
2. Squeeze the battery release buttons on
either side of the battery pack and pull
gently down to disengage the battery pack
from the machine body as in Fig 1.
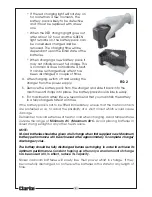
3. Insert the battery pack into the battery
charger, as shown in Fig 2, noting that it will
only fit one way.
4. Plug the charger into a 230v (mains) power
supply and switch ON.
• The green POWER ON light will illuminate
with the RED charging light flashing and
charging will begin.
• If charging does not take place, ensure
all connections are clean and free of
grease etc.
FIG 1
Содержание CIS100
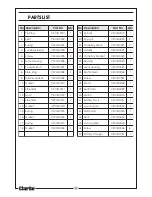
Страница 13: ...13 PARTS DIAGRAM ...
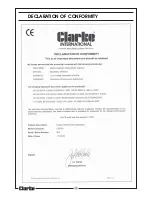
Страница 14: ...14 DECLARATION OF CONFORMITY ...
Страница 16: ......


