Setup
Setting Up Universal Plug and Play (UPnP)
Cisco Small Business RV0xx Series Routers Administration Guide
49
3
To enable UPnP, click
Yes
. To disable this feature, click
No
. Add or edit entries as
needed.
•
To add an entry to the list:
Enter the following information, and then click
Add to List
. You can have up to 30 services in the list.
-
Service:
Select the service. If a service is not listed, you can add a
service. See
Adding a service, page 50
.
-
Name or IP Address:
Enter the name or IP address of the UPnP device.
-
Enable:
Select
Enable
to enable this UPnP entry.
•
To add another new entry:
Enter the information, and then click
Add to list
.
•
To modify an entry in the list:
Click the entry that you want to modify. The
information appears in the text fields. Make the changes, and then click
Update
. If you do not need to make changes, you can click
Add New
to de-
select the entry and clear the text fields.
•
To delete an entry from the list:
Click the entry that you want to delete, and
then click
Delete
. To select a block of entries, click the first entry, hold down
the
Shift
key, and then click the final entry in the block. To select individual
entries, press the
Ctrl
key while clicking each entry. To de-select an entry,
press the
Ctrl
key while clicking the entry.
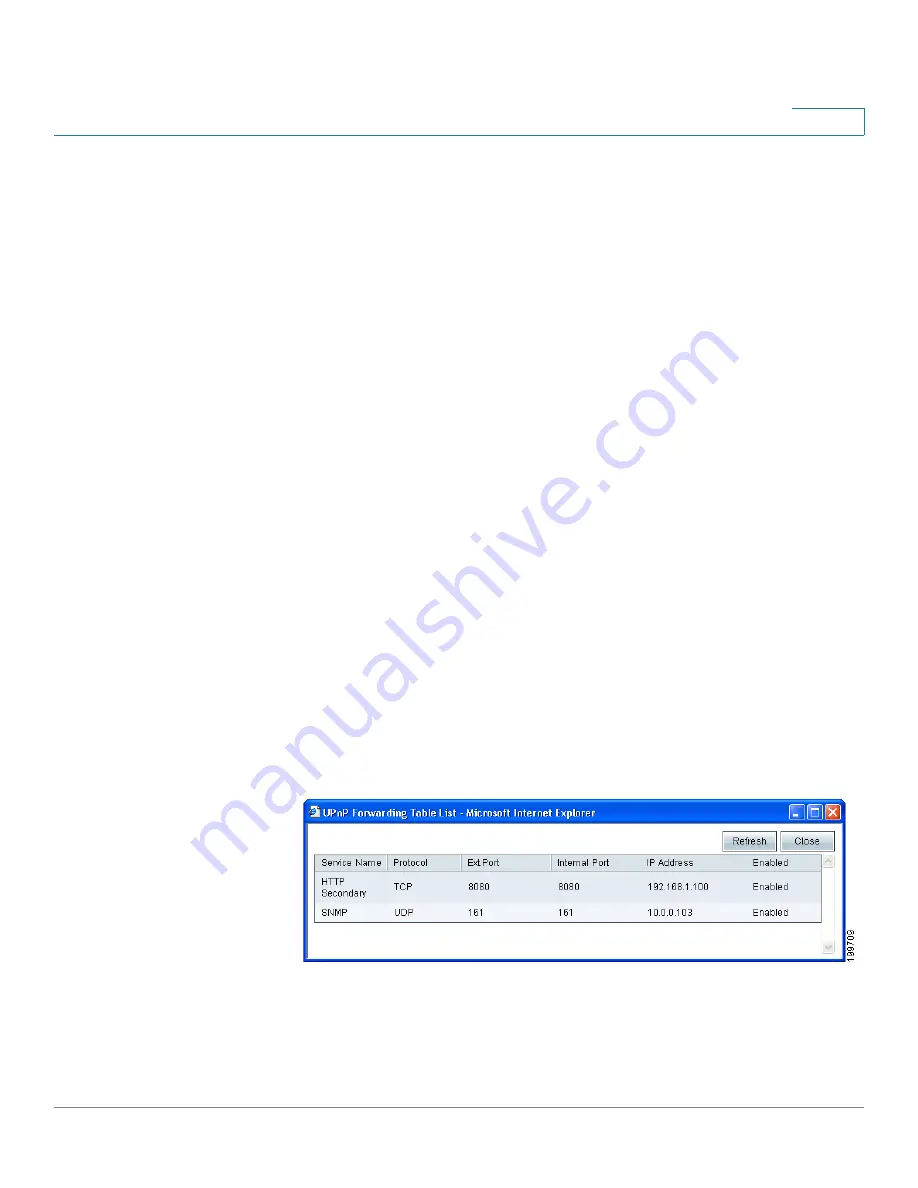
The
UPnP Forwarding Table List
displays the current data. You can click
Refresh
to update the data, or click
Close
to close the pop-up window.
•
To view the UPnP forwarding table:
Click
View
, near the bottom of the
page. To update the display, click
Refresh
. To return to the
UPnP
page,
click
Close
.


