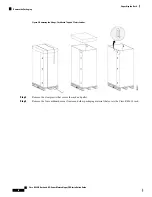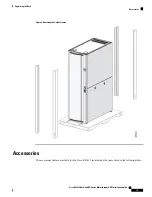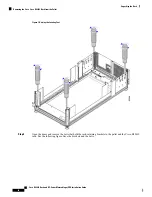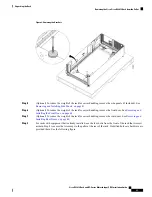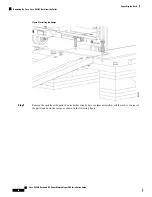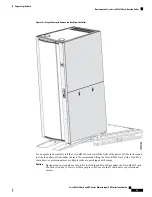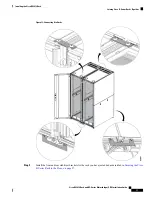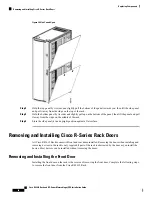
Step 4
Repeat this procedure to attach additional racks to the group.
Installing Devices in the Rack
See the documentation for each device for the instructions on how to install it in the rack. Always observe
these guidelines:
• Contact your Cisco representative to access the latest information about Cisco products that have been
tested with Cisco R42612 rack.
• Contact your Cisco representative to determine if a component has been certified to ship preracked. Prior
to certification of components to ship preracked, a component must be shipped in its original packaging.
Shipping a noncertified component in a rack will void the warranty.
• Always install devices in the bottom of the rack first, with the heaviest devices in the lowest possible
RU space. Avoid making the rack top heavy because that situation is dangerous.
• If an installed component can slide forward, extend only one device at a time. Never extend any device
that weighs over 225 lb (102 kg).
• Never install devices that are not approved by independent national safety labs that are appropriate for
your country.
• Do not use the top of a rack-mounted device as a shelf unless it is intended for that use.
Installing the Grounding Kit
To install the grounding kit, follow these steps:
Procedure
Step 1
Loosen the ground connector and either wrap around it the end of a 10 AWG wire with 1" of the end stripped,
or attach a wire that has a ring connector attached.
Step 2
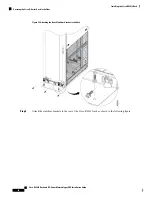
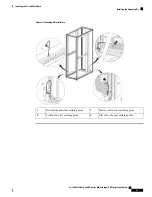
Connect the other end of the grounding wire to the Cisco R42612 Rack.
The following figure shows locations where you can install the grounding connector.
Cisco R42612 Rack and RP-Series Metered Input PDU Installation Guide
32
Installing the Cisco R42612 Rack
Installing Devices in the Rack

