Chapter 3
Configuration
10
Network Storage Link for USB 2.0 Disk Drives
Administration > Disk
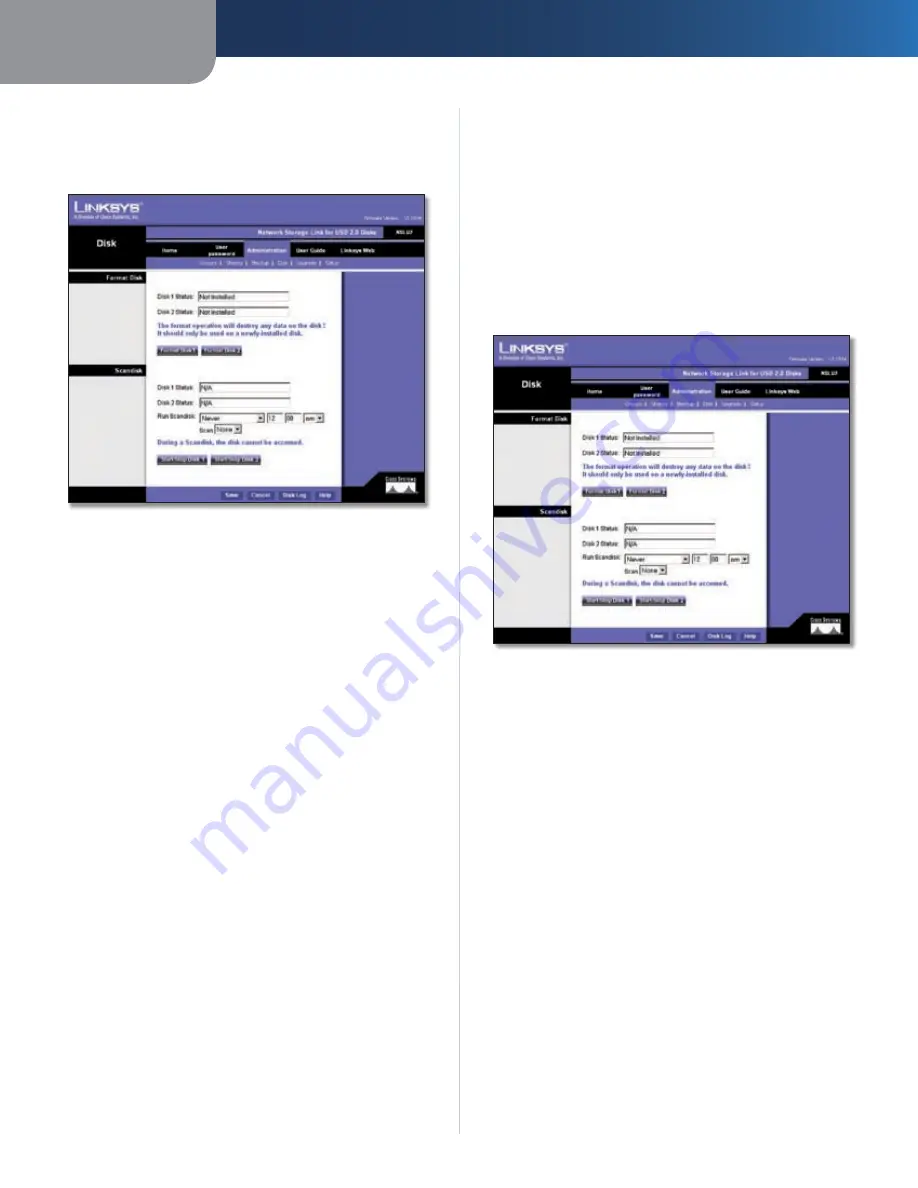
The
Administration > Disk
screen allows you to perform
disk maintenance.
Administration > Disk
Format Disk
Use this after installing a new disk. The disk will be
partitioned and formatted. Any data on the disk will be
lost. When formatting a disk that is 80 gigabits or larger,
it may take five minutes or longer for the formatting to
complete.
To format disk one, click
Format Disk1
. To format disk
two, click
Format Disk2
.
Scandisk
Running the Scandisk (Disk Check) program will check the
file system, and correct any errors found. This program
should be run regularly. The Scandisk program will also
run automatically if an error condition is detected, such as
an abnormal shutdown due to loss of power.
Click
Start/Stop Disk1
to scan disk one. Click
Start/Stop
Disk2
to scan disk two.
Run Scandisk
These fields allow you to set up a schedule
for running Scandisk regularly. The available options are:
Never
•
Scandisk will not be scheduled to run.
Every Day
•
Select this to have scandisk run each day,
at the specified time.
Every Monday, Every Tuesday, ...
•
Select this to have
scandisk run once per week, on the specified day.
Use the time fields ( hour, minute, am/pm ) to specify when
the scandisk operation should be performed.
Click
Save
to save the settings on this screen. This has
no effect on any operations in progress. Click
Cancel
to
restore the settings on the screen to their previous values.
Clicking
Cancel
has no effect on operations in progress.
Click
Disk Log
to view a log showing the results of the last
Scandisk operation. Click
Help
to get more information
about this screen.
Administration > Upgrade
The
Administration > Upgrade
screen allows you to upgrade
the Storage Link’s firmware.
Administration > Upgrade
Current Firmware
This shows you the current version of the Storage Link’s
firmware. Click
Check for Update
to browse the Linksys
website for the Storage Link’s latest firmware.
Upgrade
You will need to download the new firmware file to your
PC before upgrading it. Click
Browse
to locate the upgrade
file on your PC, then click
Start Upgrade
to apply the
upgrade.
Click
Help
to get more information about this screen.
Administration > Setup
Click the
Setup
tab under the
Administration
main tab to
exit the Advanced administration features and return to
the
Administration > LAN
screen.


