14
IR510 WPAN Gateway and IR530 WPAN Range Extender Hardware Installation Guide
IR510 Installation
1.
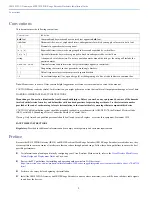
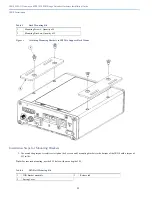
Remove Spring Cover from DIN Bracket assembly (Item 2 in
Figure 5
).Set aside the 4 screws in a safe place.
2.
Attach DIN Bracket assembly (Item 1 in
Figure 5
) to back of IR510 with seven (7) M3 screws using a torque screwdriver and a torque
of 5 to 7 inch lbs.
3.
Attach 8th M3 screw by pushing up on Release Latch (Item 3 in
Figure 5
) to reveal bottom screw hole.
4.
Attach Spring Cover back onto DIN Rail using the 4 screws that were originally used to attach the two items.
Connecting Protective Ground and Power for IR510
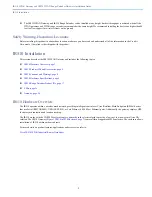
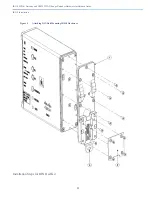
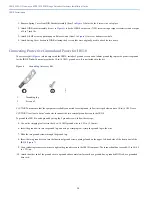
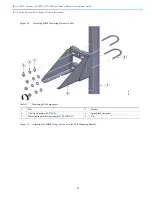
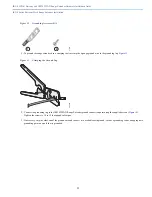
The accessory kit (
Figure 6
) which ships with the IR510, includes 2 ground screws and a tabular ground lug to provide protective ground
for the IR510.
Note:
You must provide the 14-to-16 AWG ground wire. It is not included in the kit.
Figure 6
Grounding Accessory Kit
CAUTION
To make sure that the equipment is reliably connected to earth ground, follow the steps below and use 14-to-16 AWG wire.
CAUTION
Use at least a 4 mm
2
conductor to connect the two external ground screws to the IR510.
To ground the IR510 to earth ground by using the 2 ground screws, follow these steps:
5.
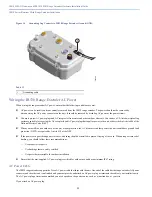
Use a wire stripping tool to strip the 14-to-16 AWG ground wire to 0.22 in. (5.56 mm).
6.
Insert the ground wire into the ground lug, and using a crimping tool, crimp the ground lug to the wire.
7.
Slide the two ground screws through the ground lug.
8.
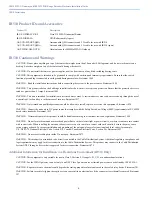
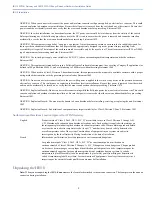
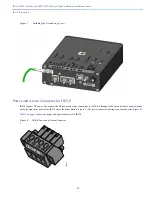
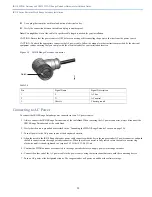
Insert the two ground screws into the functional ground screw openings found on the upper, left-hand side of the front panel of the
IR510 (
Figure 7
).
9.
Use a ratcheting torque screwdriver to tighten the ground screws to the IR510 front panel. The torque should not exceed 8-11 in-lb (0.9
to 1.2 N-m).
10.
Attach the other end of the ground wire to a grounded bare metal surface such as a ground bus, a grounded DIN rail, or a grounded
bare rack.
1
Grounding lug
2
Screws x 2
300622
1
2


