4-12
Cisco TelePresence System 1100 Assembly, First-Time Setup, and Field Replaceable Unit Guide
OL-19695-01
Chapter 4 First-Time Setup
Setting Up the Display
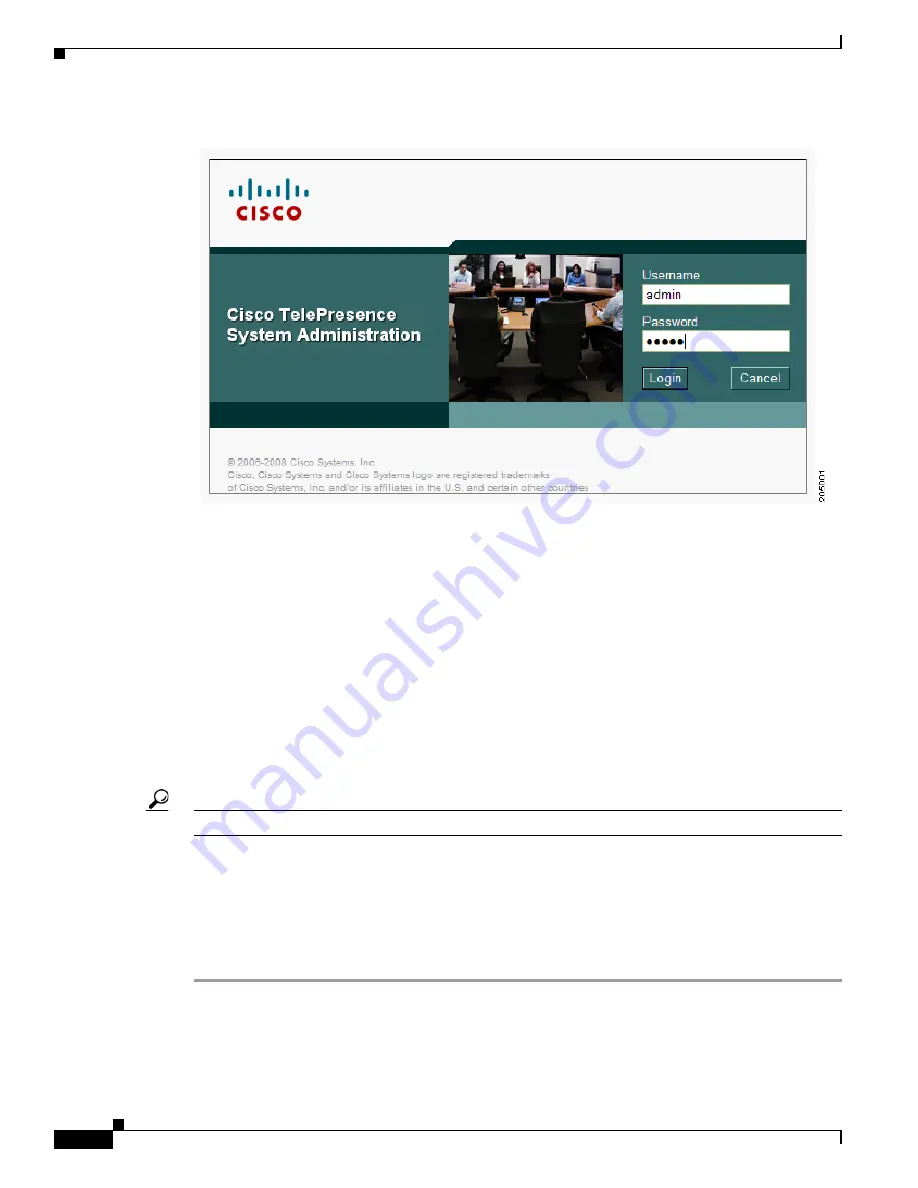
Figure 4-6
Cisco TelePresence System Administration Login Screen
Step 2
Navigate to
Troubleshooting > Hardware Setup > Displays
.
Step 3
Click
Start
to start the display test.
A test image displays on the screen.
Step 4
Select the color temperature of the lighting in the meeting room from the drop-down box and click
Apply
.
Sources of light in most rooms are either incandescent light bulbs that use tungsten filaments or
fluorescent lights. If your room has windows, the windows add light and affect the color temperature in
the room.
Each of these light sources, and the amount of light in terms of lumens or watts, produces a different
color temperature. This color temperature is sometimes expressed using terms such as cool, warm, or
daylight, but can be expressed more precisely in kelvins (K) as a numeric value.
Cisco recommends that you use lighting with a color temperature of 4000 to 4100 K.
Tip
In many cases, the color temperature is printed on the light bulb.
If you are unable to determine the type and color temperature of light bulbs in the meeting room,
experiment with color temperature settings until the color and images on the display screen look lifelike.
Each time you change the setting and click
Apply
, the color temperature in the display changes. You
cannot see these changes until you set up the cameras. See the
“Setting Up the Camera” section on
for more information.
Step 5
Click
Stop
to stop the display test.
If you encounter problems when setting up your display, refer to the “Troubleshooting the
Cisco TelePresence System” chapter of the
Cisco TelePresence System Release Administrator Guide
your software release.


